AdonisJS
Adonis JS - 1. Intro and Setup
Updated:
In this tutorial series, we are going to be learning the fundamentals of Adonis JS, a full-stack framework for Node JS. We will be building a library application called "Alexandria" which will serve as an admin application for managing books for a library.
Here are some of the features of the application and the Adonis JS concepts you are going to learn in this series.
- MVC - Models, Views & Controllers
- CRUD - how to create, read, update & delete books
- User Authentication - only logged in users can create, edit, and delete books.
- Validation - form validation
- Postgres - we will be using Postgres for our database
- Migrations, Factories & Seeds - for populating our database with dummy data while developing our app.
- Bootstrap - we will be using bootstrap for the layout & styles
Install Node JS
I will be developing this application on Windows 10, and so many of the tools I recommend are for that operating system. If you are on a Mac or Linux, you will need to find comparable tools, I will try to provide links for those systems when I can.
First, you will need to install NodeJS .
Install PostgreSQL
Next, you will need to install PostgreSQL
For this tutorial, I am using version 10.12 which also comes with PG admin 4, which is a GUI for managing our database.
If you are on a mac, the link below is by far the easiest way to get Postgres installed on your system: Postgres.app
Install Adonis JS
Next, open up your terminal and run the following commands to install Adonis JS CLI and create our project.
  npm i -g @adonisjs/cli
  adonis new alexandria
  cd alexandria
  adonis serve --dev
I am using version 4.0.12 of Adonis JS CLI at the time of writing this tutorial
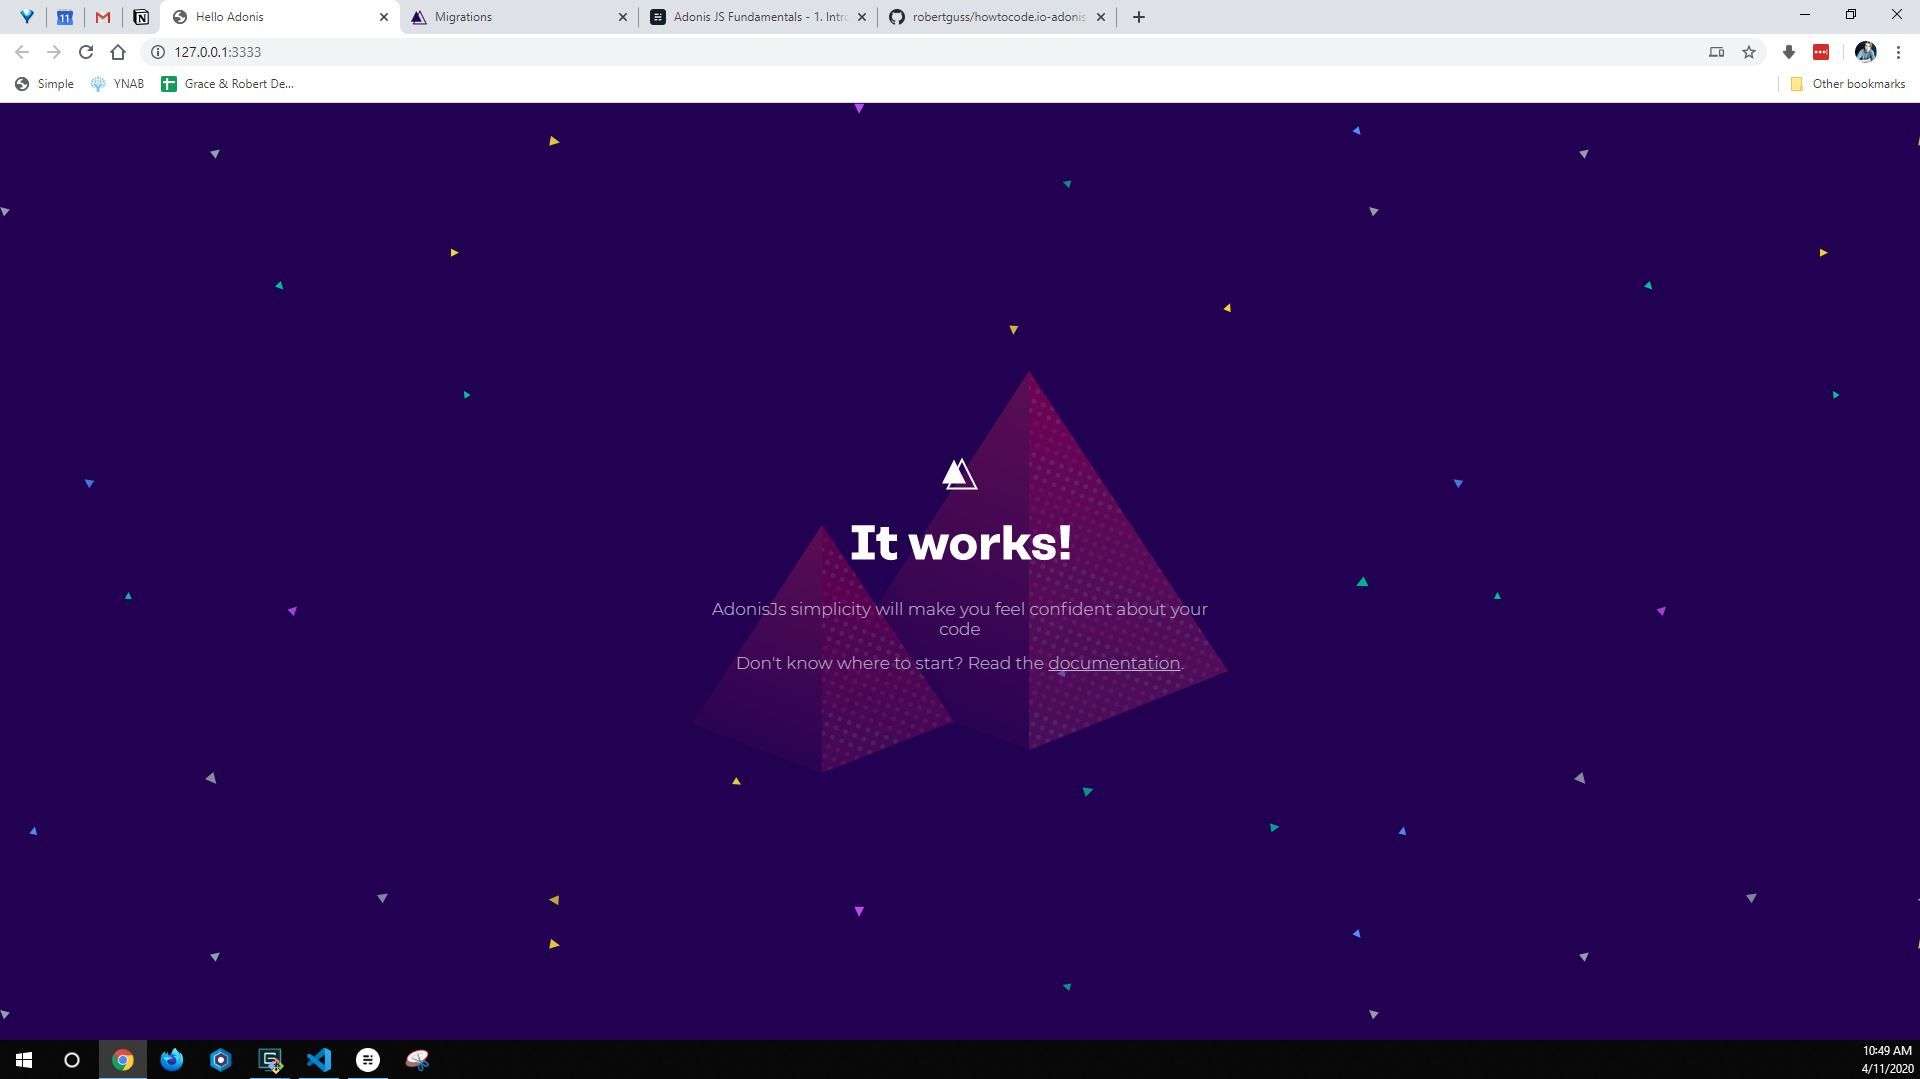
If all goes well, you should see the following at http://localhost:3333/
Database Setup
Finally, we need to connect our new application to our PostgreSQL database.
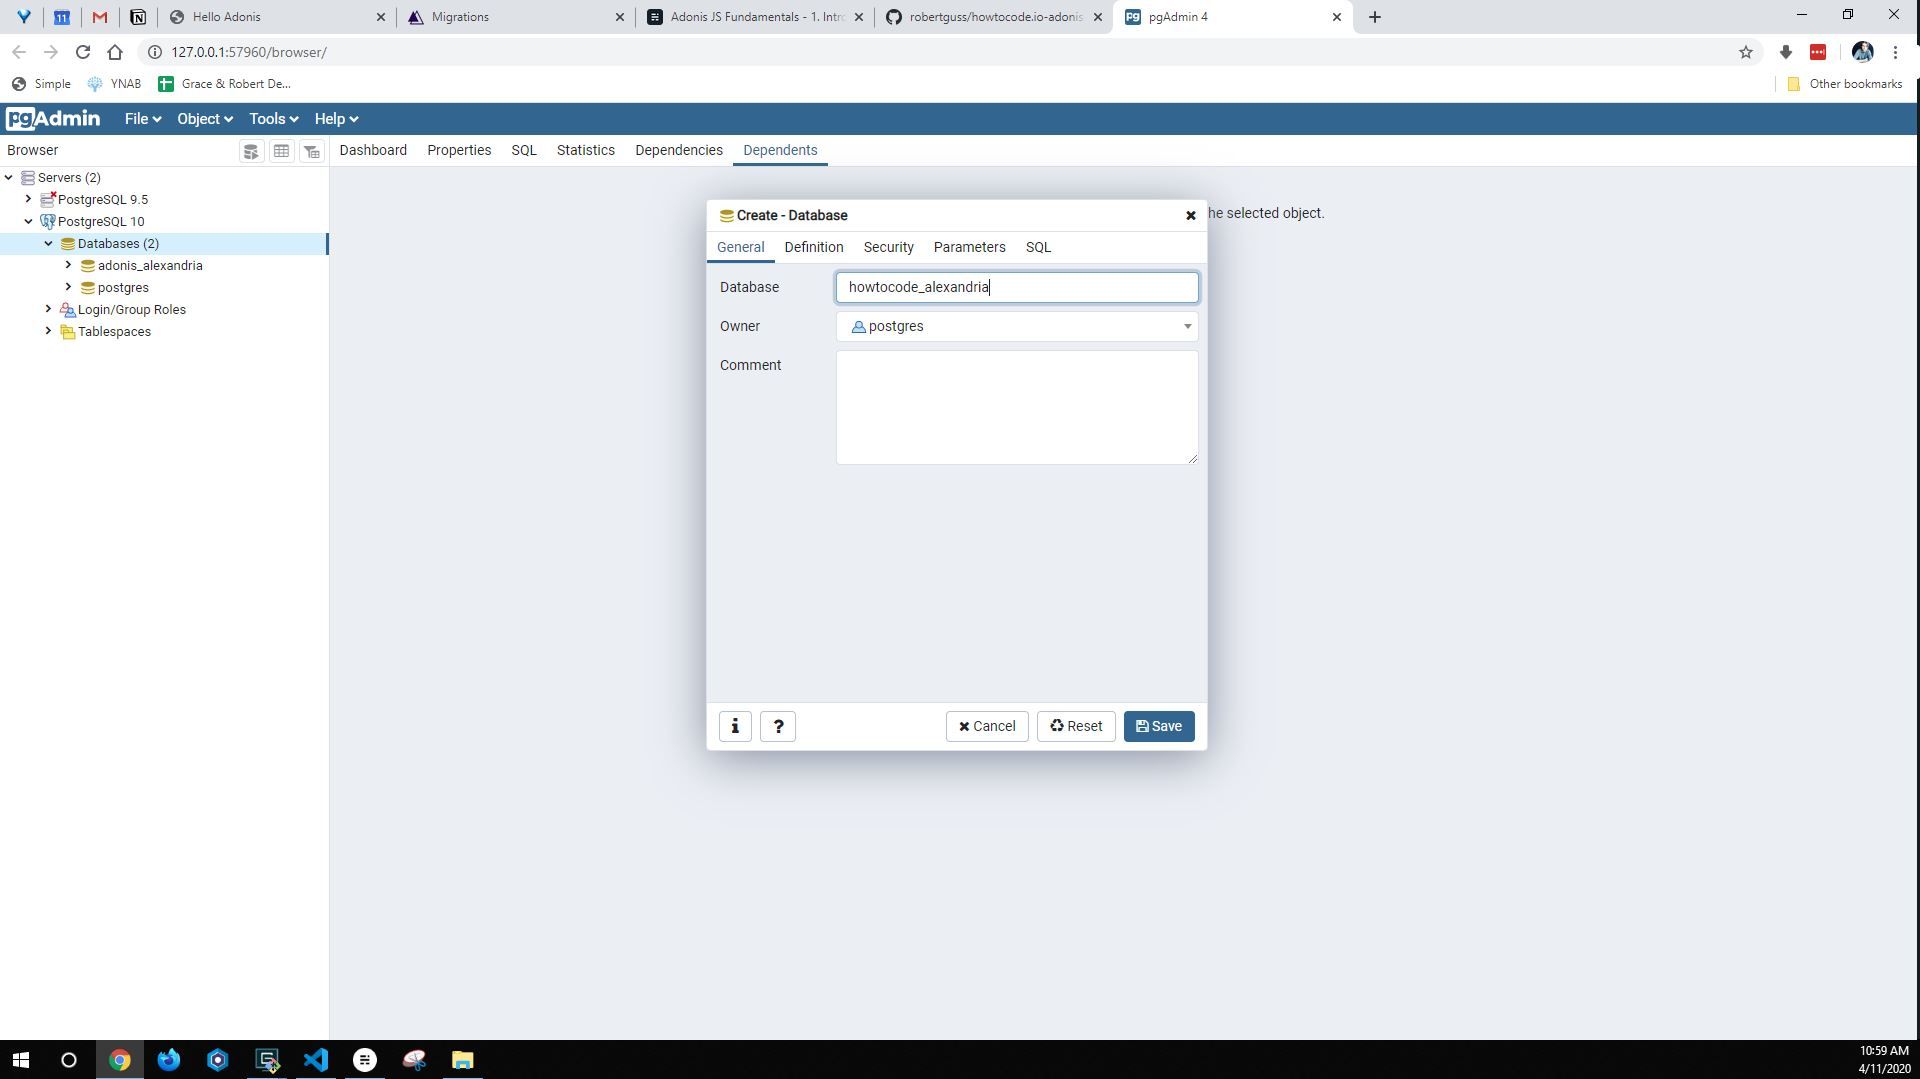
If you are on windows and using PG Admin 4, here is how to do it. After launching PG Admin 4, you will be prompted to enter your master password which you created during the installation of it. In the left hand column, select Servers > PostgreSQL 10 > right-click on "Databases" Create > Database
Give your database a name and click "save"
Your new database should now be under "databases" in the left hand column.
Next, we need to connect Adonis to our new db.
Open up the Adonis project in your text editor and open the .env file. In here, we will need to add our database connection details. Here are mine for reference:
HOST=127.0.0.1
PORT=3333
NODE_ENV=development
APP_URL=http://${HOST}:${PORT}
CACHE_VIEWS=false
APP_KEY=YnBDIQ9voPywctDwCpFKu5B3EH4GQKDX
DB_CONNECTION=pg
DB_HOST=127.0.0.1
DB_PORT=5433
DB_USER=postgres
DB_PASSWORD=password123
DB_DATABASE=adonis_alexandria
SESSION_DRIVER=cookie
HASH_DRIVER=bcrypt
Your APP_KEY should be different, and is automatically configured by Adonis, don't change this. Also, your DB_PORT might be different than mine. Postgres typically defaults to 5432, so make sure you are using the correct port for your system. Also, make sure to enter your DB_PASSWORD. The one I have above is just an example.
We will also need to install the pg npm package. Run the following command in your terminal
npm i pg
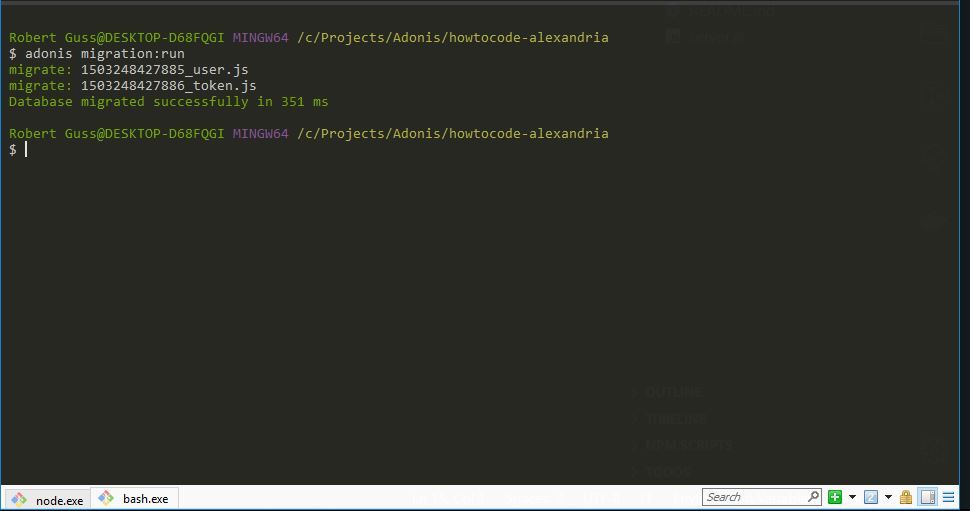
Next run the following command to run the migrations that come by default with each Adonis install.
adonis migration:run
If everything worked you should see the following output in your terminal.
Repo
The code for this section can be found at the link above under the master branch.
Wrap Up
We have now successfully setup our new application and connected it to PostgreSQL. In the next lesson, we will learn about routes, layouts, views and create our Book controller for managing books.