Jamstack
Jamstack blog with Hugo, Netlify CMS and Zapier
Updated:
We will be building a blog using the Hugo Static Site Generator and then deploy it to Netlify. Once our blog is complete and lives on Netlify, we will then integrate Zapier to trigger our site's automatic CI/CD pipelines. Zapier will allow us to write blog posts ahead of time by setting a publish date sometime in the future. It will then notify Netlify to build our site so that the entire process is automated.
Installing Hugo
Hugo is written in the Go Programming Language, making it very easy to install since it is just a single binary. To install Hugo, head over to their Installation Docs and follow along for whatever operating system you are using. I am using Mac and have installed Hugo with Homebrew. I highly recommend using Homebrew if you are on a Mac.
Creating the blog
Now that you have Hugo installed, run the following command to create a new Hugo site:
Hugo new site blog

# blog will be the name of the folder and project
If you are like me, you probably already have a directory where all of your web/code projects live on your computer. I have a folder called Projects on my laptop, which contains all of my projects. I recommend you have something similar on your machine and install it there.
We are going to be using a pre-configured theme for Hugo called Ink. You can download the theme from Github here. Click on the green button called "Code" and then "Download Zip."
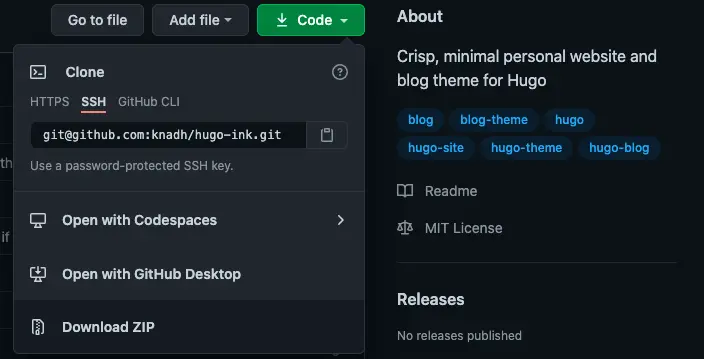
When you download the zip file and unzip it, it is called Hugo-ink-master. Rename the folder to ink and then move it inside the themes folder.
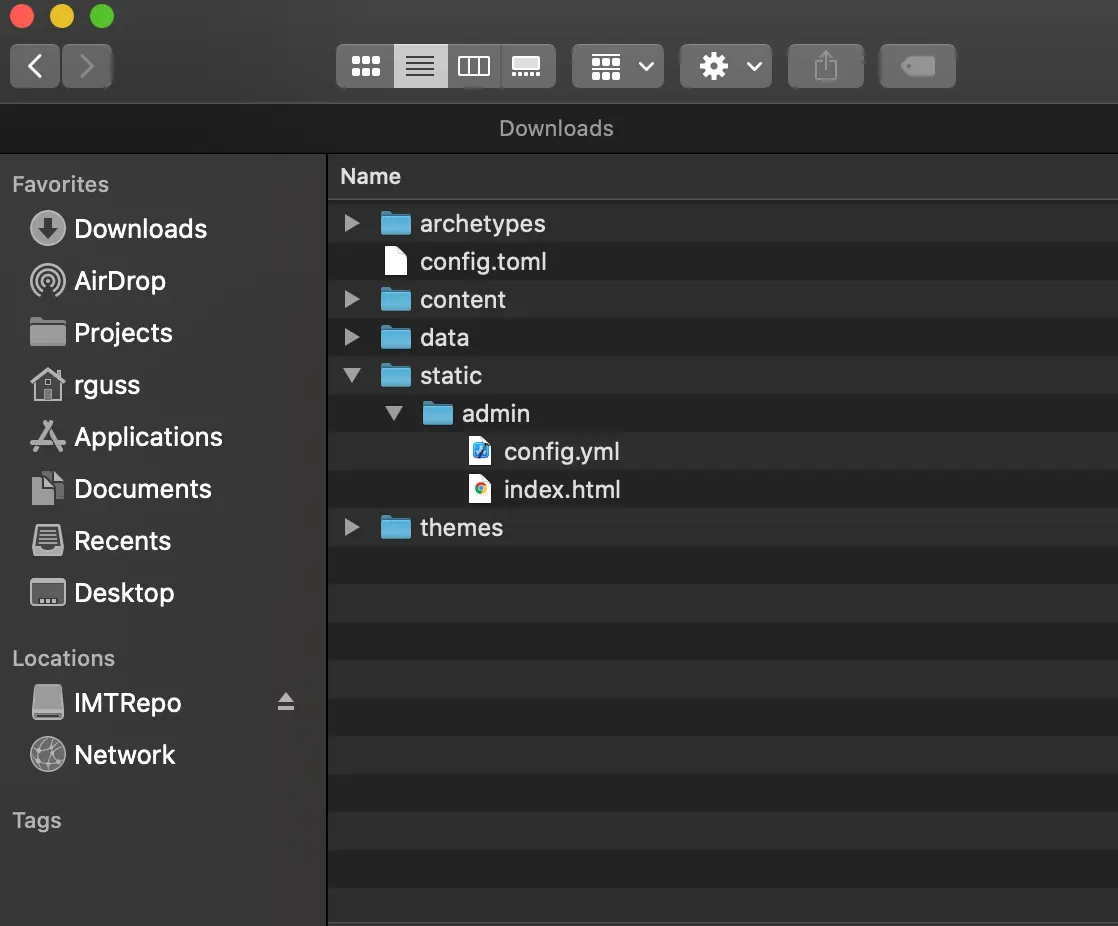
Your Hugo project should now look like this:
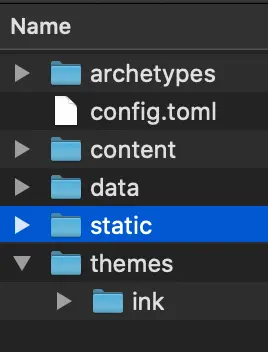
Inside of the ink theme folder is another folder called exampleSite. This folder contains some example content that we can use to populate our site with some pages and posts.
- Copy the directory
themes/ink/exampleSite/archetypes/and replace/archetypes/located at the project's root. - Copy the directory
themes/ink/exampleSite/content/and replace/content/located at the root of the project. - Copy the directory
themes/ink/exampleSite/data/and replace/data/located at the project's root. - Copy the file
themes/ink/exampleSite/config.tomland replaceconfig.tomllocated at the root of the project.
Now run the following command in your terminal to start the Hugo server:
Hugo serve
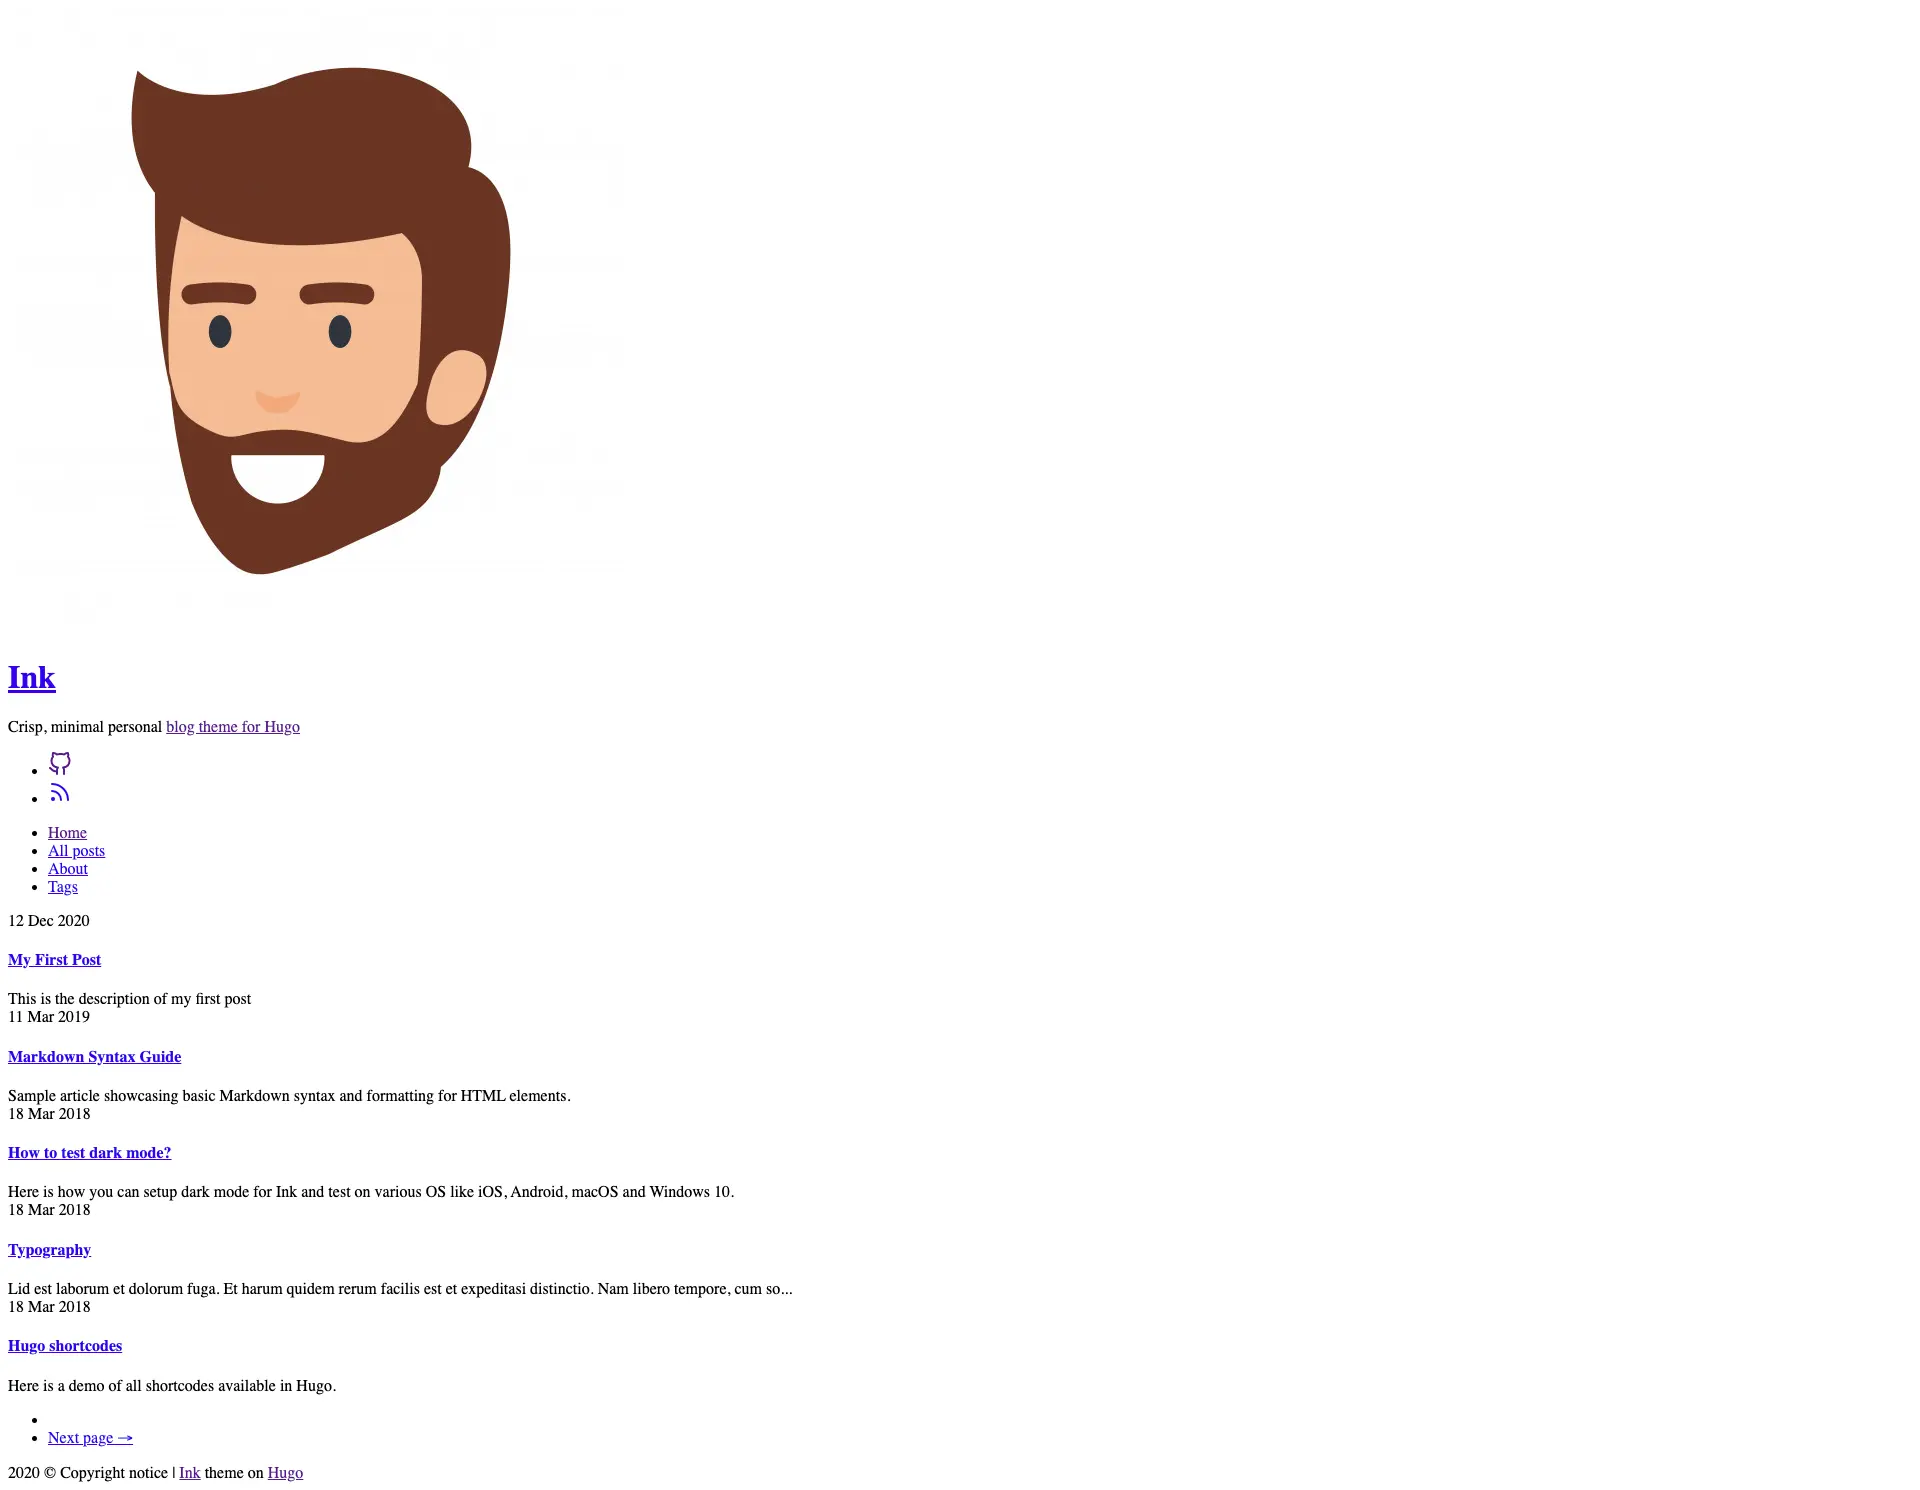
If everything is configured and set up correctly, you should see the following at http://localhost:1313/
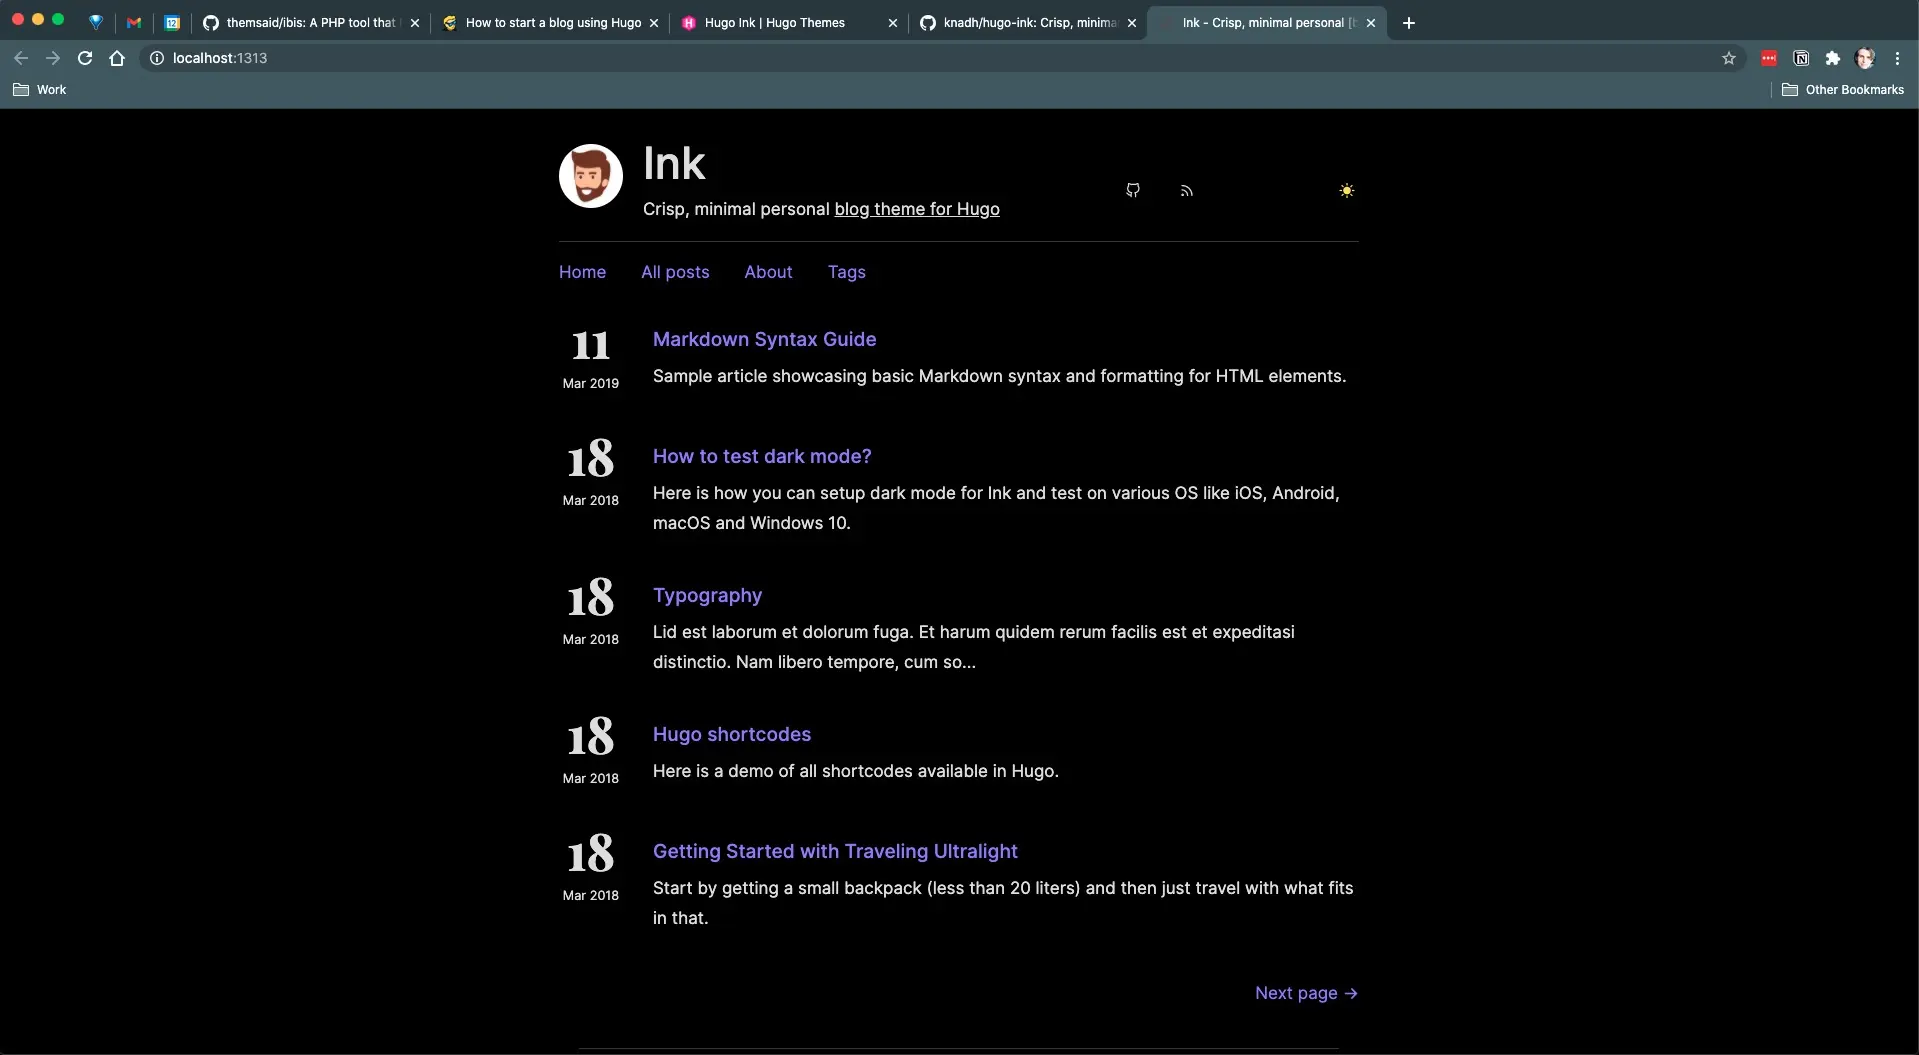
Your site might have a white background, which is fine; the theme has both light and dark themes, which are toggled based upon your system preferences.
Instant Reload & Creating new posts
Hugo's built-in dev server will automatically reload the page whenever it detects a page. You can see this in action by modifying one of the posts located at content/posts/. If you make any changes to one of these files, the browser will reload and update with your changes virtually instantly! Pretty sweet right 😎
To create a new post, you will either have to stop the Hugo server, or open up another terminal window in the project directory and run the following command.
hugo new posts/my-first-post.md
Feel free to name the file whatever you like. You will need to modify what is known as the Front Matter at the top of the file.
If you open up one of the sample posts, you will see something like the following at the top:
---
title: 'Markdown Syntax Guide'
date: '2019-03-11'
description: 'Sample article showcasing basic Markdown syntax.'
tags: [markdown, CSS, HTML, themes]
categories: [themes, syntax]
---
This data is what Hugo uses to generate various data on our site.
This data is entirely customizable by you. With the correct theme and configuration modifications, you can have Hugo parse and use all kinds of custom data in the Front Matter.
Take the example I used above and paste it into your new post.
Here is what my post looks like:
---
title: 'My First Post'
date: '2020-12-12'
description: 'This is the description of my first post'
tags: [markdown]
categories: [syntax]
---

Content goes here...
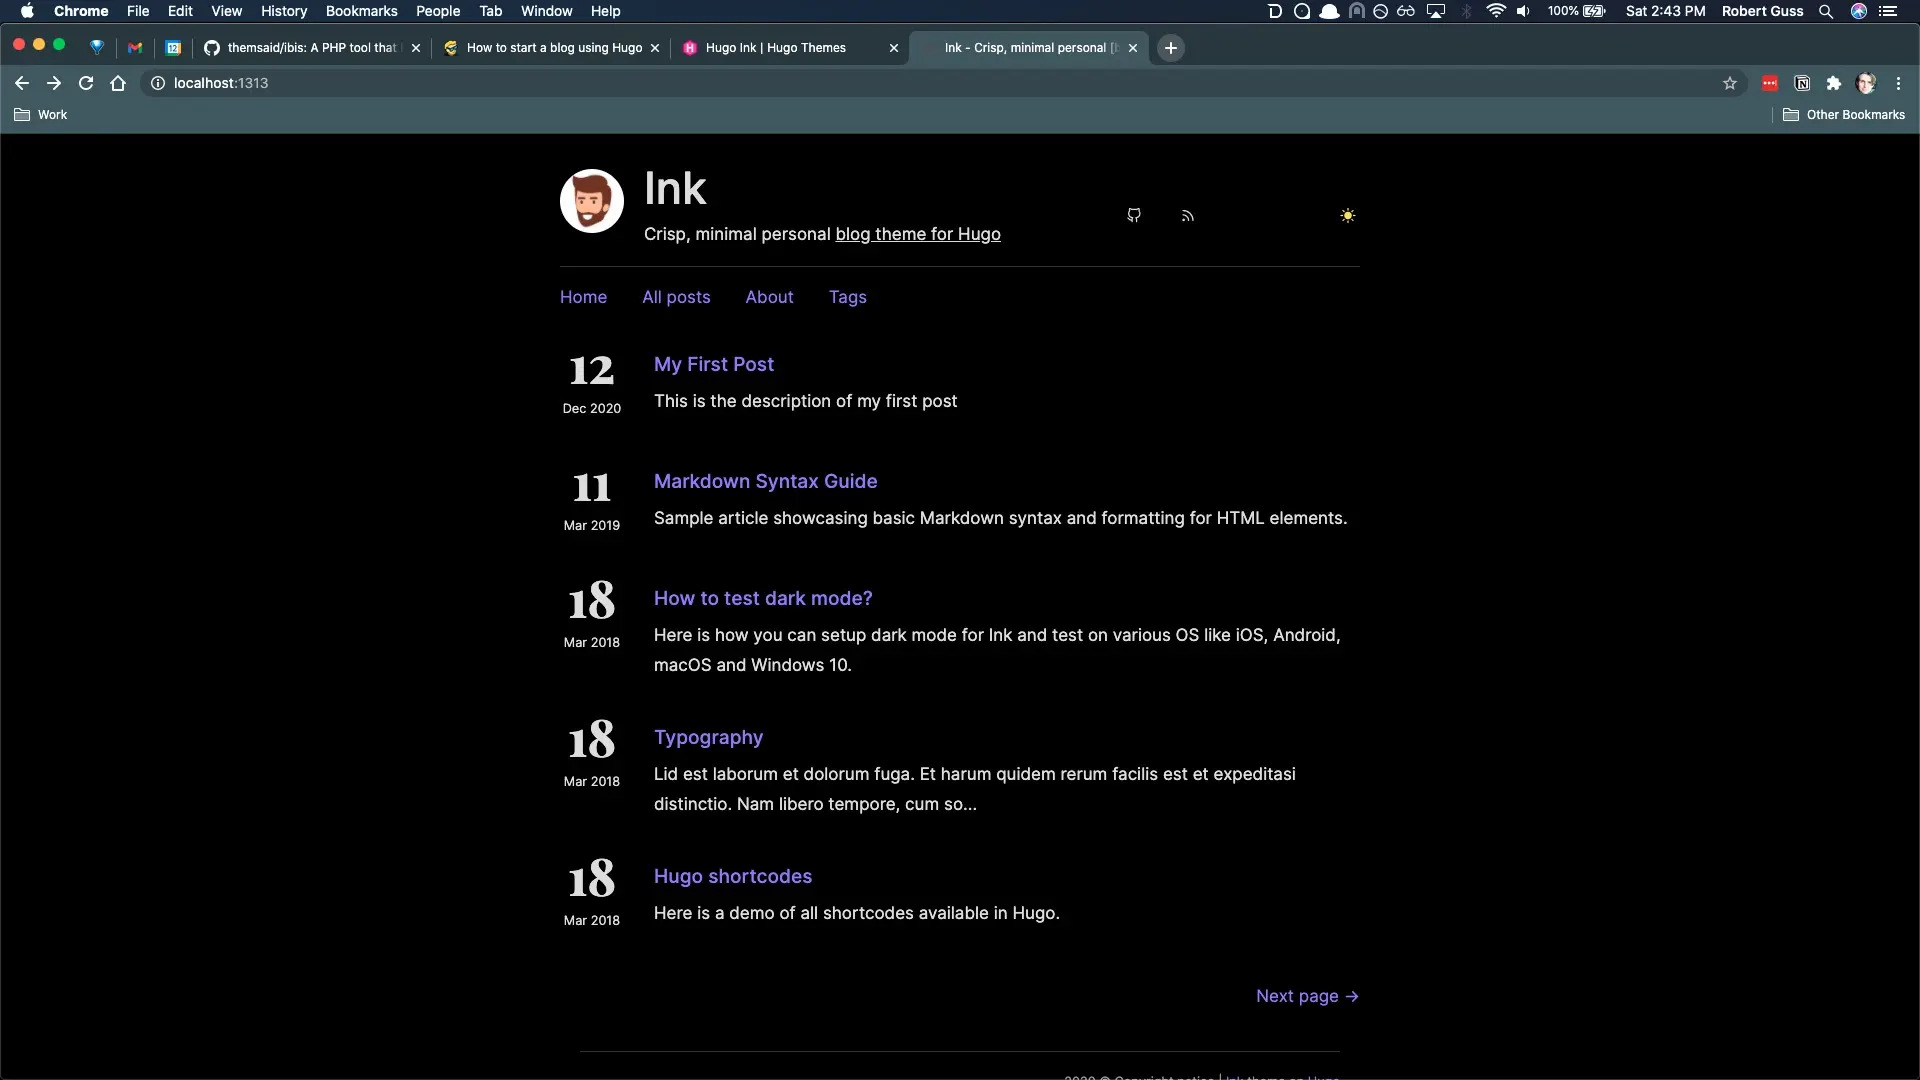
The homepage should have been updated with your latest post and should look something like this:
Pushing our project to GitHub
Before we can deploy our site, we need to first push our site up to GitHub.
If you do not have a GitHub account, please sign up for a free account as you are going to need it throughout this course.
**Your GitHub may not be dark like mine. I am using their dark theme, which is _not enabled by default.**_
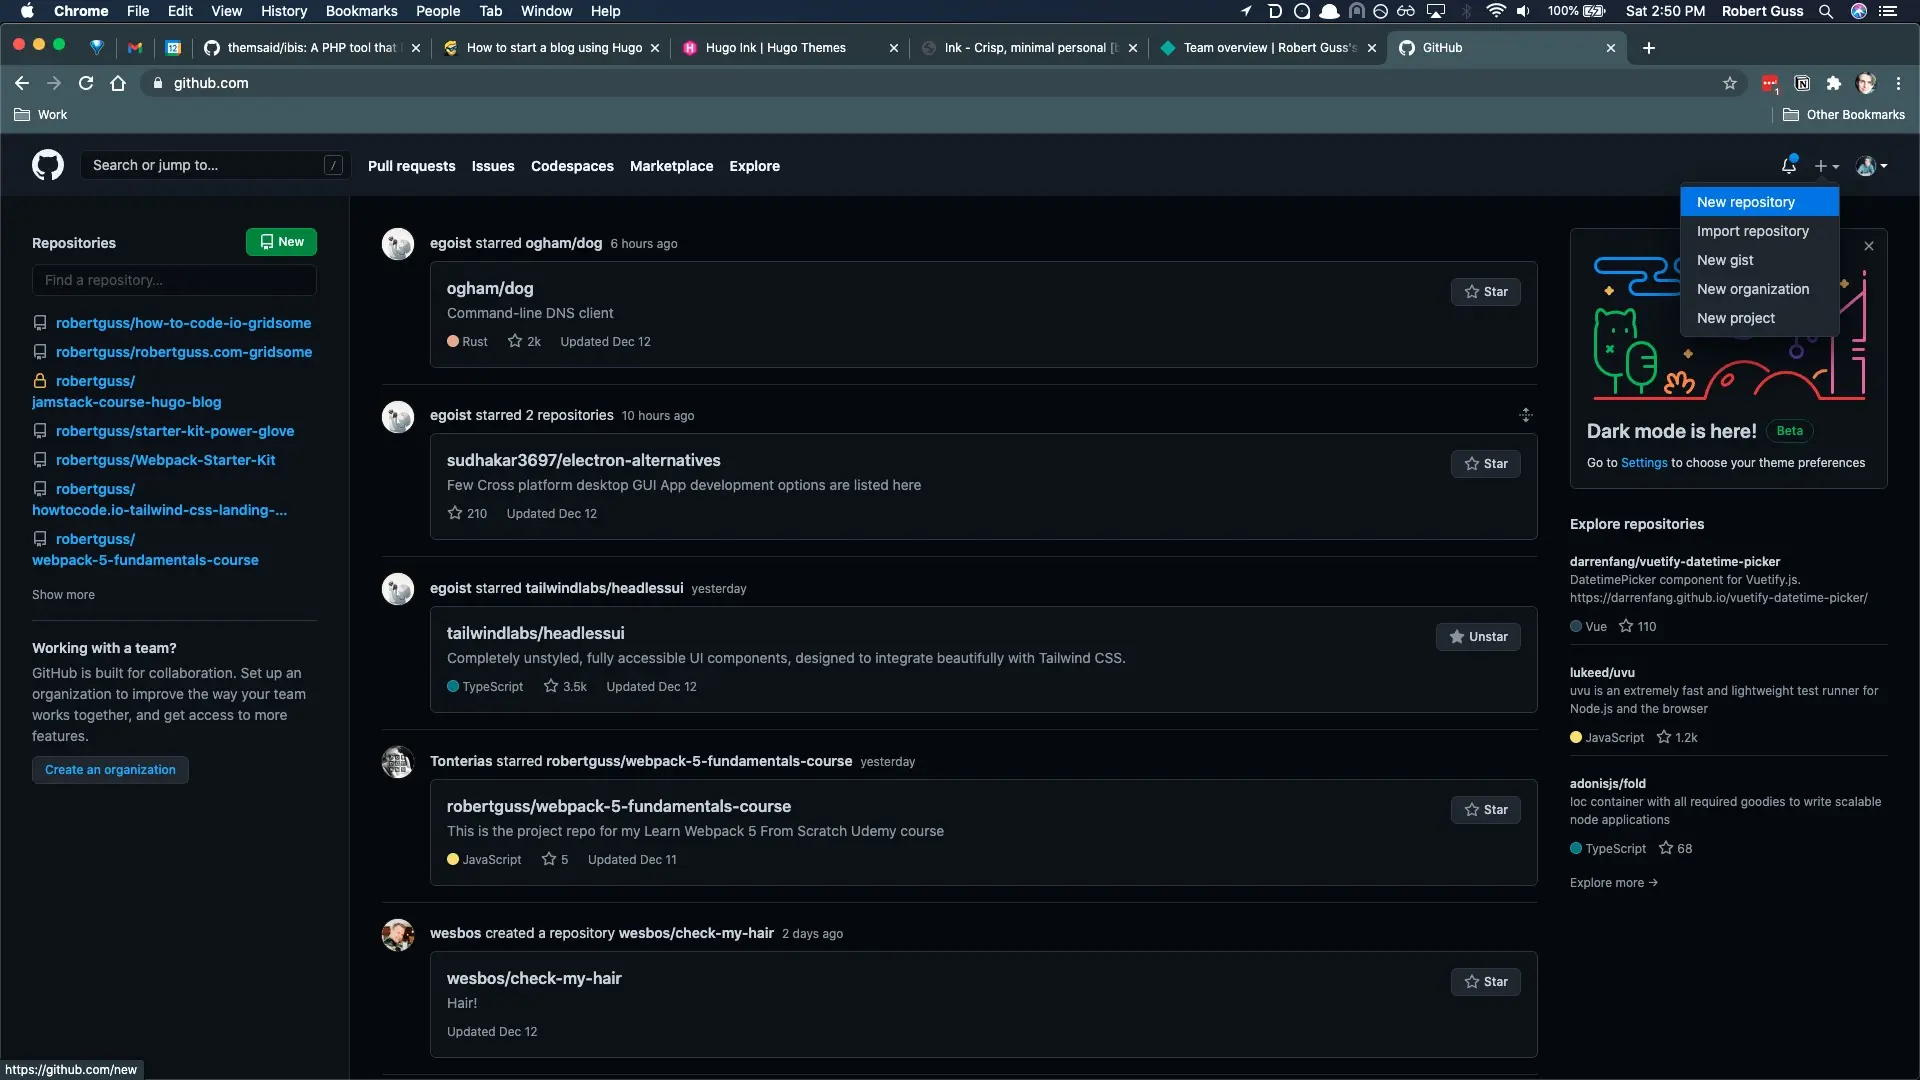
Create a new repository by clicking the + in the upper right-hand corner, next to the bell icon, then "New repository."
Fill out the repository name and description field and choose whether to make the repo private or public. It doesn't matter which one you choose. Netlify will work with both public and private repos.
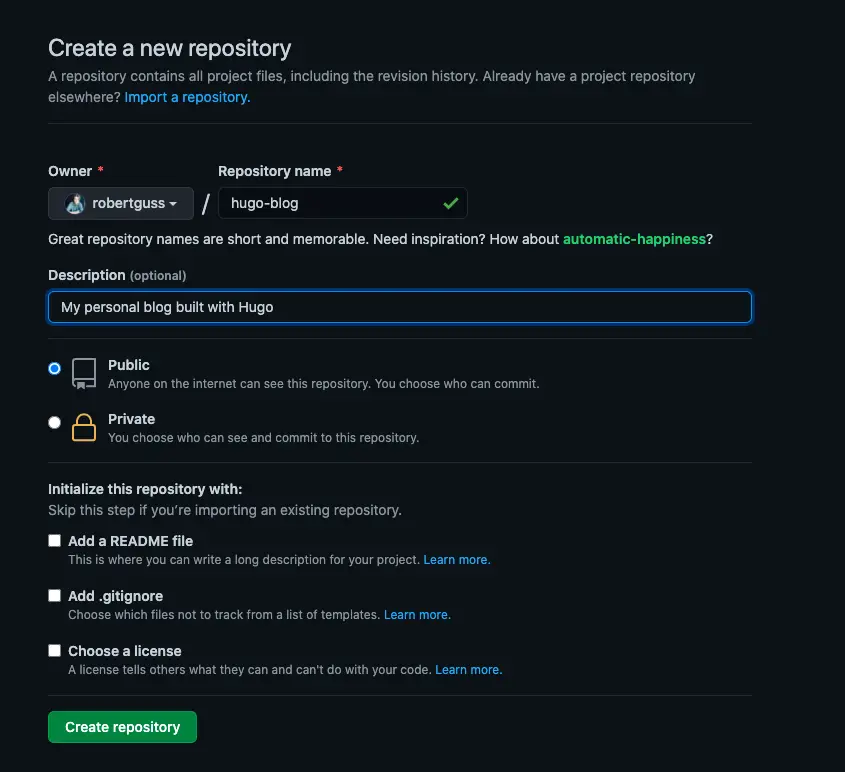
Then click the green button "Create repository."
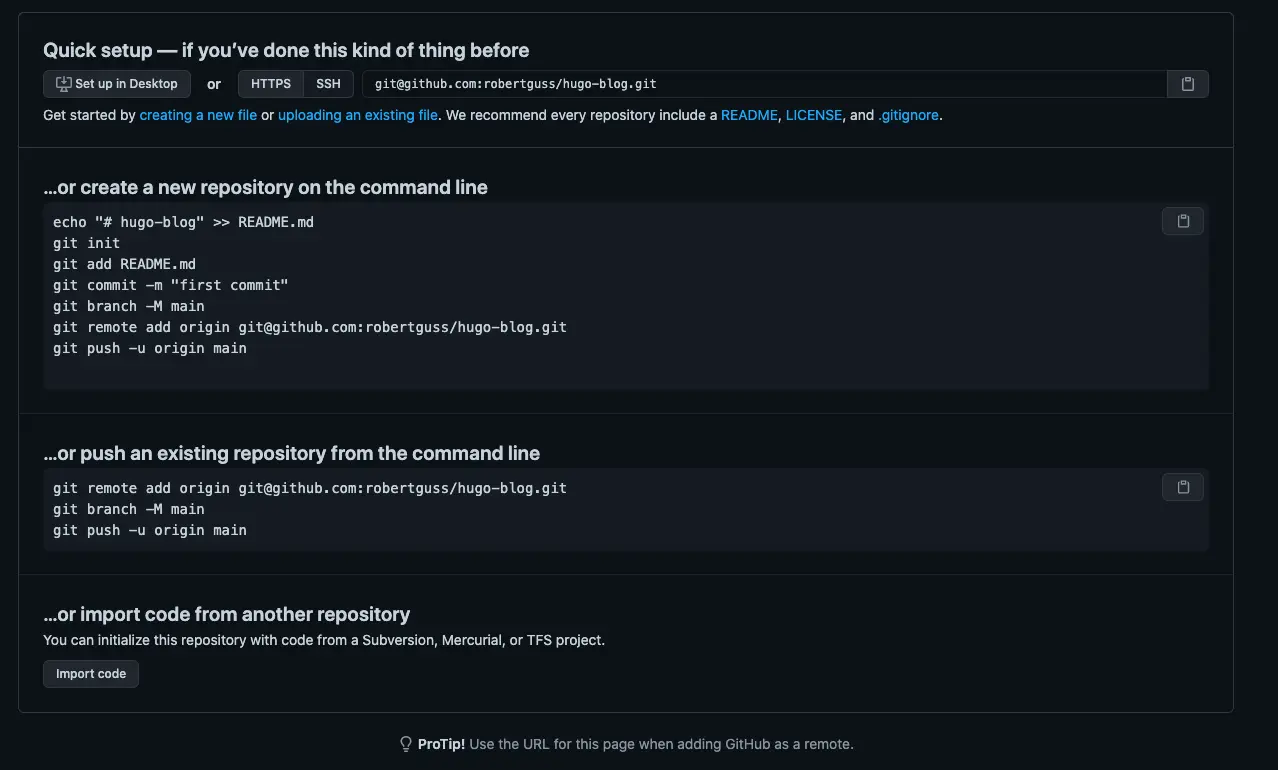
You should see a screen that looks similar to this:
This next section requires you to have Git installed. If you do not have Git installed, you can download it here
Head back over to your terminal inside your Hugo directory and run the following, in this order.
git init # initializes a new git repository
git add . # adds all of the files to Git
git commit -m "init commit" # creates a new commit with the message "init commit"
Then you are going to need to copy the URL for your git repo in GitHub. You can find it in this section of your empty GitHub repo.

Paste it into your terminal:
git remote add origin git@github.com:robertguss/hugo-blog.git
Then do:
git push -u origin master
Refresh GitHub, and you should see the following:
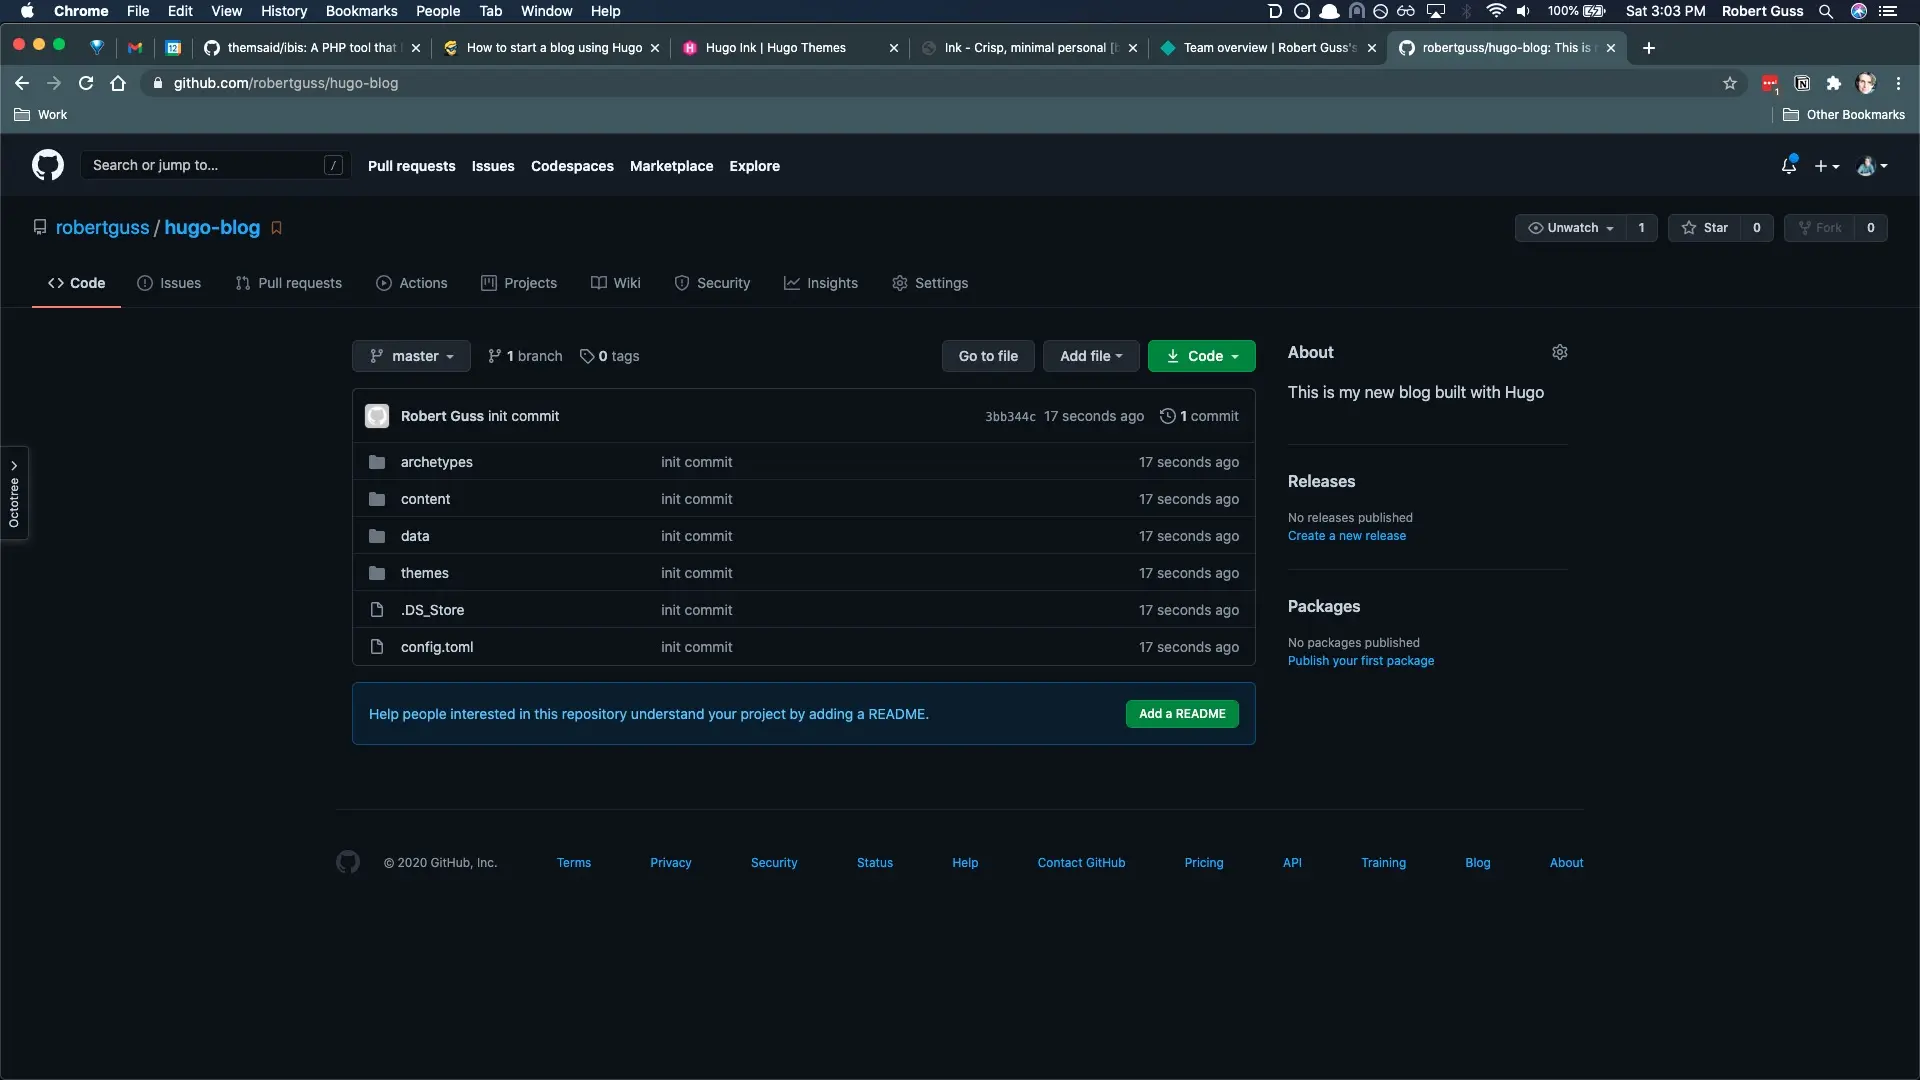
Now you are all set and ready to deploy with Netlify.
Deploying to Netlify
Now that our site is all set up and running, let's learn how to deploy our static site to Netlify. Netlify is free and is one of the most popular hosting providers for the Jamstack. Head on over to their site, and sign up for an account; use your GitHub account to sign up.
Once you sign up, you should land on a dashboard that looks like the following:
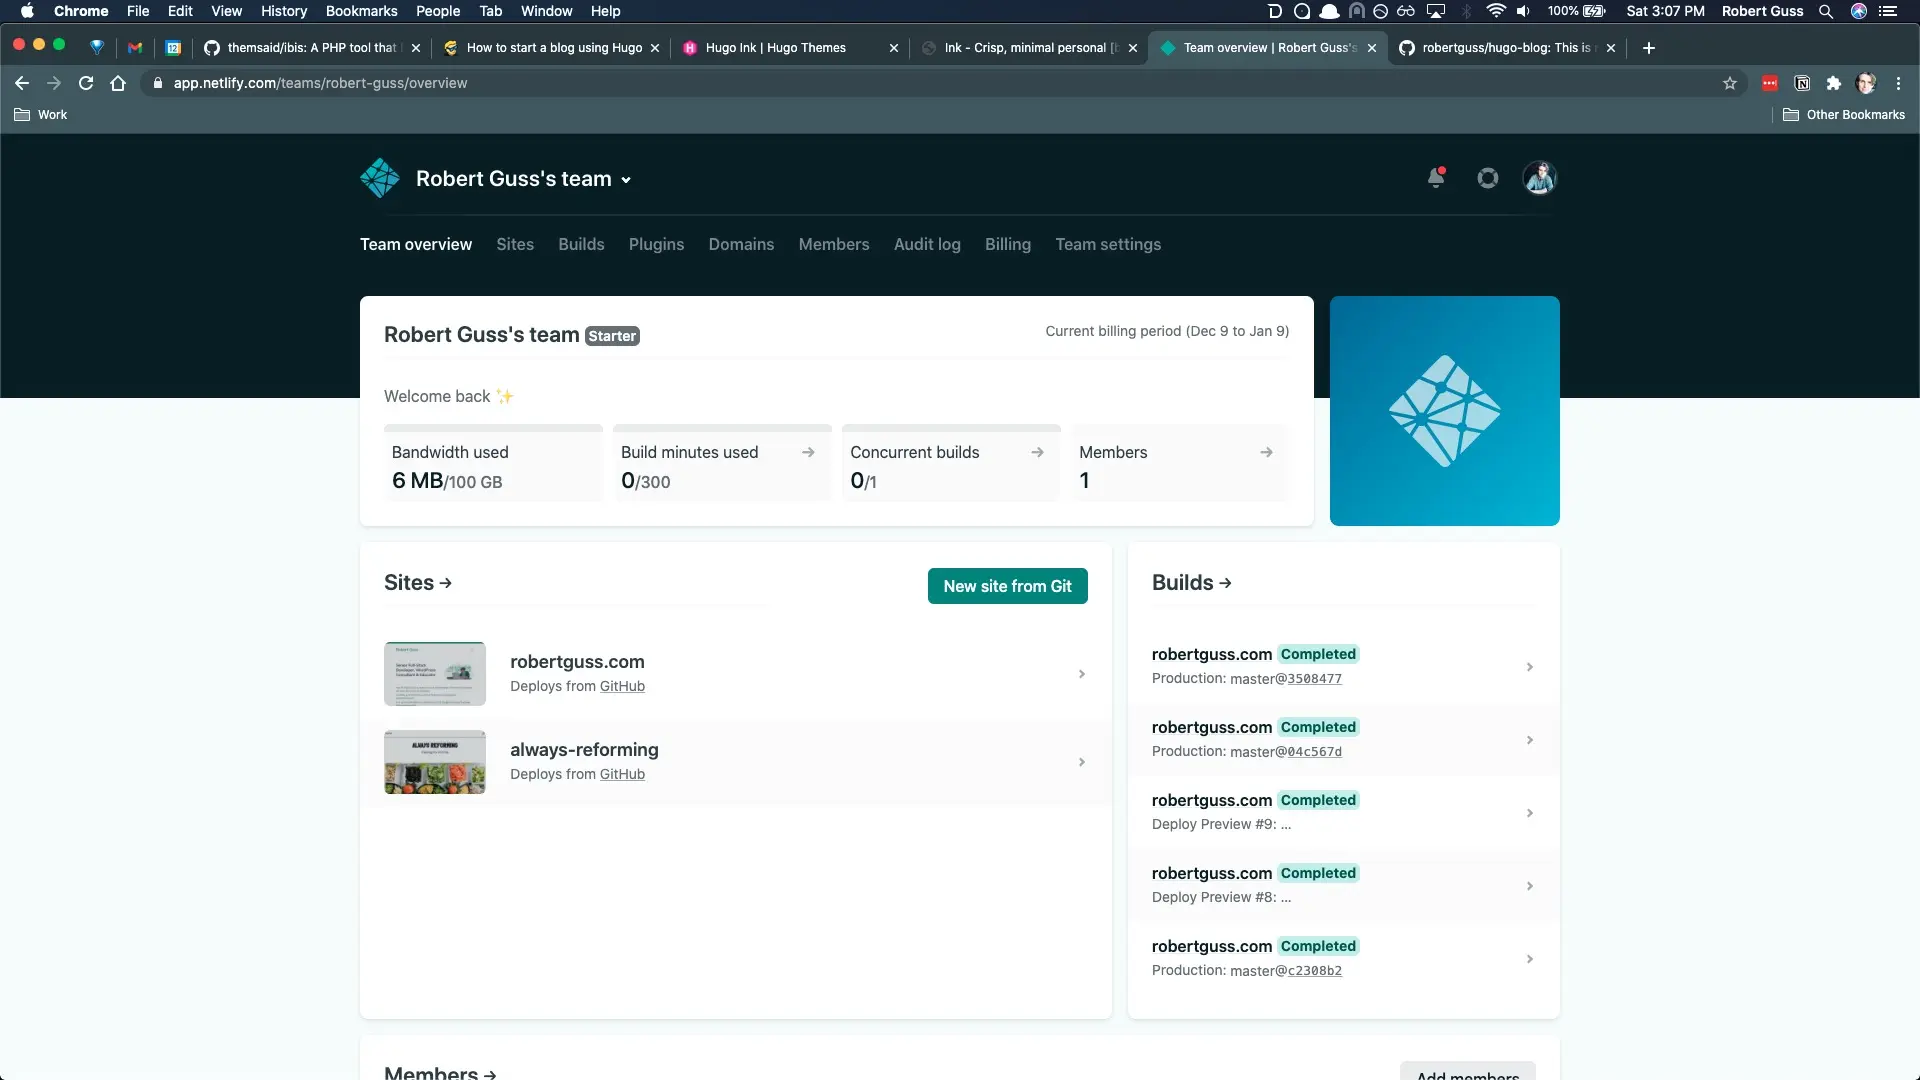
Click on the "New site from Git" button.
On the next screen, click on the "GitHub" button.
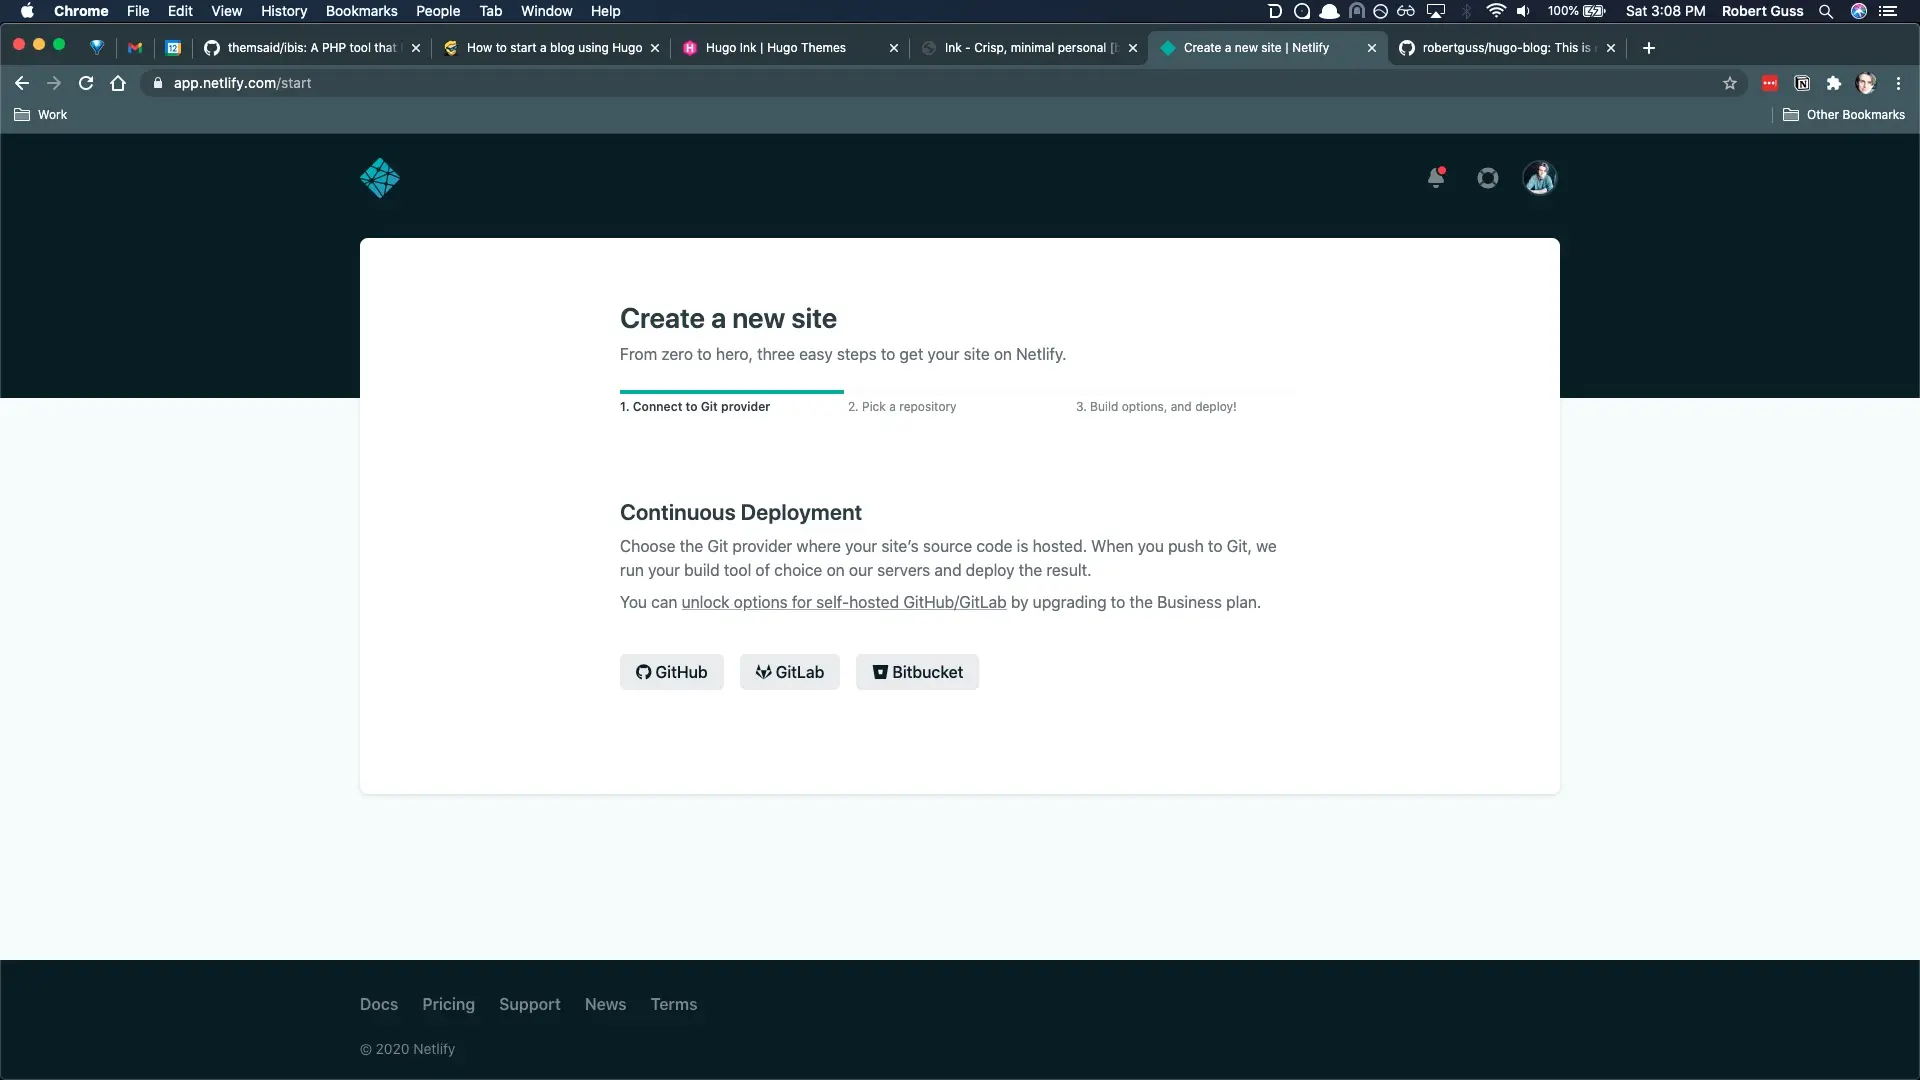
You will want to connect your GitHub account to Netlify and give them access to all of your repos.
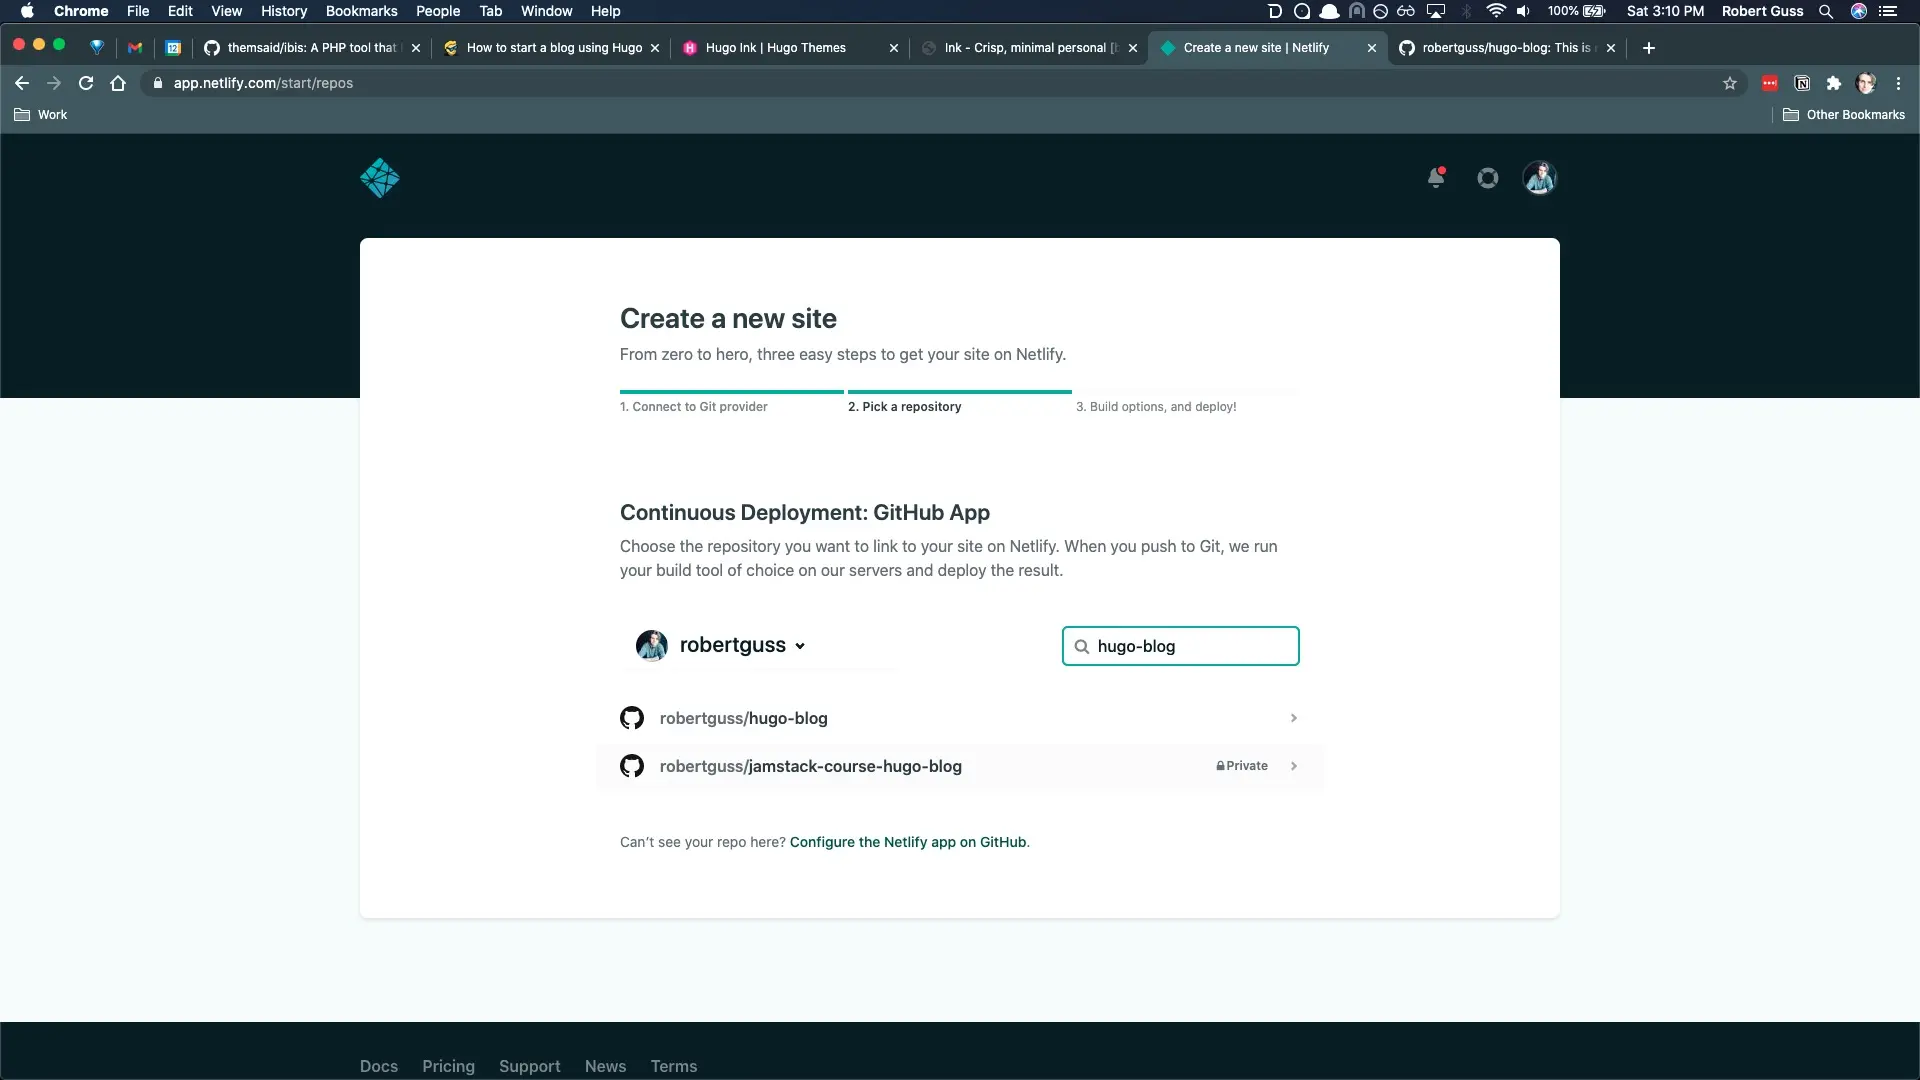
You will then need to search for the repo we just created and select it. I named mine Hugo-blog so I can easily search for it in the search bar.
It should automatically detect that this is a Hugo project and fill in the form fields for you. Just in case it doesn't, the build command is Hugo, and the publish directory is public
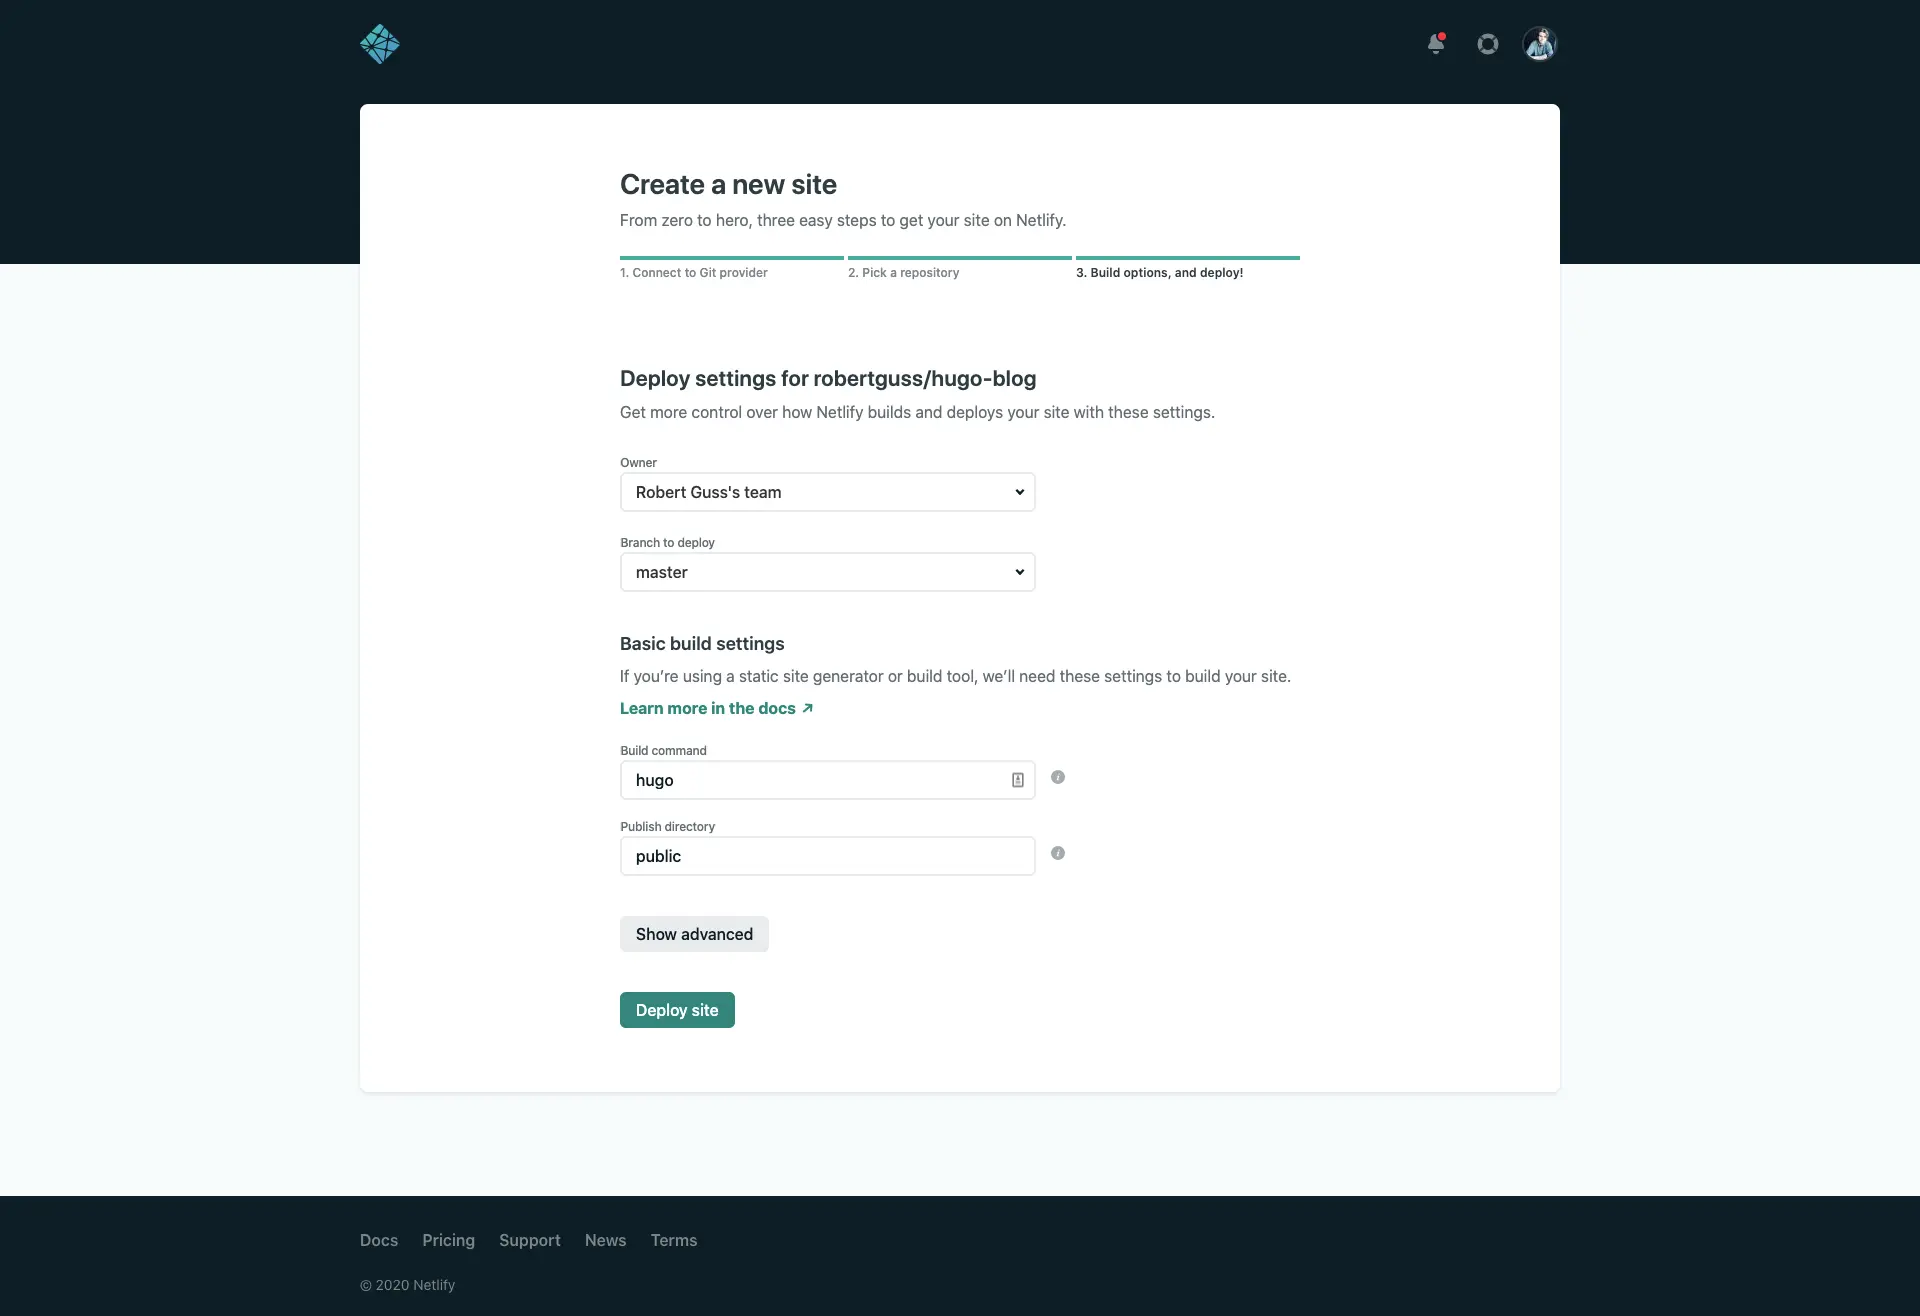
Then click the green button "Deploy site."
You will then go back to the site dashboard, where the site will begin to deploy. It shouldn't take very long before you see a random URL at the top.
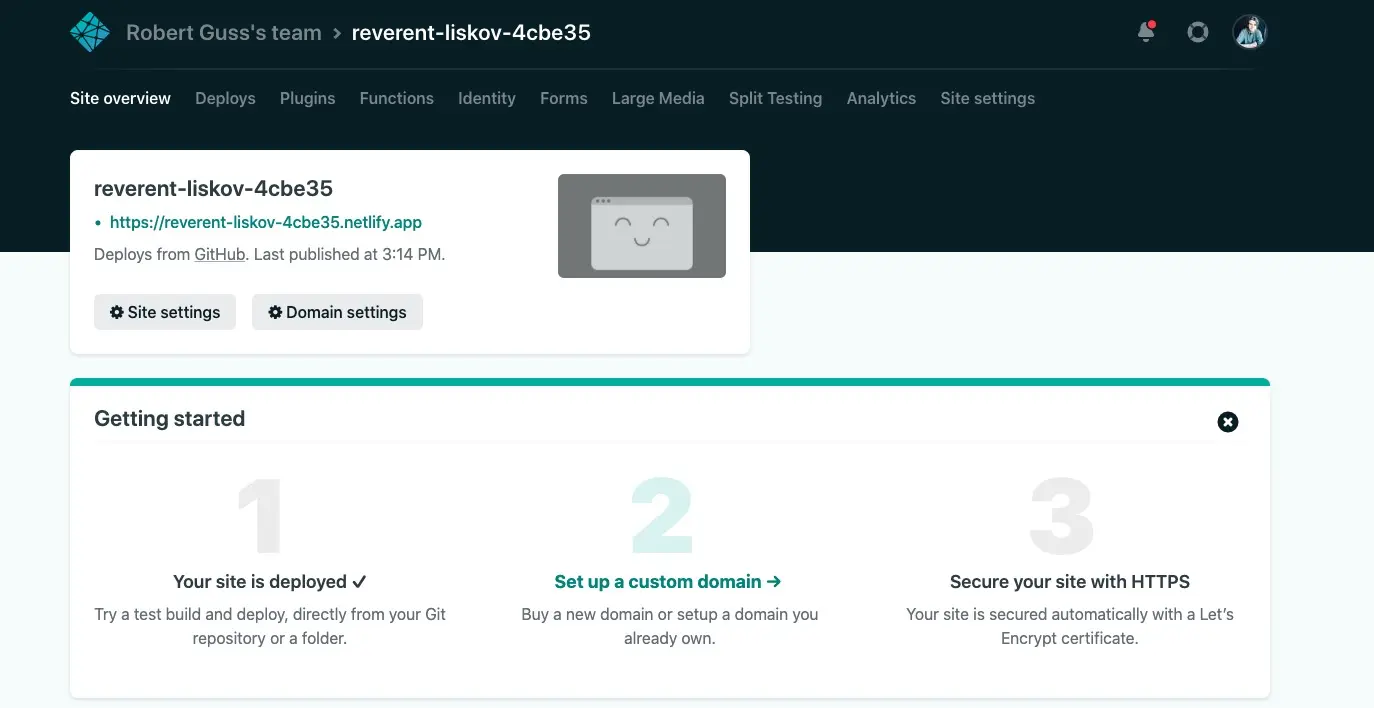
Click on the green URL; it should take you to our new Hugo site!
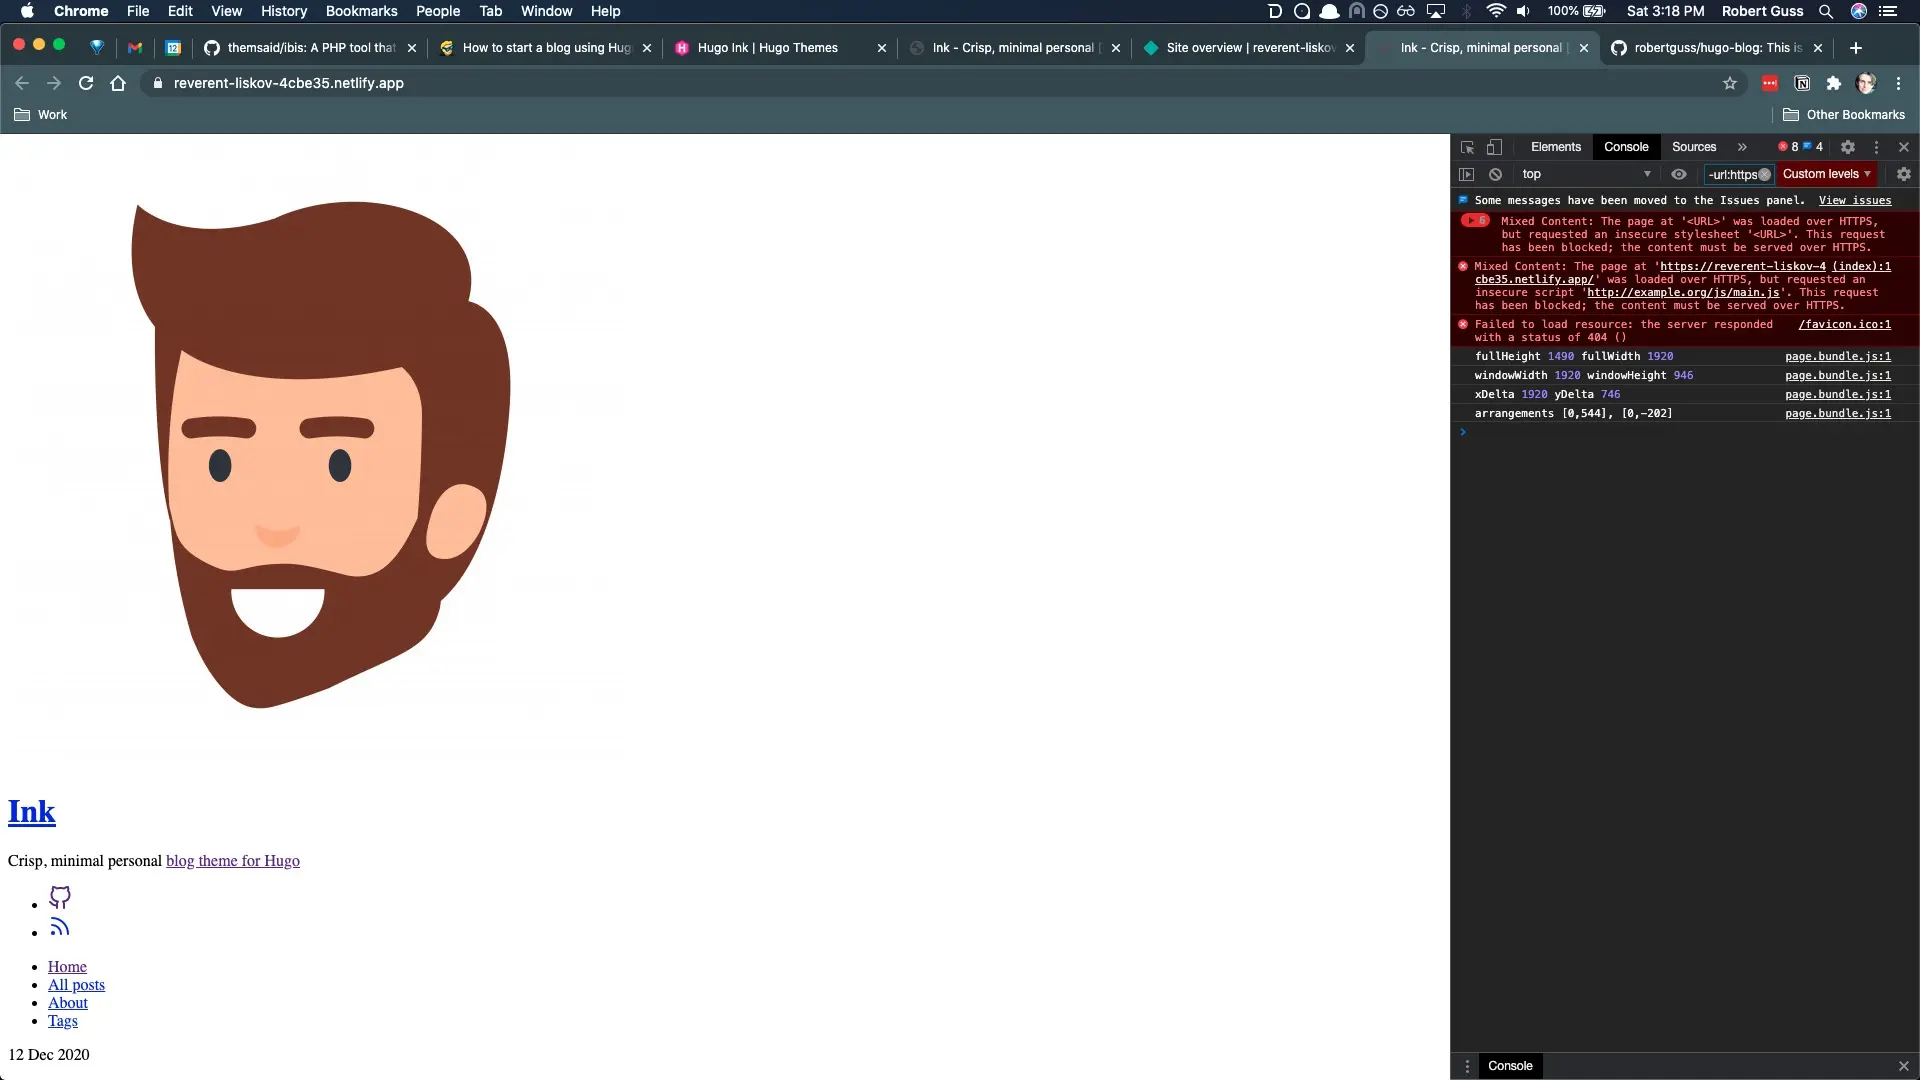
Wait!?! Why is our site broken?
If we inspect our site using Chrome dev tools and open up the console, we can see we have some mixed content warnings and a reference to http://example.org. Where is this URL coming from?
If you open up config.toml you will see the following on line 1:
baseURL = "http://example.org/"
Change it to the following:
baseURL = "/"
We will need to add these changes to Git and push them up to GitHub.
git add .
git commit -m "fixed base URL in config.toml"
git push
Once our change is on GitHub, Netlify will automatically detect this change and redeploy our site. This CI/CD comes for free from Netlify without us having to set up and configure anything! We simply push to our master branch, and Netlify takes care of the rest.
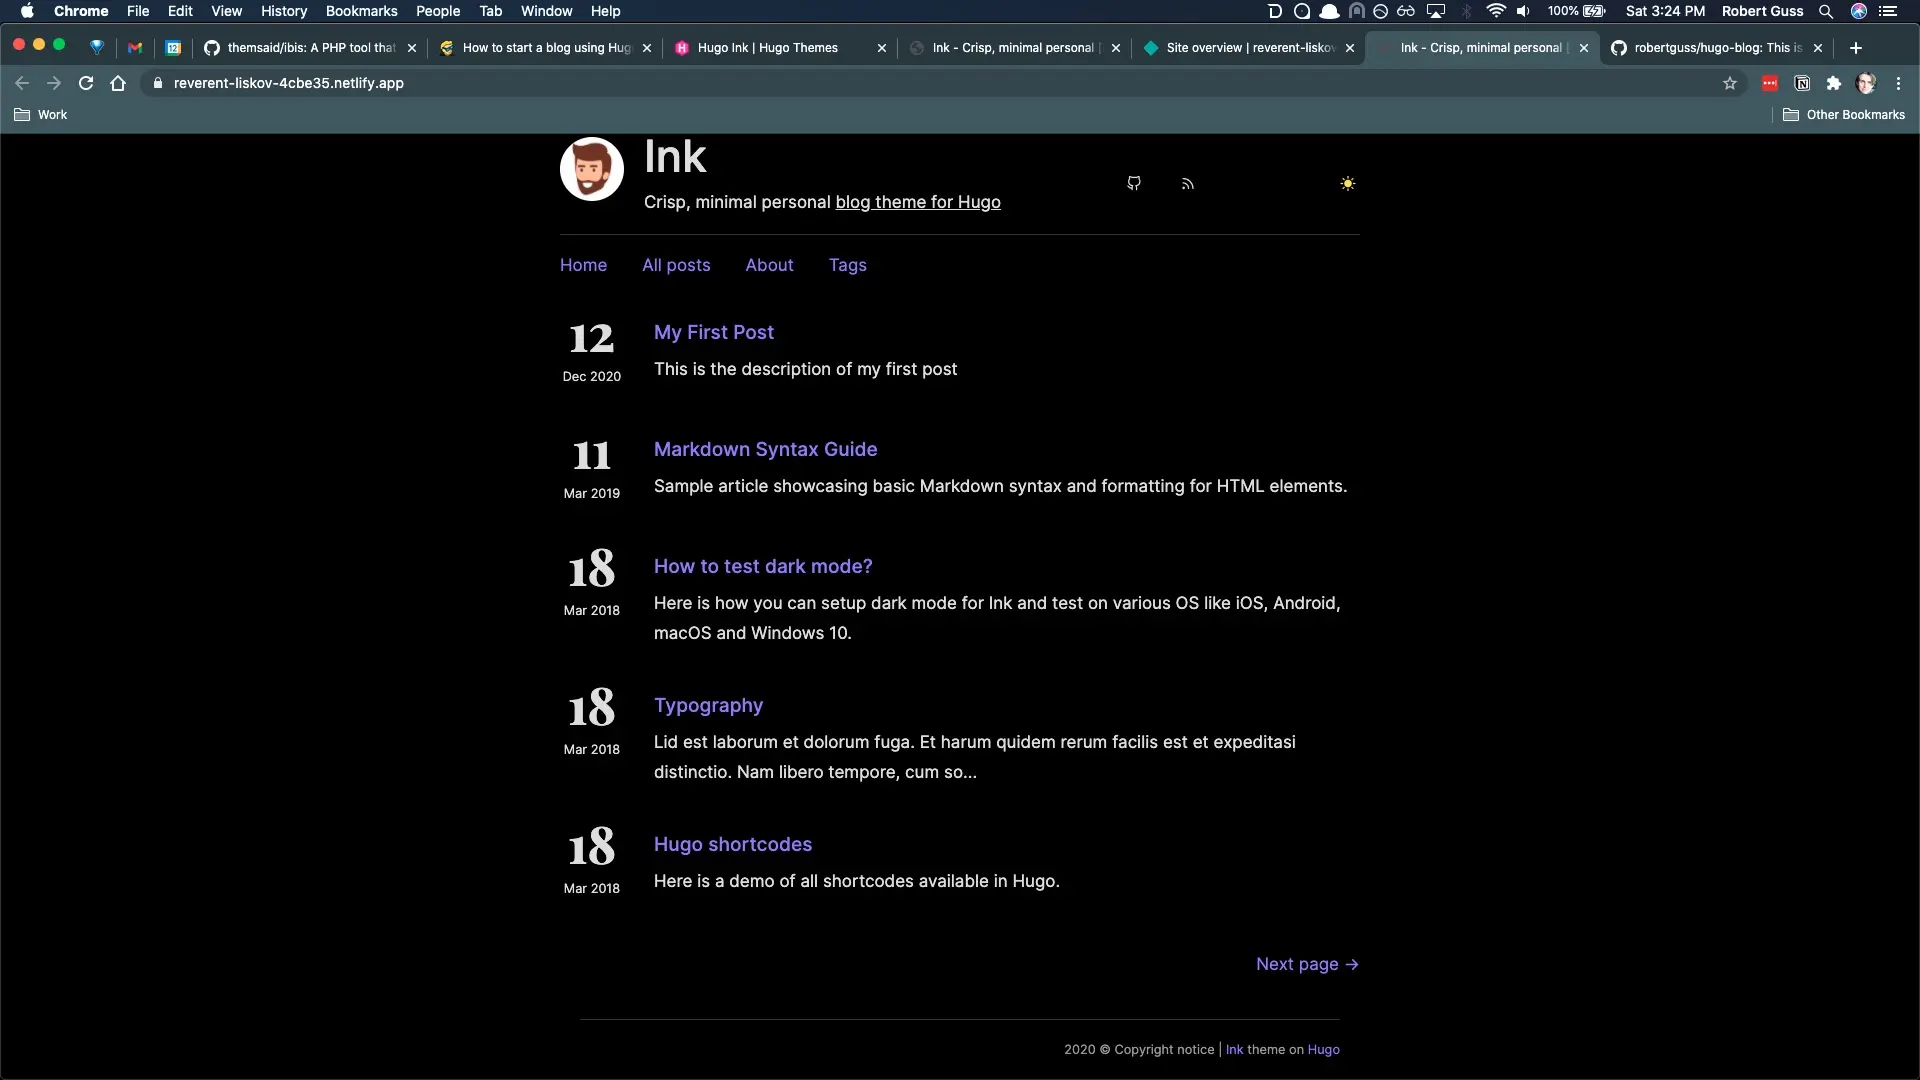
If you refresh your Netlify URL, the site is now fixed.
Integrating Netlify CMS
Now that we have our blog setup and deployed live on Netlify, we will now integrate Netlify CMS, which allows us to update our content more easily. You can find the docs for the installation & setup here.
First, we need to create an admin folder, which is where the CMS will live. We need to make this folder inside of /static. This folder does not currently exist, so create a new folder called static in the project's root and then within that another folder called admin.
Within the /static/admin folder create 2 new files: index.html & config.yml.
Open up static/admin/index.html and add the following:
<!DOCTYPE html>
<html>
  <head>
    <meta charset="utf-8" />
    <meta name="viewport" content="width=device-width, initial-scale=1.0" />
    <title>Content Manager</title>
  </head>
  <body>
    <!-- Include the script that builds the page and powers Netlify CMS -->
    <script src="https://unpkg.com/netlify-cms@^2.0.0/dist/netlify-cms.js"></script>
  </body>
</html>
Then within static/admin/config.yml add the following:
backend:
  name: git-gateway
Next, we need to add a collections: property to our config.yml, which will let the CMS know about our posts' structure. The collections can be a little complicated at first, as there are many fields that the CMS provides. You can find out more details about them in the docs here.
For our blog, add the following to config.yml.
collections: # A list of collections the CMS should be able to edit
  - name: 'post' # Used in routes, ie.: /admin/collections/:slug/edit
    label: 'Post' # Used in the UI, ie.: "New Post"
    folder: 'content/posts' # The path to the folder where the documents are stored
    create: true # Allow users to create new documents in this collection
    fields: # The fields each document in this collection have
      - { label: 'Title', name: 'title', widget: 'string' }
      - { label: 'Publish Date', name: 'date', widget: 'datetime' }
      - { label: 'Description', name: 'description', widget: 'text' }
      - { label: 'Body', name: 'body', widget: 'markdown' }
      - { label: 'Tags', name: 'tags', widget: 'list' }
      - { label: 'Categories', name: 'categories', widget: 'list' }
The entire file should look like this:
backend:
  name: git-gateway

collections: # A list of collections the CMS should be able to edit
  - name: 'post' # Used in routes, ie.: /admin/collections/:slug/edit
    label: 'Post' # Used in the UI, ie.: "New Post"
    folder: 'content/posts' # The path to the folder where the documents are stored
    create: true # Allow users to create new documents in this collection
    fields: # The fields each document in this collection have
      - { label: 'Title', name: 'title', widget: 'string' }
      - { label: 'Publish Date', name: 'date', widget: 'datetime' }
      - { label: 'Description', name: 'description', widget: 'text' }
      - { label: 'Body', name: 'body', widget: 'markdown' }
      - { label: 'Tags', name: 'tags', widget: 'list' }
      - { label: 'Categories', name: 'categories', widget: 'list' }
Finally, we need to let Netlify CMS know where to put the images that we upload. We can do so by adding the following to our config.
media_folder: 'static/images/uploads' # Folder where user uploaded files should go
public_folder: '/images/uploads'
The entire file should now look like this:
backend:
  name: git-gateway

media_folder: 'static/images/uploads' # Folder where user uploaded files should go
public_folder: '/images/uploads'

collections: # A list of collections the CMS should be able to edit
  - name: 'post' # Used in routes, ie.: /admin/collections/:slug/edit
    label: 'Post' # Used in the UI, ie.: "New Post"
    folder: 'content/posts' # The path to the folder where the documents are stored
    create: true # Allow users to create new documents in this collection
    fields: # The fields each document in this collection have
      - { label: 'Title', name: 'title', widget: 'string' }
      - { label: 'Publish Date', name: 'date', widget: 'datetime' }
      - { label: 'Description', name: 'description', widget: 'text' }
      - { label: 'Body', name: 'body', widget: 'markdown' }
      - { label: 'Tags', name: 'tags', widget: 'list' }
      - { label: 'Categories', name: 'categories', widget: 'list' }
Now let's push up our changes to that our latest code is on Netlify.
git add .
git commit -m "installed Netlify CMS"
git push
Next, let's setup Netlify Identity, Netlify's built-in authentication service, to log into our cms.
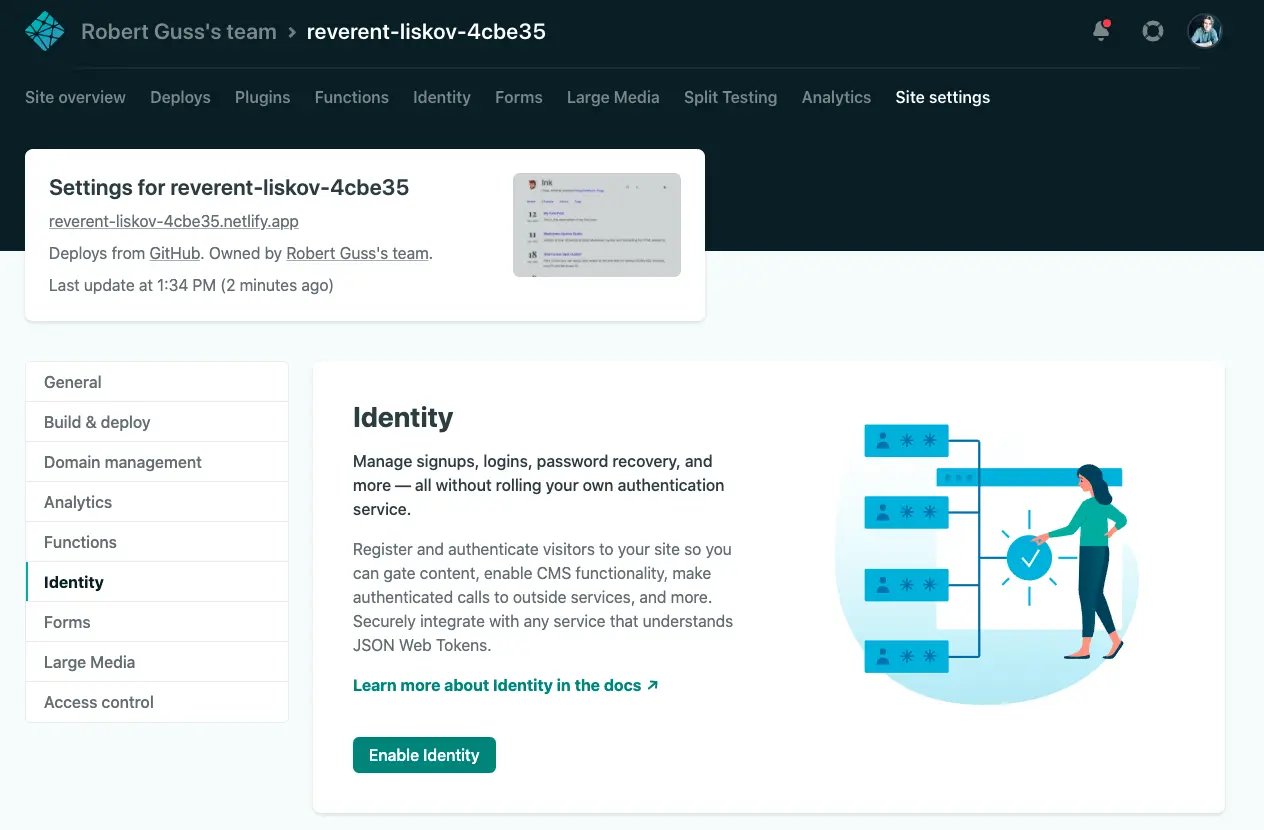
Within your Netlify site's dashboard, click on Site settings at the top and then Identity on the left sidebar. Then click on the Green "Enable Identity" button.
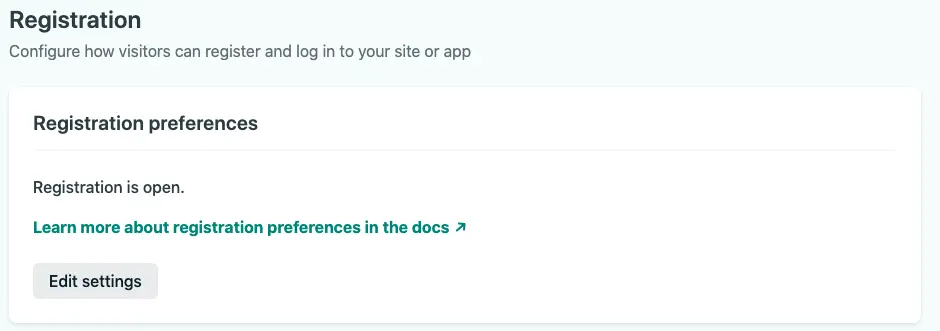
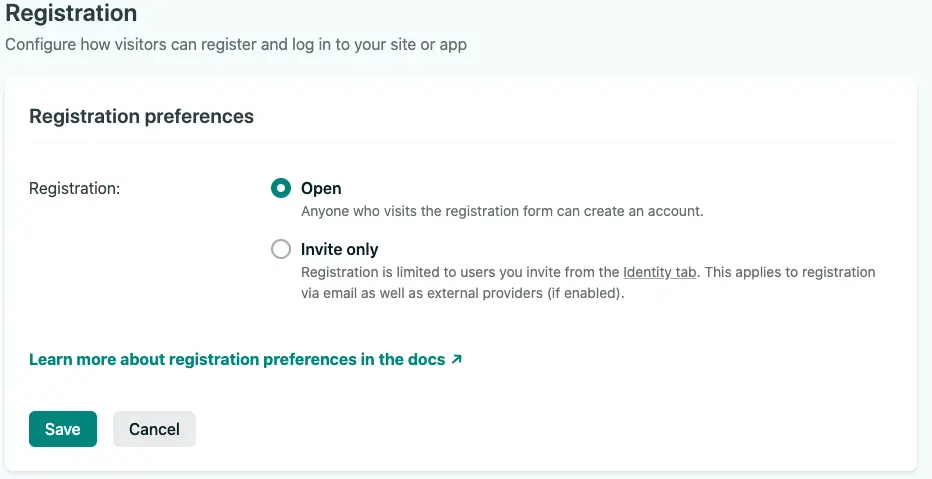
You can leave the "Open" radio button selected for now and click "Save."
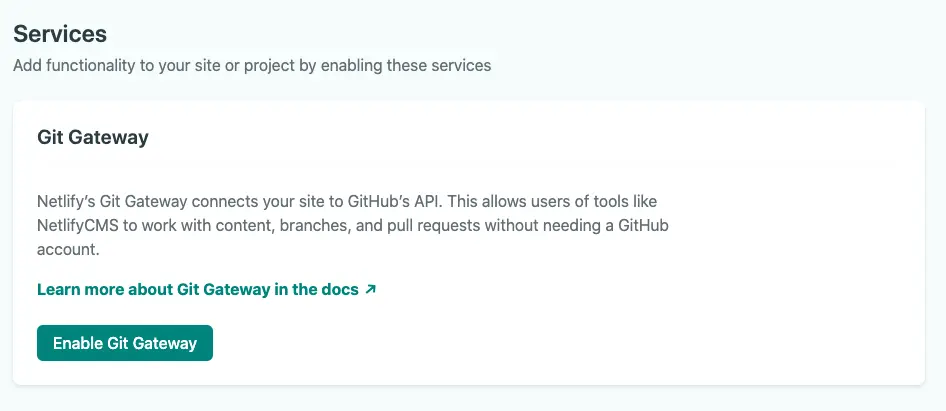
Scroll down towards the bottom of the page and click on "Enable Git Gateway" under the "Services" heading.
Netlify Identity Widget
Next, we need to install the Netlify Identity Widget, which will allow us to interact with Netlify Identity for authentication and logging into the CMS.
Add this script include to the <head> section of /static/admin/index.html:
<script src="https://identity.netlify.com/v1/netlify-identity-widget.js"></script>
The entire file /static/admin/index.html should look like this:
<!DOCTYPE html>
<html>
  <head>
    <meta charset="utf-8" />
    <meta name="viewport" content="width=device-width, initial-scale=1.0" />
    <title>Content Manager</title>
    <script src="https://identity.netlify.com/v1/netlify-identity-widget.js"></script>
  </head>
  <body>
    <!-- Include the script that builds the page and powers Netlify CMS -->
    <script src="https://unpkg.com/netlify-cms@^2.0.0/dist/netlify-cms.js"></script>
  </body>
</html>
We need to install this to the <head> of our Hugo static site so that it is included on every page. Paste inside of the <head> of /themes/ink/layouts/partials/header.html.
That entire file should look like this now:
<head>
  <meta charset="utf-8" />
  <meta http-equiv="X-UA-Compatible" content="IE=edge" />
  {{- $title := ( .Title ) -}} {{- $siteTitle := ( .Site.Title ) -}} {{- if
  .IsHome -}}
  <title>
    {{ $siteTitle }} {{ if isset .Site.Params "subtitle" }}- {{
    .Site.Params.Subtitle }}{{ end }}
  </title>
  {{- else -}}
  <title>{{ $title }} - {{ $siteTitle }}</title>
  {{- end -}} {{- if isset .Site.Params "favicon" -}}
  <link rel="icon" type="image/png" href="{{" .Site.Params.favicon }} />
  {{- end -}}

  <meta name="viewport" content="width=device-width, initial-scale=1" />
  {{ with .OutputFormats.Get "rss" -}} {{ printf `
  <link rel="%s" type="%s" href="%s" title="%s" />
  ` .Rel .MediaType.Type .Permalink $.Site.Title | safeHTML }} {{ end -}} {{-
  template "_internal/schema.html" . -}} {{- template "_internal/opengraph.html"
  . -}} {{- template "_internal/twitter_cards.html" . -}}
  <link
    href="https://fonts.googleapis.com/css?family=Playfair+Display:700"
    rel="stylesheet"
    type="text/css"
  />
  <link
    rel="stylesheet"
    type="text/css"
    media="screen"
    href="{{ .Site.BaseURL }}css/normalize.css"
  />
  <link
    rel="stylesheet"
    type="text/css"
    media="screen"
    href="{{ .Site.BaseURL }}css/main.css"
  />
  {{- if isset .Site.Params "customcss" }}
  <link
    rel="stylesheet"
    type="text/css"
    href="{{ .Site.BaseURL }}{{ .Site.Params.customCSS }}"
  />
  {{ end }}

  <link
    id="dark-scheme"
    rel="stylesheet"
    type="text/css"
    href="{{ .Site.BaseURL }}css/dark.css"
  />
  {{- if isset .Site.Params "customdarkcss" }}
  <link
    id="dark-scheme"
    rel="stylesheet"
    type="text/css"
    href="{{ .Site.BaseURL }}{{ .Site.Params.customDarkCSS }}"
  />
  {{- end }} {{ if and (isset .Site.Params "social") (isset .Site.Params
  "feathericonscdn") (eq .Site.Params.featherIconsCDN true) -}}
  <script src="https://cdn.jsdelivr.net/npm/feather-icons/dist/feather.min.js"></script>
  {{- else if or (isset .Site.Params "social") (eq .Site.Params.mode "auto") (eq
  .Site.Params.mode "dark") -}}
  <script src="{{ .Site.BaseURL }}js/feather.min.js"></script>
  {{ end }}
  <script src="{{ .Site.BaseURL }}js/main.js"></script>
  {{- if isset .Site.Params "customjs" -}} {{- range .Site.Params.customJS }}
  <script src="{{ $.Site.BaseURL }}{{ . }}"></script>
  {{- end }} {{- end }}
  <script src="https://identity.netlify.com/v1/netlify-identity-widget.js"></script>
</head>
Our final step is to include a simple JS snippet that Netlify provides us in their install docs. This snippet will handle the redirection to the CMS admin dashboard upon successfully logging in.
Add the following snippet to /themes/ink/layouts/partials/footer.html.
<script>
  if (window.netlifyIdentity) {
    window.netlifyIdentity.on('init', (user) => {
      if (!user) {
        window.netlifyIdentity.on('login', () => {
          document.location.href = '/admin/'
        })
      }
    })
  }
</script>
The entire file should now look like:
<div class="footer wrapper">
  <nav class="nav">
    <div>
      {{ dateFormat "2006" now }} {{ with .Site.Copyright }} {{ . | safeHTML }}
      | {{ end }} <a href="https://github.com/knadh/hugo-ink">Ink</a> theme on
      <a href="https://gohugo.io">Hugo</a>
    </div>
  </nav>
</div>

{{ template "_internal/google_analytics_async.html" . }} {{- with
.Site.Params.Social -}}
<script>
  feather.replace()
</script>
{{- end -}}

<script>
  if (window.netlifyIdentity) {
    window.netlifyIdentity.on('init', (user) => {
      if (!user) {
        window.netlifyIdentity.on('login', () => {
          document.location.href = '/admin/'
        })
      }
    })
  }
</script>
Now let's push up our changes:
git add .
git commit -m "added Netlify Identity"
git push
Now navigate to your Netlify URL and add /admin at the end. For instance, mine is https://reverent-liskov-4cbe35.netlify.app/admin.
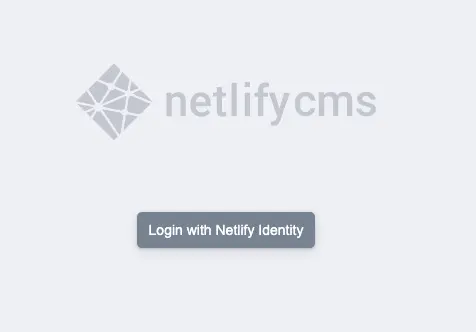
Click on the "Login with Netlify Identity" button.
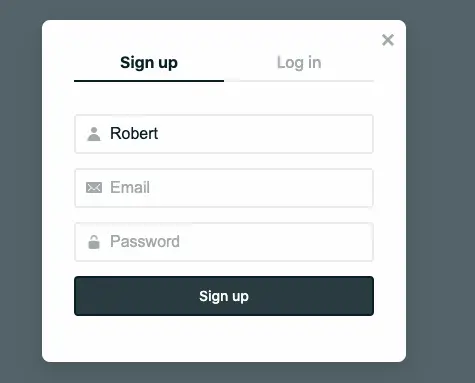
Then click on the "Sign up" tab, fill out the form and click the "Sign up" button.
*Make sure to use your actual email address as you will need to click a link to confirm your identity.**
Open the email and confirm your email address. You should now be logged in and presented with the CMS admin dashboard.
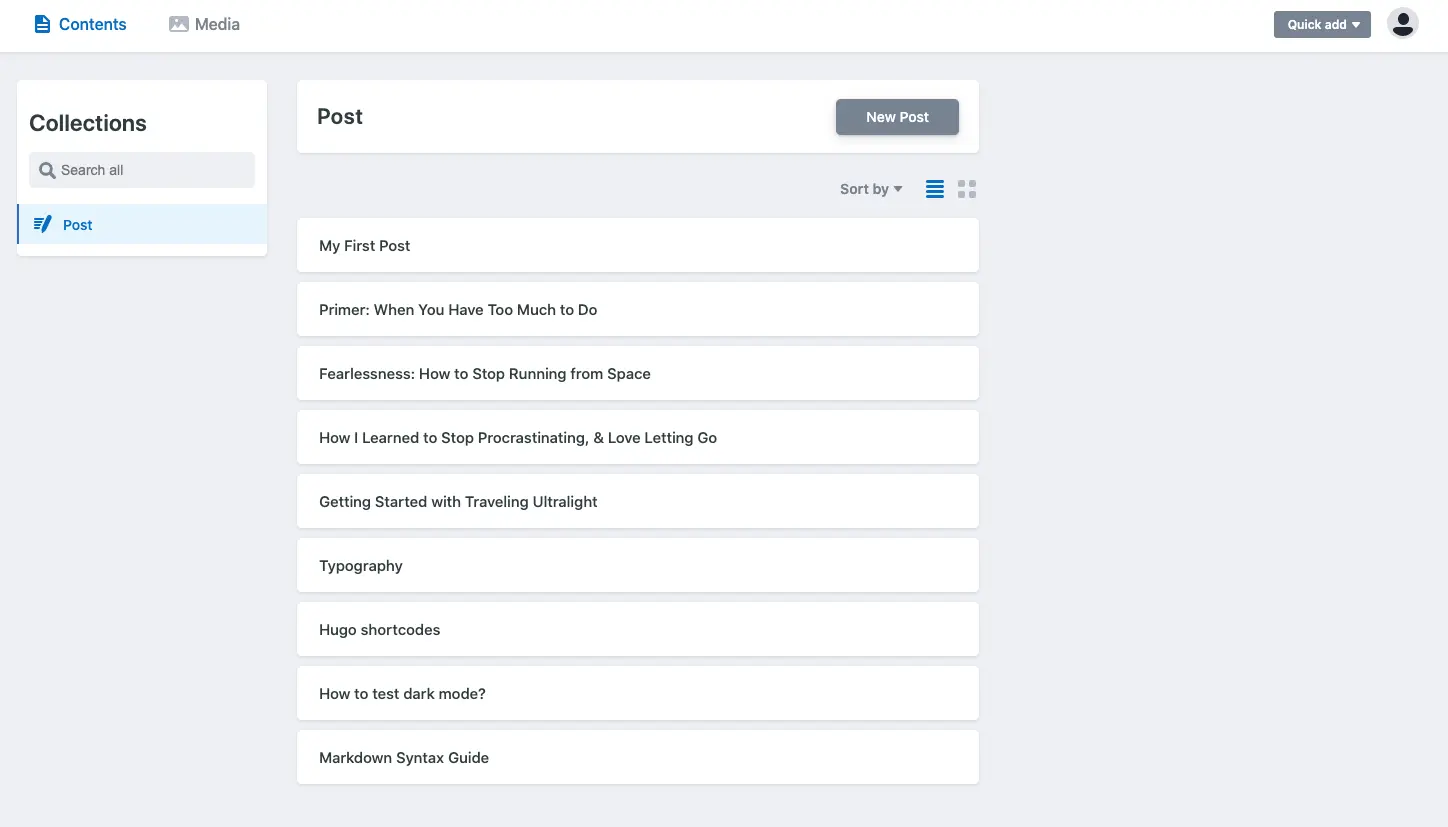
You can now edit and create new posts with Netlify CMS!
Open up one of the posts, edit some of the content, and click on the "Publish" button in the upper right-hand corner.
Then click "Publish Now."
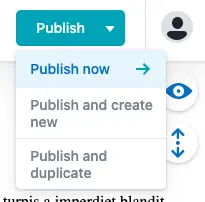
Clicking this button will send a webhook to Netlify, which will begin to build and deploy the site automatically. Pretty slick 😎
One thing to keep in mind is that when you publish your site via the CMS, Netlify is creating Git commits for you in the background. So if you make some changes to your site via the CMS, make sure you run git pull to pull down your repo's latest changes. Otherwise, your local copy and the version up on GitHub will be out of sync.
Integrating Zapier for automatic deploys
I learned this neat trick from Flavio Copes. You can check his post here
This next section includes using a service known as Zapier, an automation framework that we will utilize to deploy our site automatically. You may be wondering why we would need this or what is the use case. Let me explain.
More often than not, most people write blog articles in advance and then schedule a publish date sometime in the future. For instance, you may want to publish a new blog post every two weeks or once a month and will often have several articles ready to go so that you have a "buffer" of content before you have to write more. Virtually every blogging system and cms allow this when you have a traditional monolithic architecture like WordPress or similar. However, since this is a static site and we do not have a backend, how can we accomplish this? The key is to use Zapier and Hugo's publish date.
Hugo has this feature built-in already, where if you have a date set for one of your articles in the future, it will not build the page until that date. For example, if I set the date two weeks from today, Hugo will not make that page until then. We can trigger as many builds of our site as we want, and that article will not show up until two weeks from today.
Knowing this, we can then use Zapier to send a webhook to Netlify at whatever interval we want, which will trigger a new build. So if you are publishing every two weeks, you can set up Zapier to send a webhook every two weeks. You could even have Zapier send a webhook every single day if your schedule is inconsistent. That way, you only have to worry about setting the correct date in the articles front-matter, and the deployment and publishing cycle is handled for you automatically!
For this tutorial, we will be setting up Zapier to send a webhook every day.
Before we can set up Zapier, we need first to configure Netlify to accept our Webhook from Zapier.
Netlify Webhook Setup
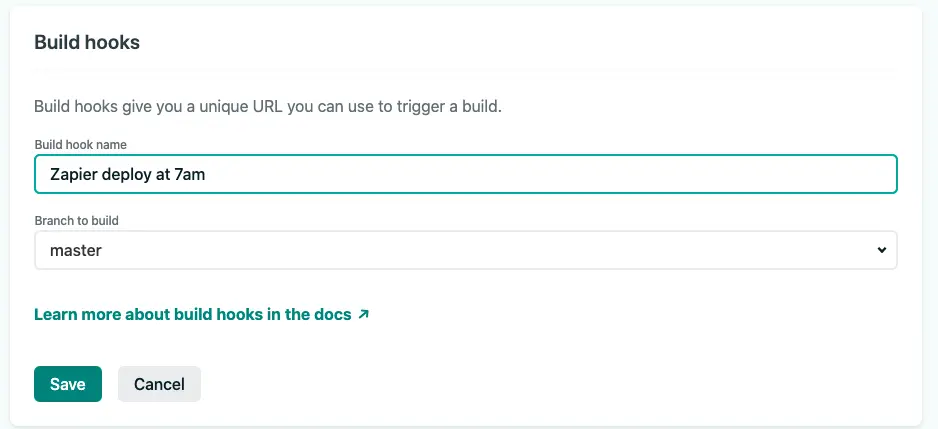
Head back over to your Netlify dashboard and click on "Site settings" and then "Build & deploy" on the left sidebar. Scroll down until you see a "Build hooks" section.

Click the "Add build hook" button.
Give your hook a name, and then save it.
Netlify will then give you a URL for the webhook, like so:
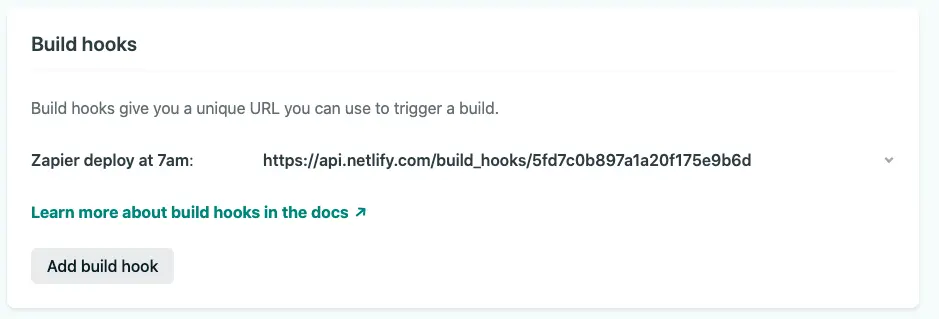
Copy this down or keep this tab open as we will need this Url for Zapier.
Zapier Webhook Setup
Head on over to Zapier and create a free account. After logging in, Go to this [link (https://zapier.com/apps/schedule/integrations/webhook/2845/send-webhook-post-requests-on-a-daily-schedule) to see how to configure a webhook POST request.

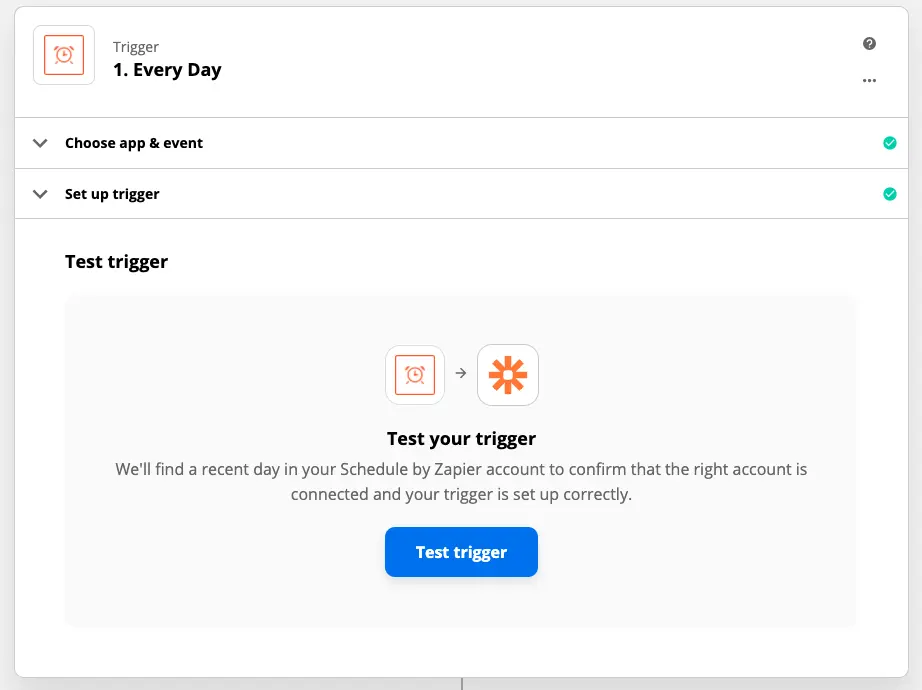
Click on the "Try it" button.
On the next screen, I set up mine to trigger on the weekends and at 7 am.
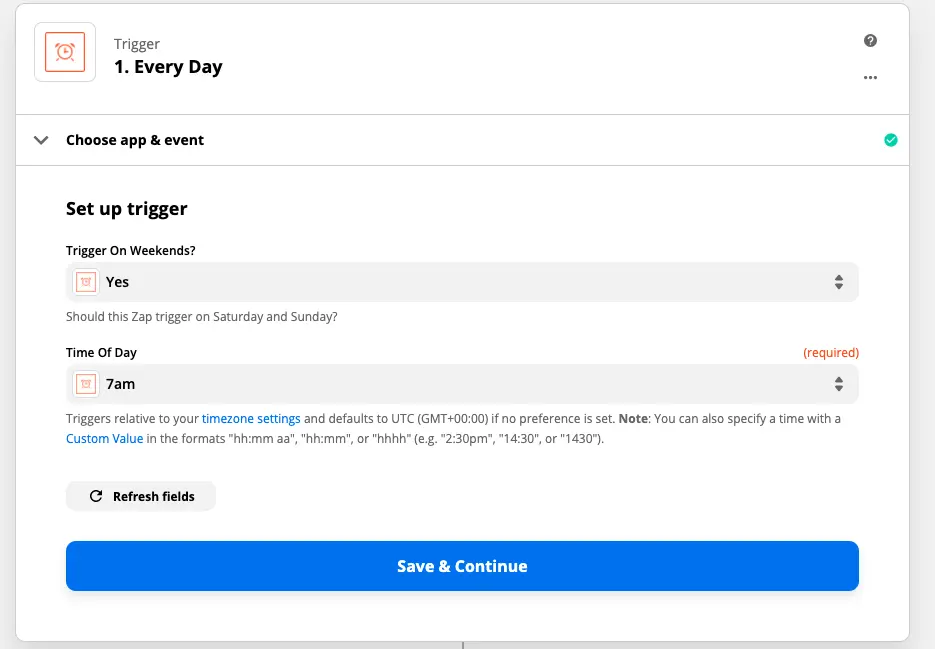
After clicking "Save and Continue," click on the "Test Trigger" button.
Then click on the 2nd section and add in the URL from Netlify. I set my payload type to "Raw."
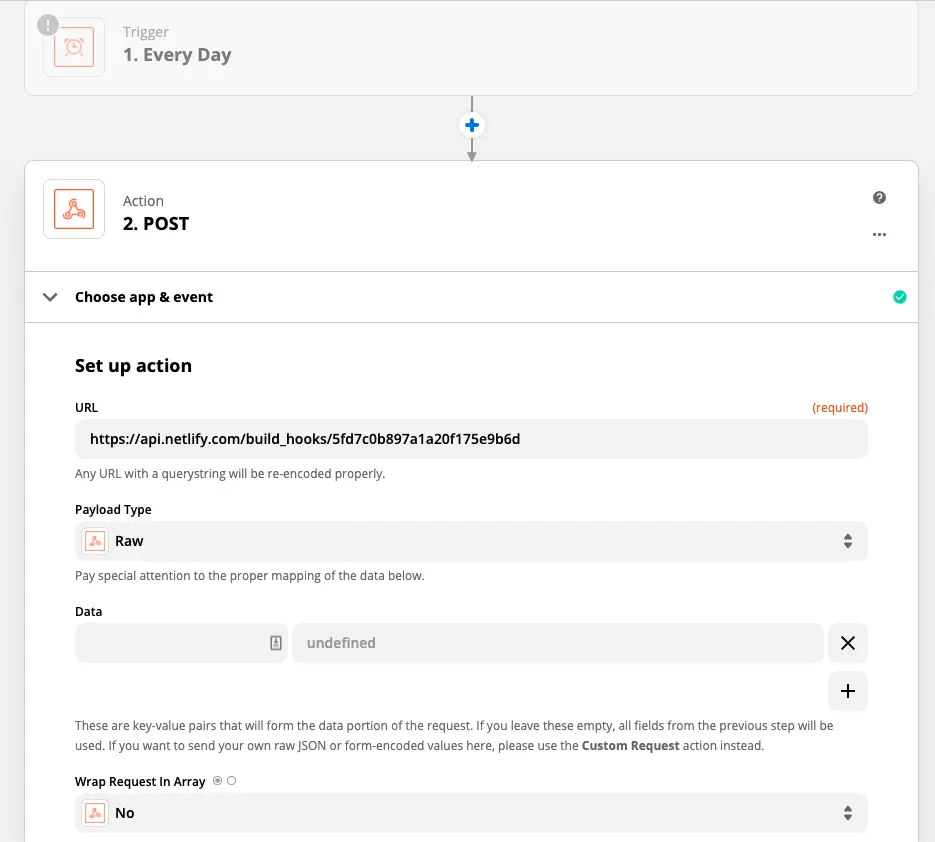
You can leave the rest of the fields as they are and then click "Save and continue."
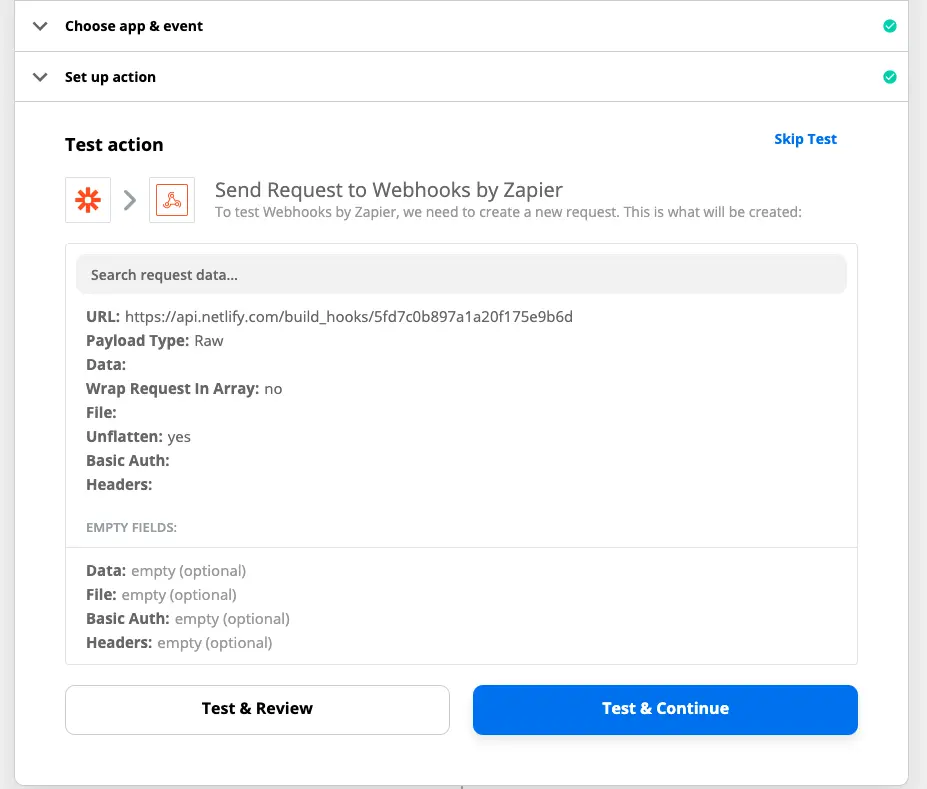
You will then see a "Test action" screen. Click the "Test & Continue" button.
If all goes well, you should see the following.
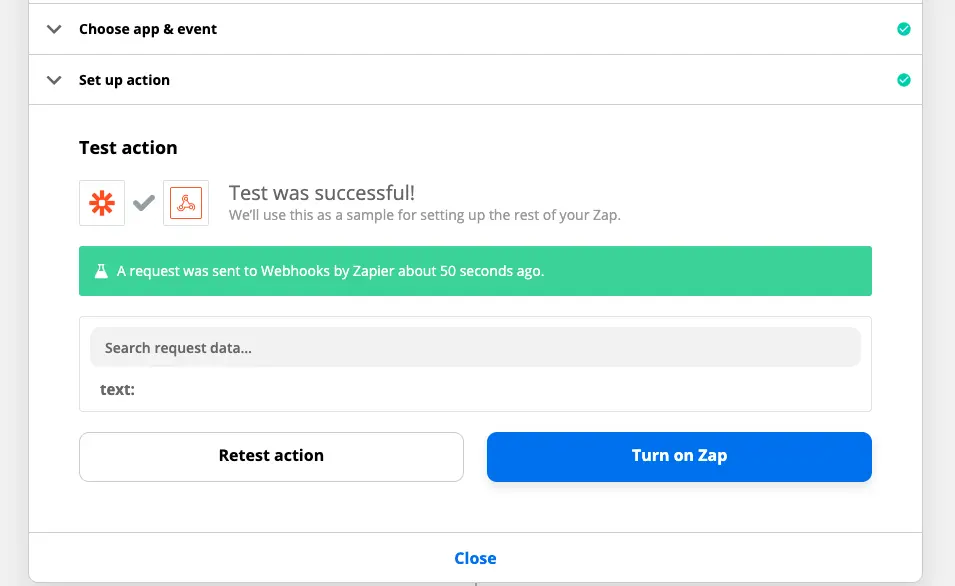
Then click on the "Turn on Zap" button to enable it.
Head back to your Netlify dashboard and see if the CI/CD was triggered. Click on "Deploys" at the top of the screen and check to see the latest deploy. It should say something like "Deploy triggered by hook: Zapier at 7 am"
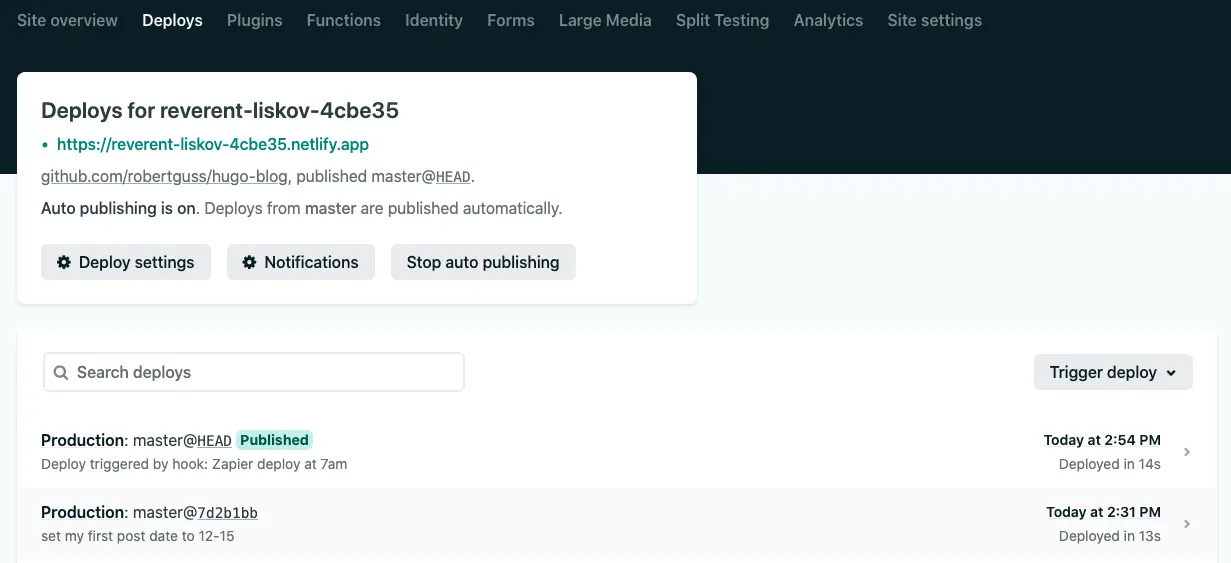
Zapier will send a webhook at 7 am every day, and Netlify will deploy a fresh copy of your site at the same time. All you have to do is enter the date in your article's front-matter on which you would like your article to be published live on your site, and the rest is handled for you automatically!
GitHub Repo
You can find the completed project here inside of Hugo-Blog/final GitHub Repo
Wrap up
In this tutorial, we learned how to create a Jamstack site using the Hugo static site generator. We also integrated Netlify CMS to make it easy to update our content and deployed our site to Netlify. Finally, we set up Zapier to trigger automatic deploys on Netlify every day.