Astro
Updating our blog posts to use MDX
Updated:
Now that we have created a simple blog and some posts in markdown let’s update your project to use MDX.
Installing the MDX integration
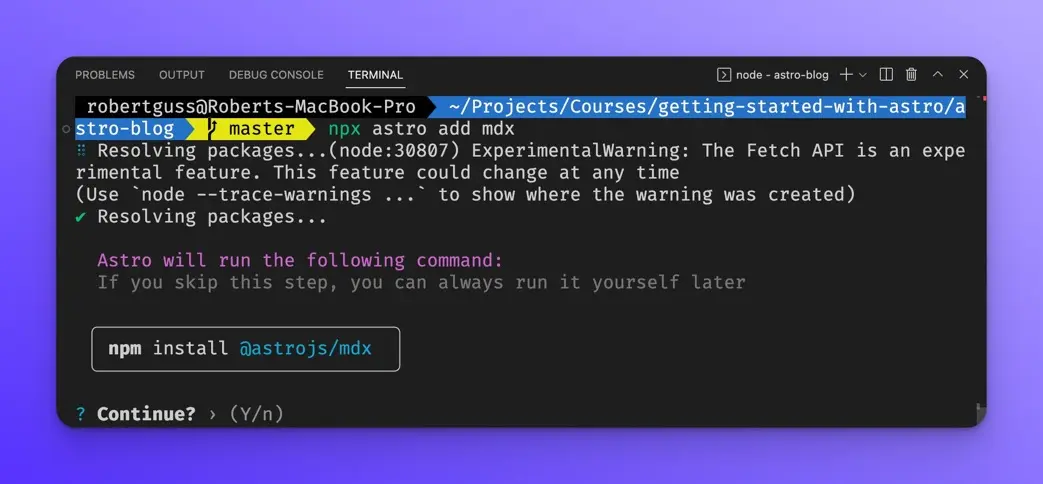
First, we will need to install the MDX integration. Enter the following in your terminal and press Enter.
npx astro add mdx
You then be asked if you want to install the MDX integration. Press y to install it and continue.
Then you will be asked if you want to modify the astro.config.mjs file. Press y.
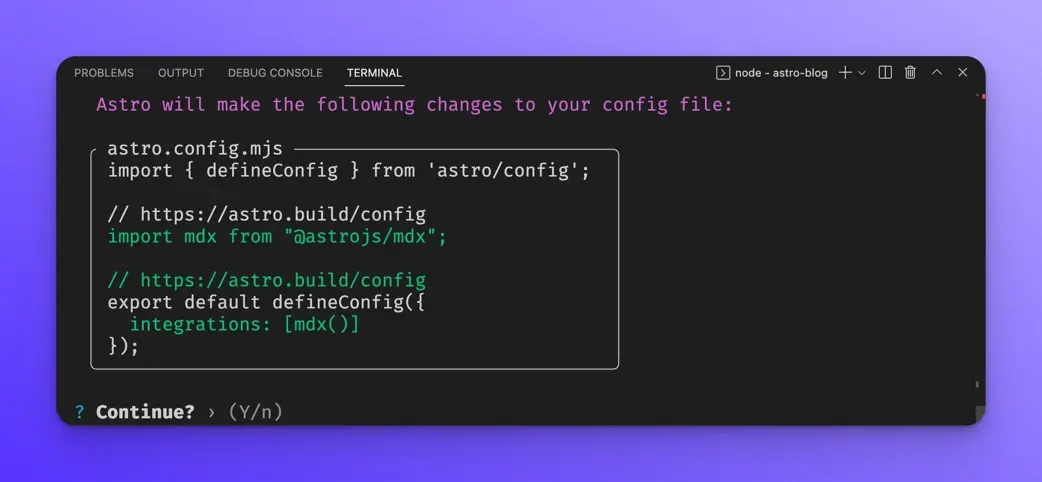
Now you should have the MDX integration installed and configured.
Creating an MDX blog post
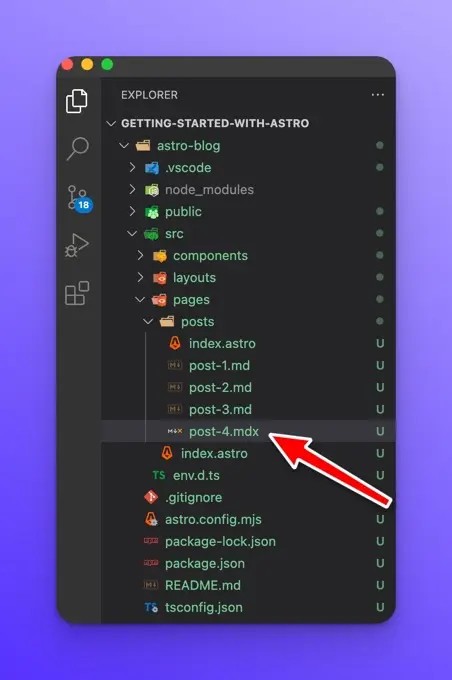
Let’s create a new blog post with the .mdx file extension.
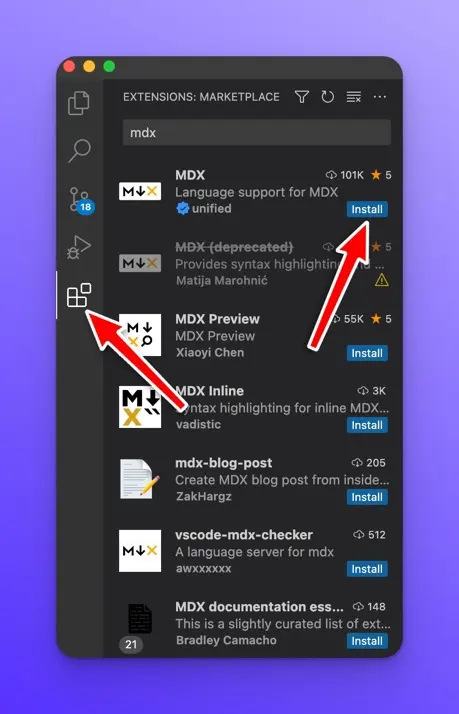
VSCode will not recognize the .mdx file extension by default, so you will want to install the MDX VSCode extension so that you have nice syntax highlighting. You can search for the extension right within VSCode like so:
Once the extension is installed, we can use components and JavaScript in our markdown files. For example:
---
title: Post 4 MDX
---
# {frontmatter.title}
import Card from "../../components/Card.astro";
<Card
href="https://docs.astro.build/"
title="Documentation"
body="Learn how Astro works and explore the official API docs."
/>
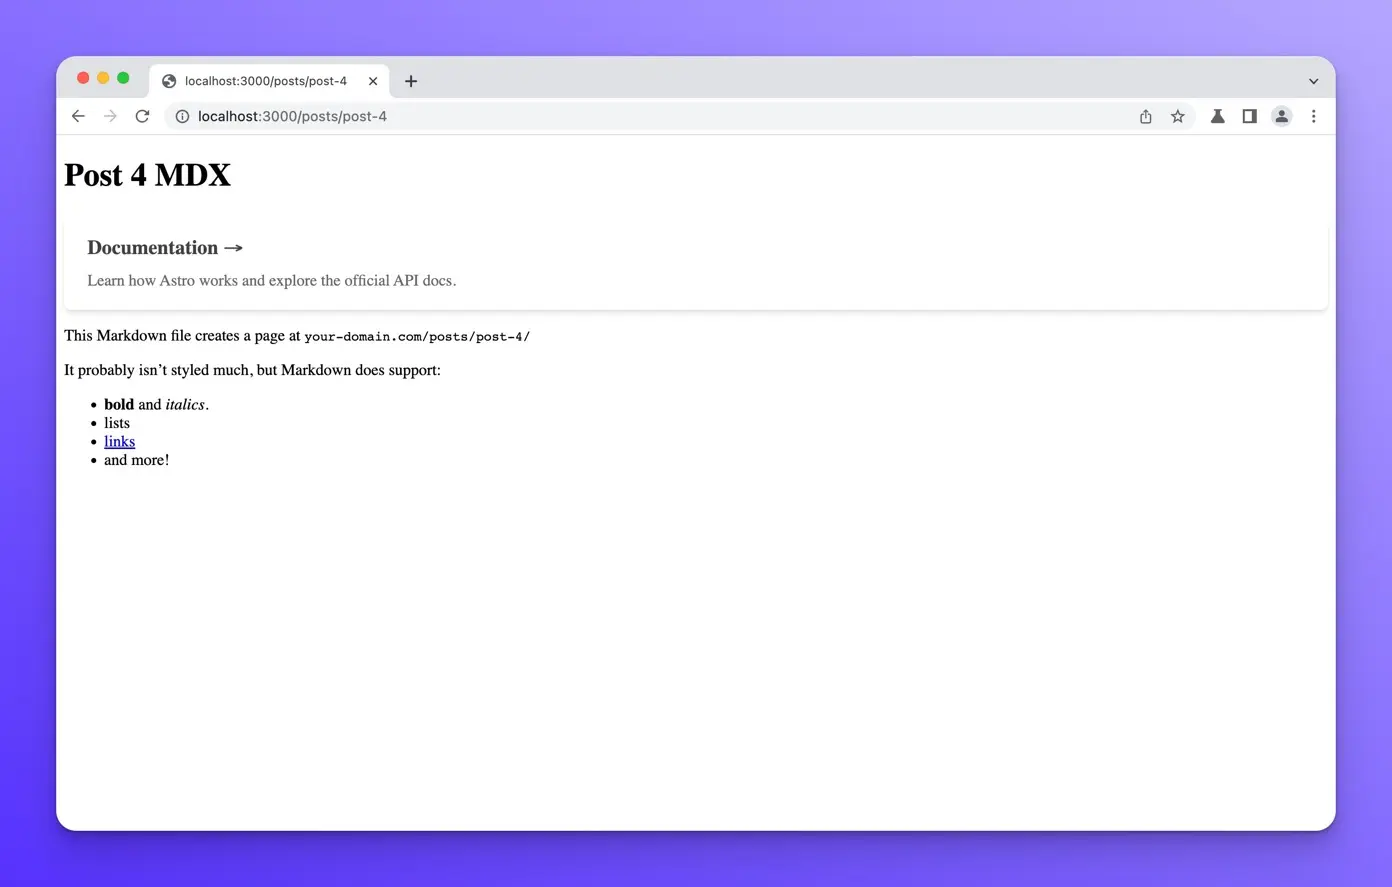
This Markdown file creates a page at `your-domain.com/posts/post-4/`
It probably isn't styled much, but Markdown does support:
- **bold** and _italics._
- lists
- [links](https://astro.build)
- and more!
There are a few things going on in this file, so let’s break it down.
First, we have our typical frontmatter, just like the other posts in .md files.
---
title: Post 4 MDX
---
Then we are outputting the frontmatter title in a markdown h1
# {frontmatter.title}
We can execute JavaScript inside the brackets {} inside of MDX files.
Then we are importing the <Card /> component created by default when we created our Astro project.
import Card from '../../components/Card.astro'
Then we can use the <Card /> component directly in our markdown file like so:
<Card
  href="https://docs.astro.build/"
  title="Documentation"
  body="Learn how Astro works and explore the official API docs."
/>
Of course, we can use normal markdown syntax like a traditional .md file:
This Markdown file creates a page at `your-domain.com/posts/post-4/`

It probably isn't styled much, but Markdown does support:

- **bold** and _italics._
- lists
- [links](https://astro.build)
- and more!
If you open this page in your browser, you should see the following at:
Adding our MDX post to the /posts page
If you go to the /posts/ page, you will notice that our .mdx post is not rendered on the page.
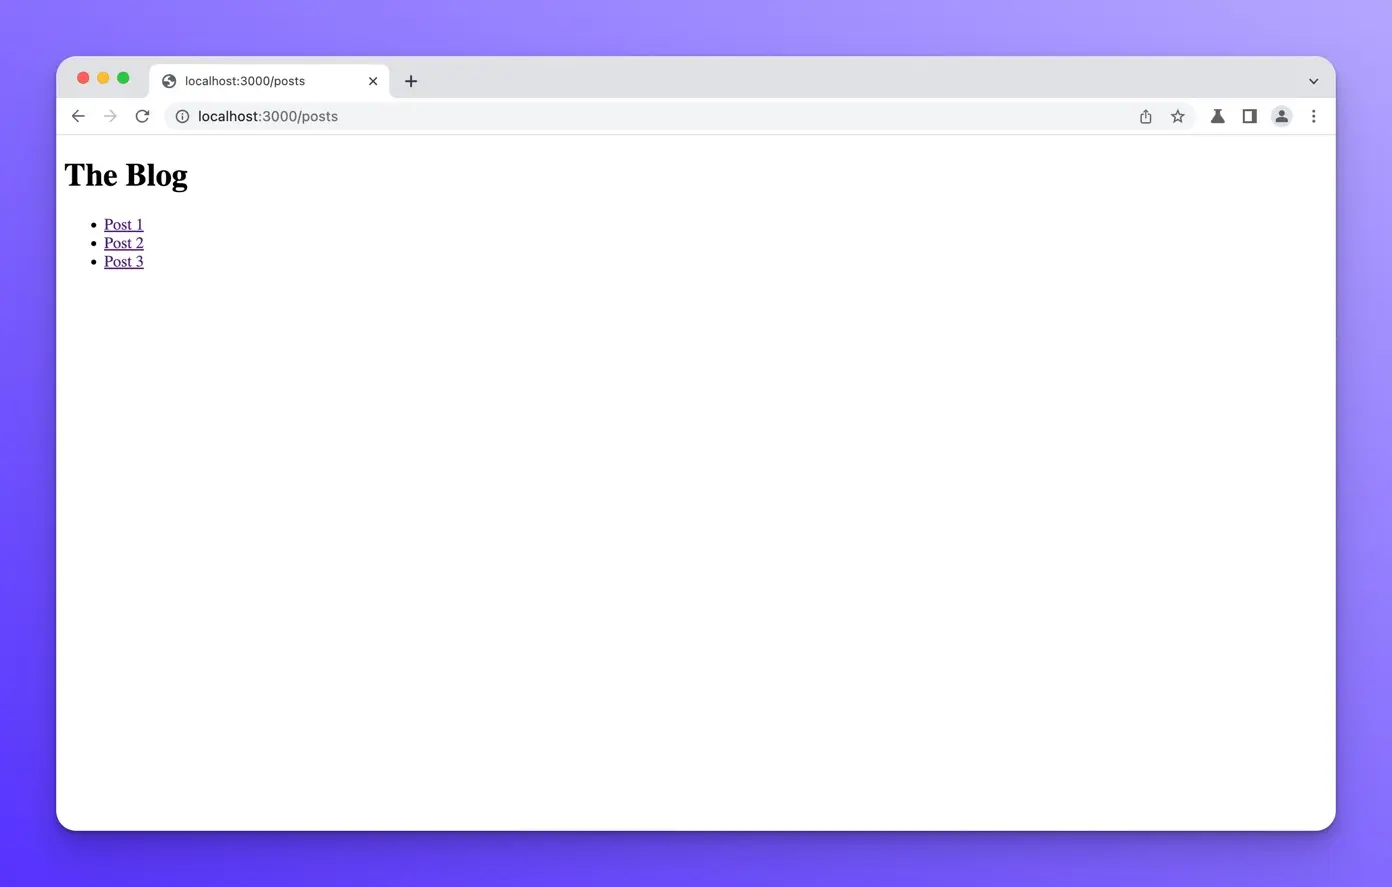
This is because we are only importing .md files:
// src/pages/posts/index.astro

---
const posts = await Astro.glob("./*.md");
---

<h1>The Blog</h1>

<ul>
  {
    posts.map((post) => (
      <li>
        <a href={post.url}>{post.frontmatter.title}</a>
      </li>
    ))
  }
</ul>
If you plan to use MDX in your projects than all your markdown files should have the .mdx extension. It doesn’t make sense to have both .md and .mdx file extensions since MDX can do everything that normal .md files can.
So let’s update all of our posts to use the .mdx extension and update this file to import them.
// src/pages/posts/index.astro
---
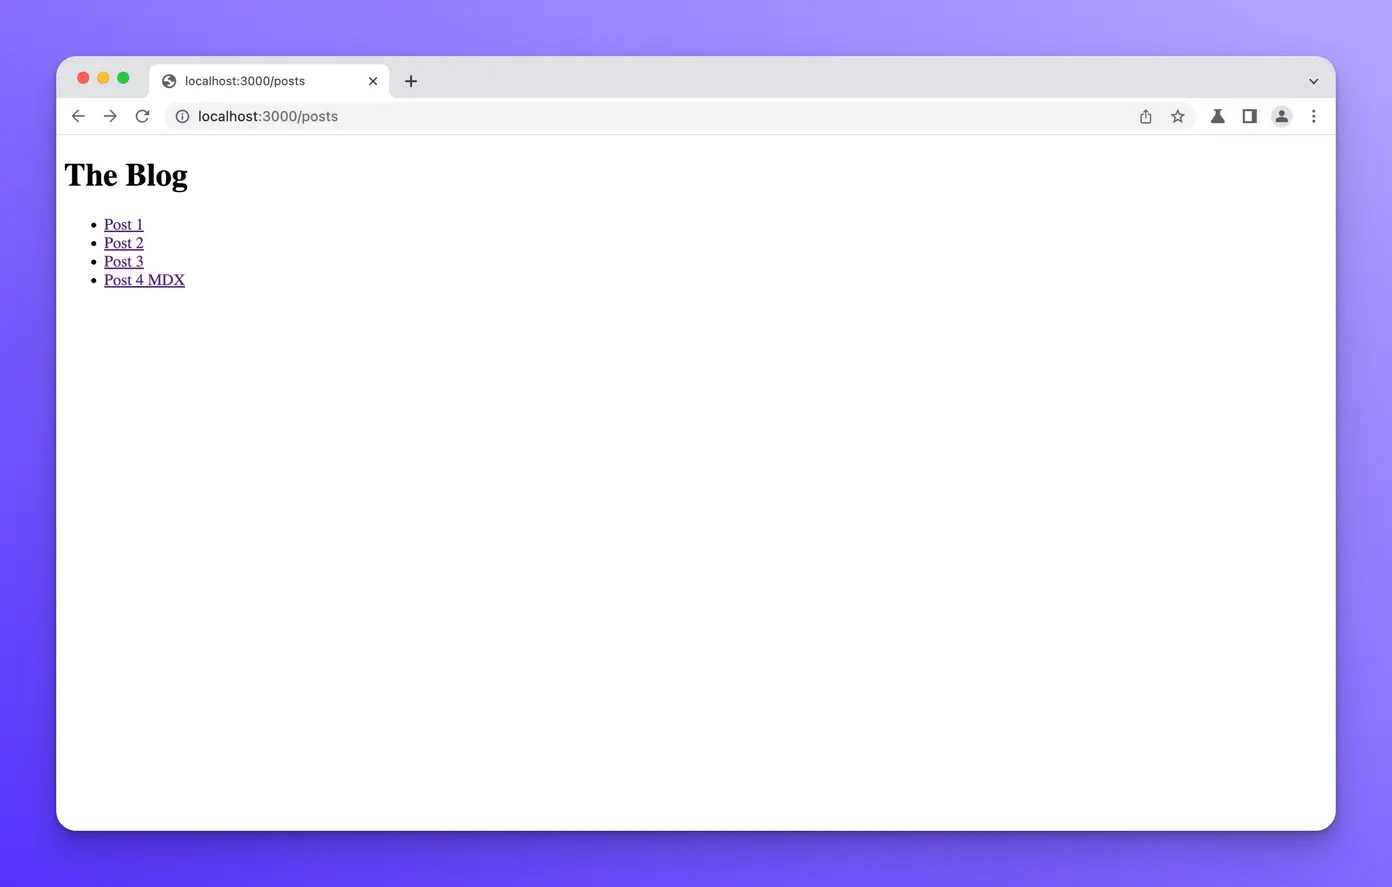
const posts = await Astro.glob("./*.mdx"); // change to .mdx
---
<h1>The Blog</h1>
<ul>
{
posts.map((post) => (
<li>
<a href={post.url}>{post.frontmatter.title}</a>
</li>
))
}
</ul>
Now if you open the http://localhost:3000/posts page in your browser, you should see the following:
Wrap up
In this lesson, we learned how to install the MDX integration and updated our markdown files to use the .mdx extension. We then updated the src/pages/posts/index.astro page component to render all of the MDX blog posts.