Astro
Installing and setting up Strapi CMS
Updated:
This lesson will teach us how to install, set up, and configure Strapi CMS. Strapi is an excellent headless CMS that is simple and easy to use. If you have never used it before, don’t worry, as you will learn everything you need to know.
The point of using Strapi is to teach you how to use remote data inside Astro. This data could come from a headless CMS, a public API, or anywhere really. The point is for you to learn how to pull in remote data from both a REST API and a GraphQL API to use inside your Astro projects. Strapi allows us to use both REST and GraphQL, so it’s perfect for our use case.
Installing Strapi
To install Strapi, we can follow their Quickstart Guide. Inside your VSCode terminal, open up a new terminal tab by clicking on the + button like so:
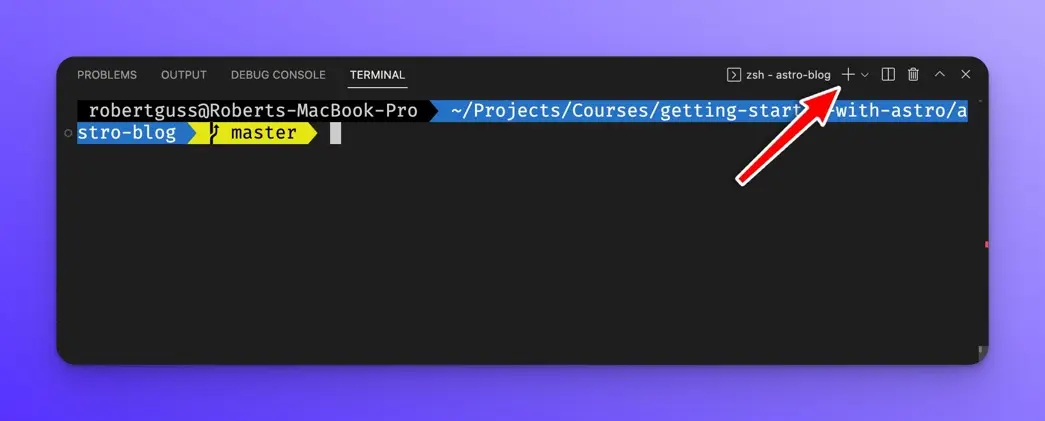
When you do, you will see a new sidebar on the right of your terminal that allows you to go back and forth between the terminal tabs.

<aside> 💡 Make sure the new terminal does not open up inside of your Astro project. You do not want to install Strapi inside of your Astro project. Strapi should be installed in its own folder.
</aside>
To install Strapi, enter the following in your terminal and press Enter.
npx create-strapi-app@latest strapi-blog --quickstart
After successful installation, Strapi will open up your browser to register a new admin.
Creating a new Admin
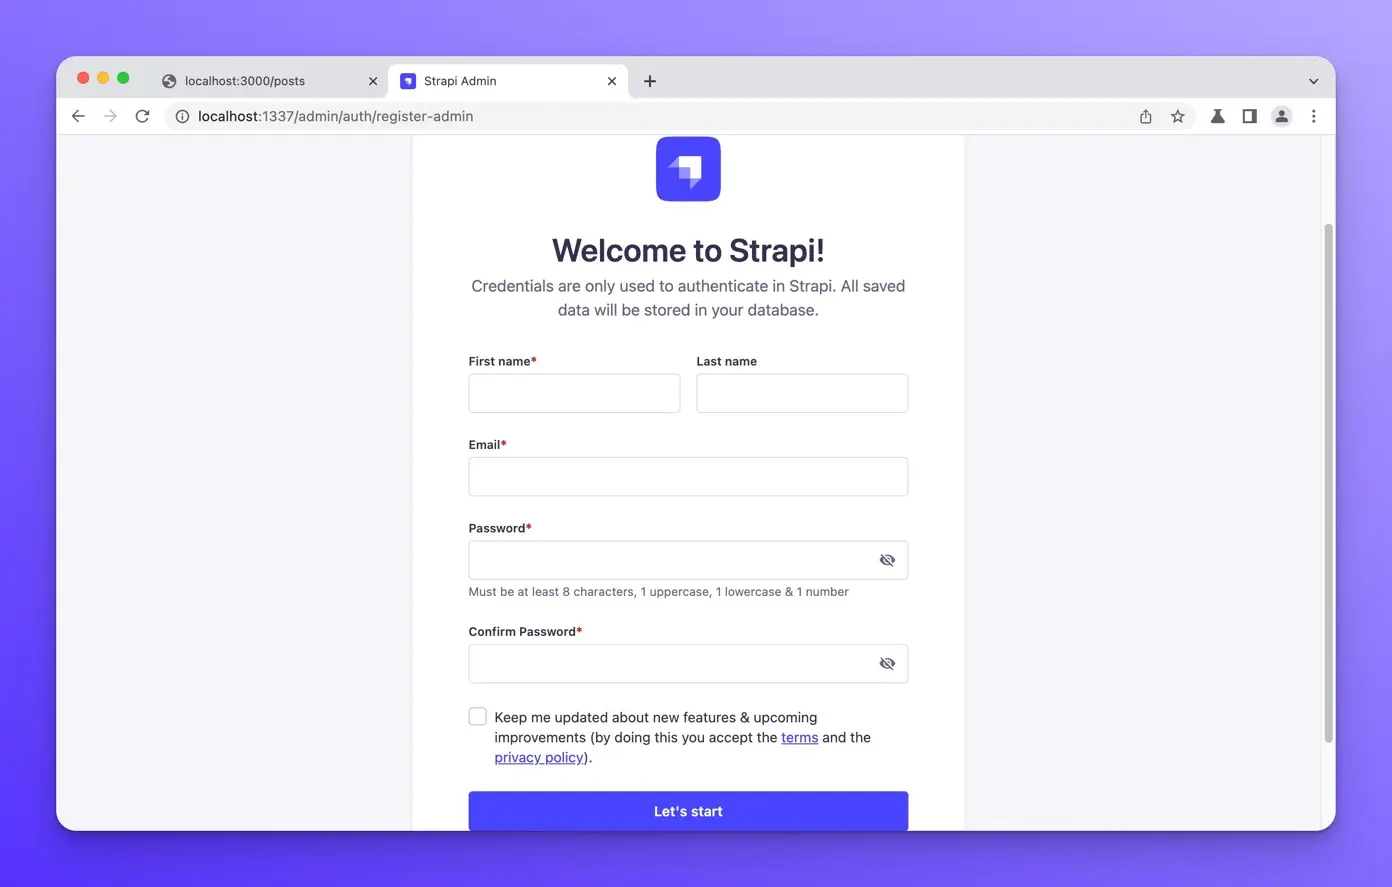
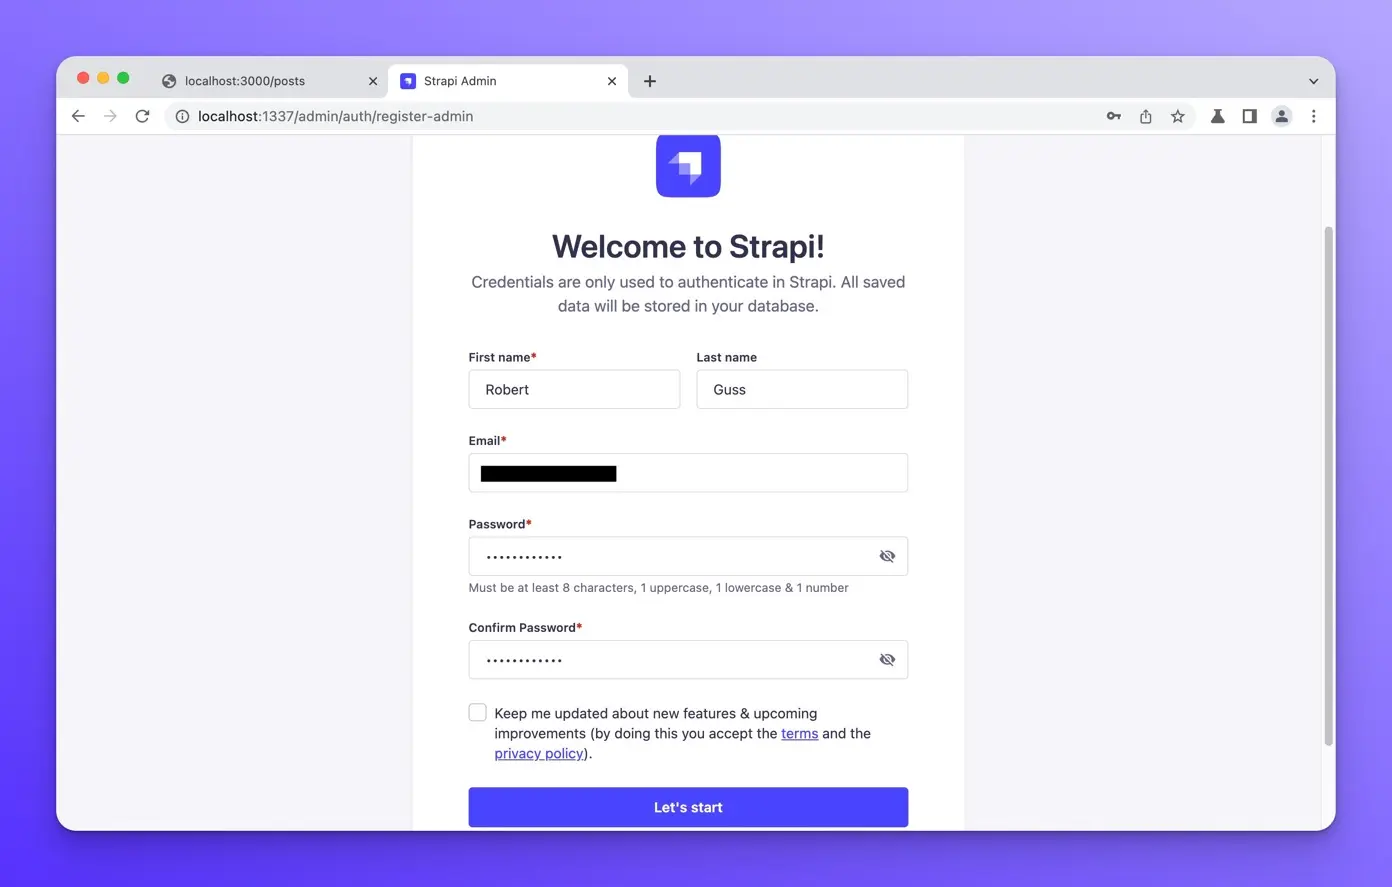
Fill out the form and press the Let’s Start button at the bottom.
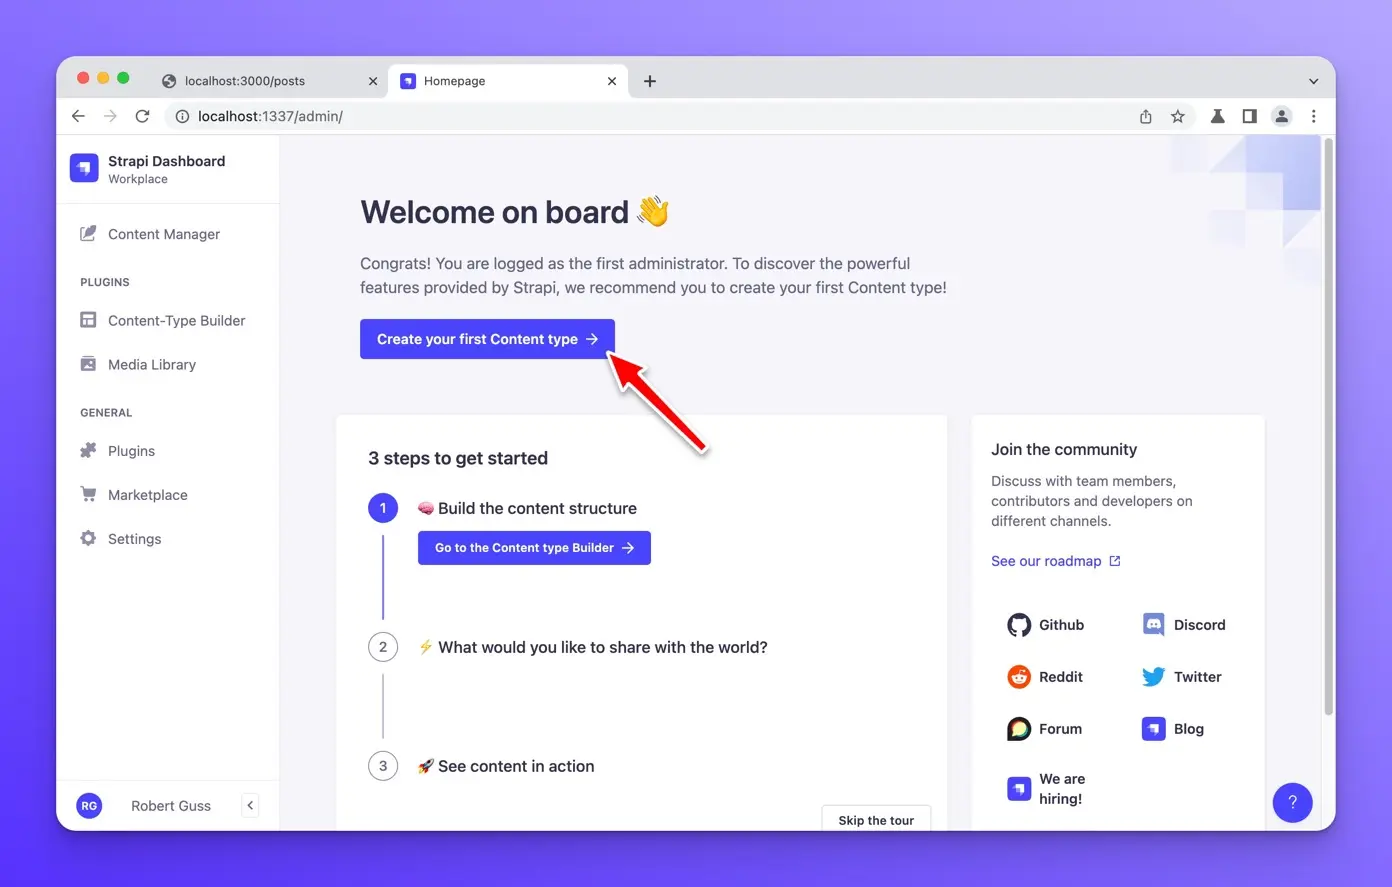
Once you have created your Admin, you will be taken to the Strapi dashboard. Click the “Create your first content type” button to start.
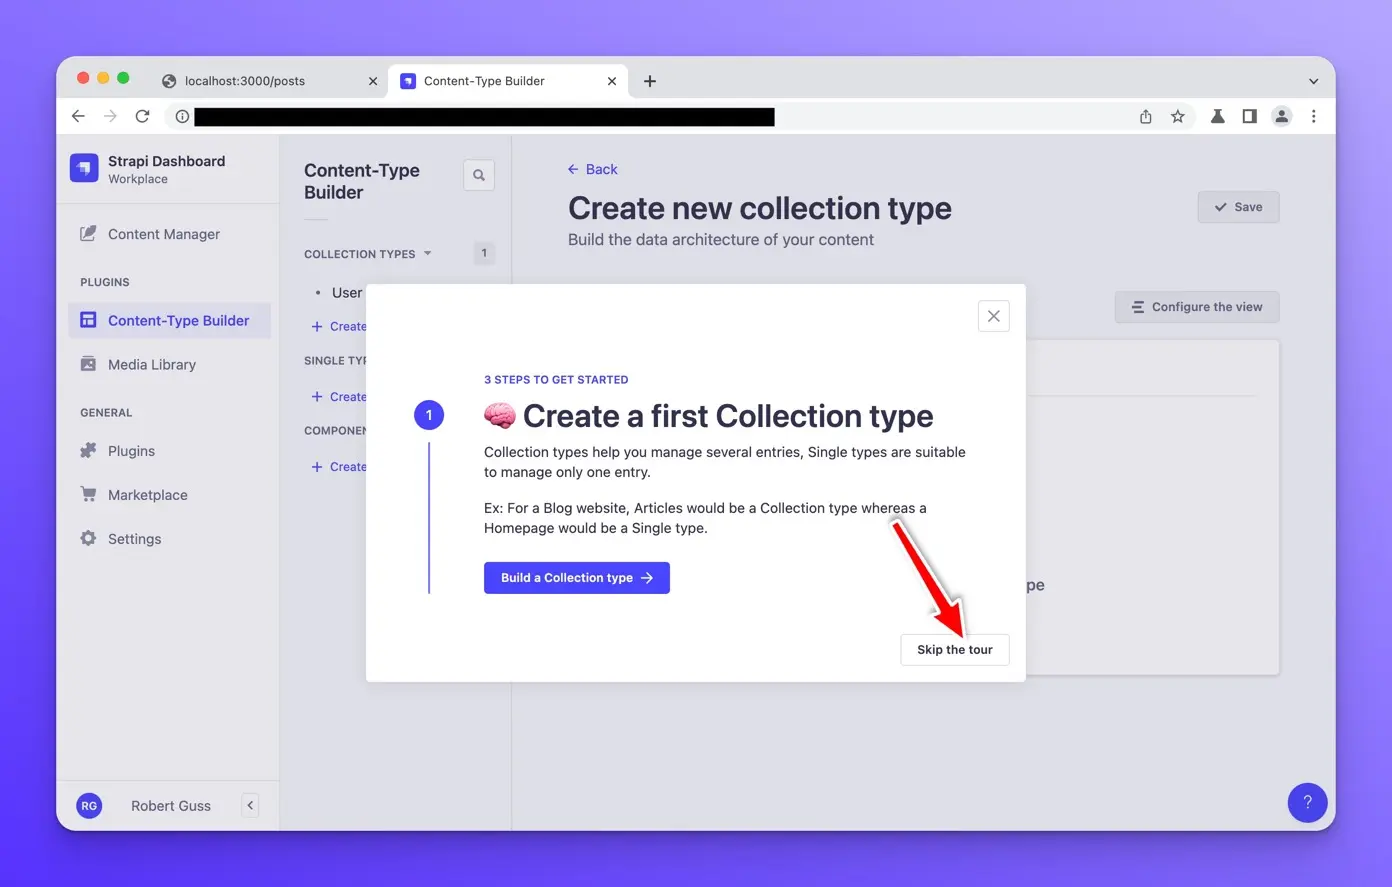
On the next screen, click the “skip the tour” button.
Creating a Post collection type
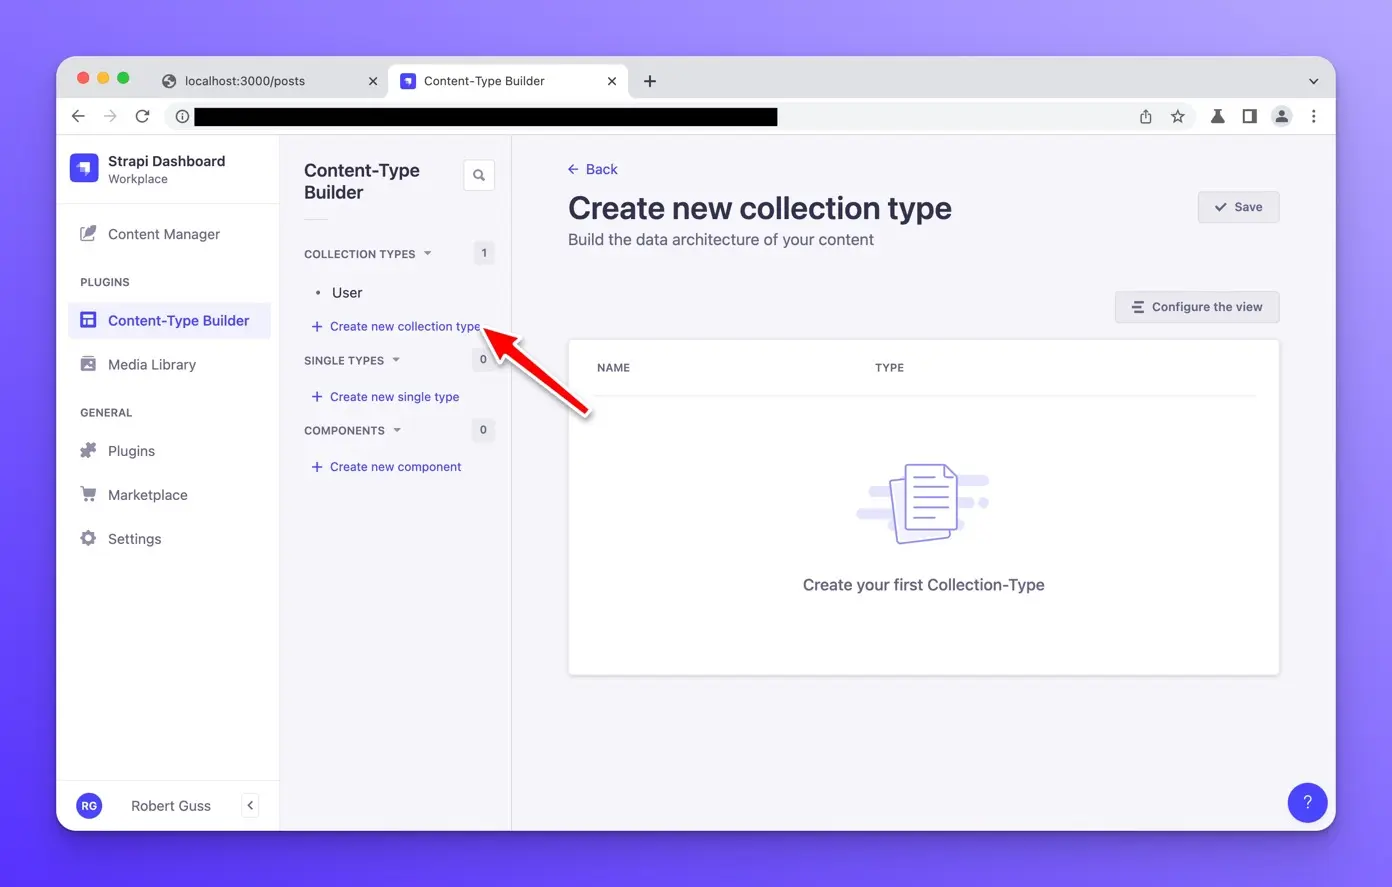
Now let’s create a new collection type for our posts. Click on the “Create new collection type” button.
Enter “Post” as the display name. The other fields will be auto-populated for you and should be left at their default names.
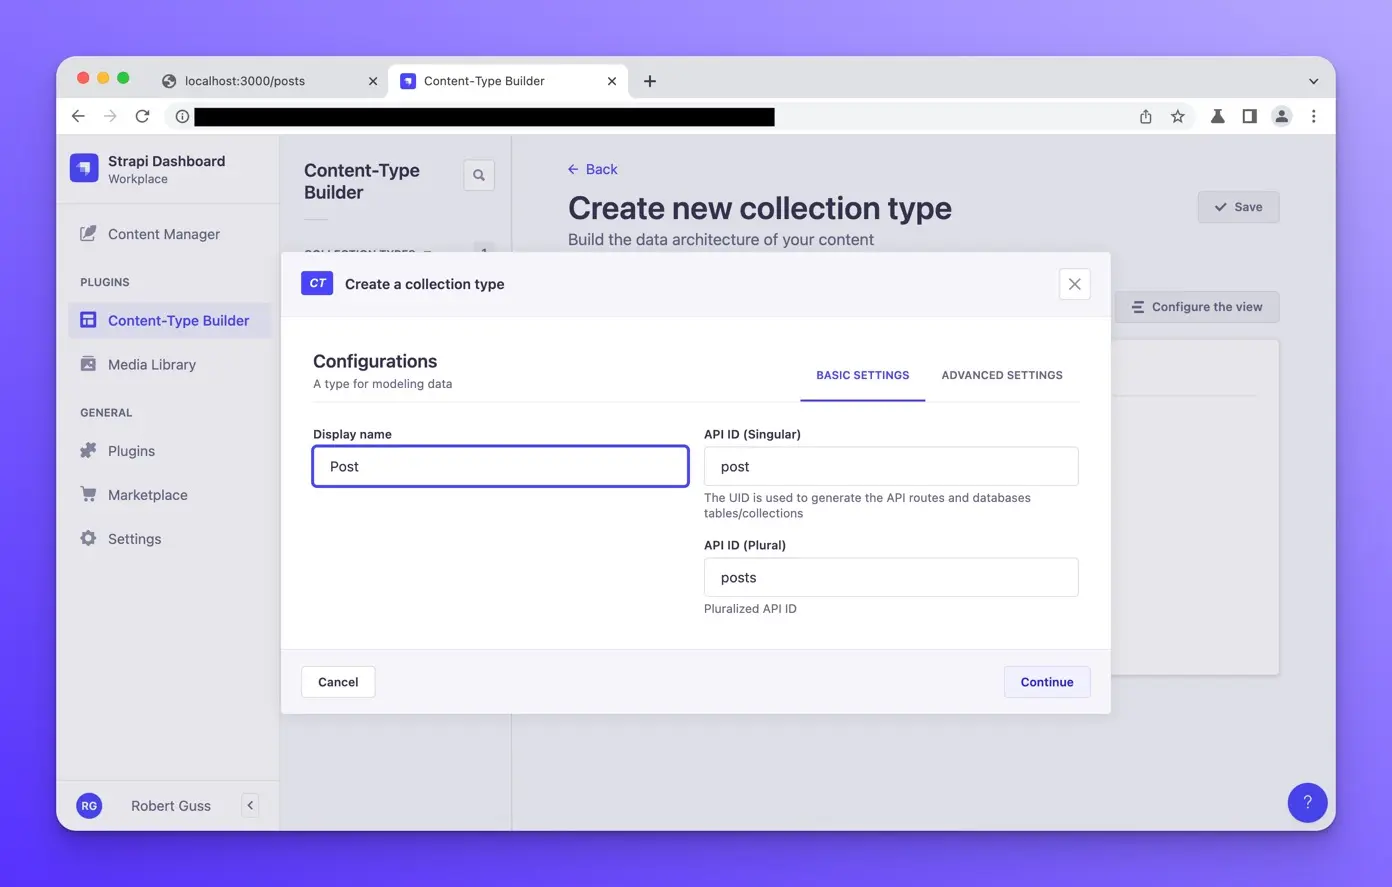
Then click “Continue.”
Next, we will need to add the appropriate fields for our post type. We will keep things simple and only need to create four fields.
- Title - The title of our blog post
- Slug - The slug of our post. This will be used to generate dynamic routes
- Body - The content of our post
- Image - The post image
Post fields
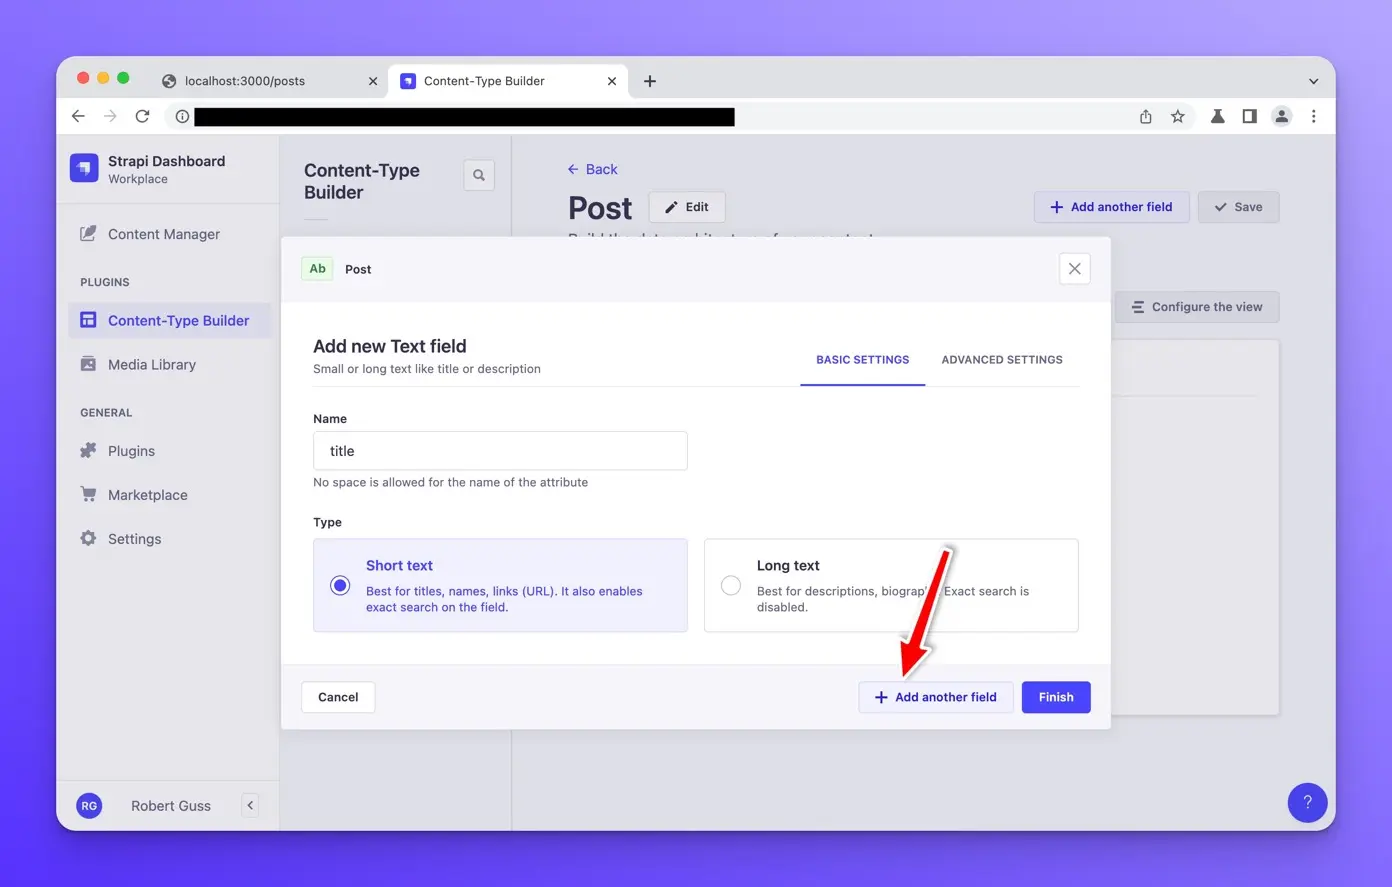
Title Field
The first field we are going to create is a title field. Click on the “Text” field type.
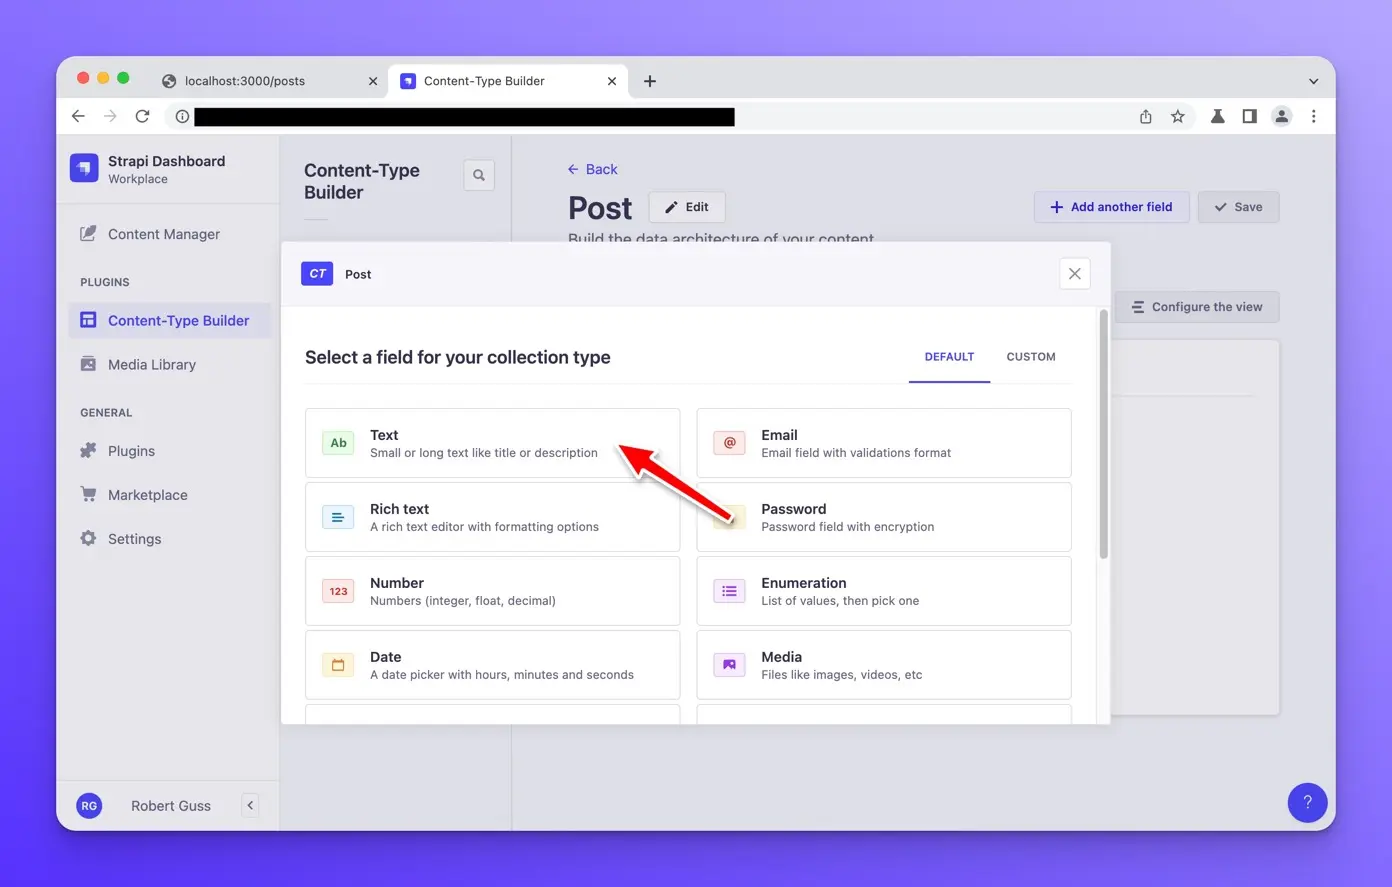
and give it the name “title” and select “short text.” Then click “+ Add another field”
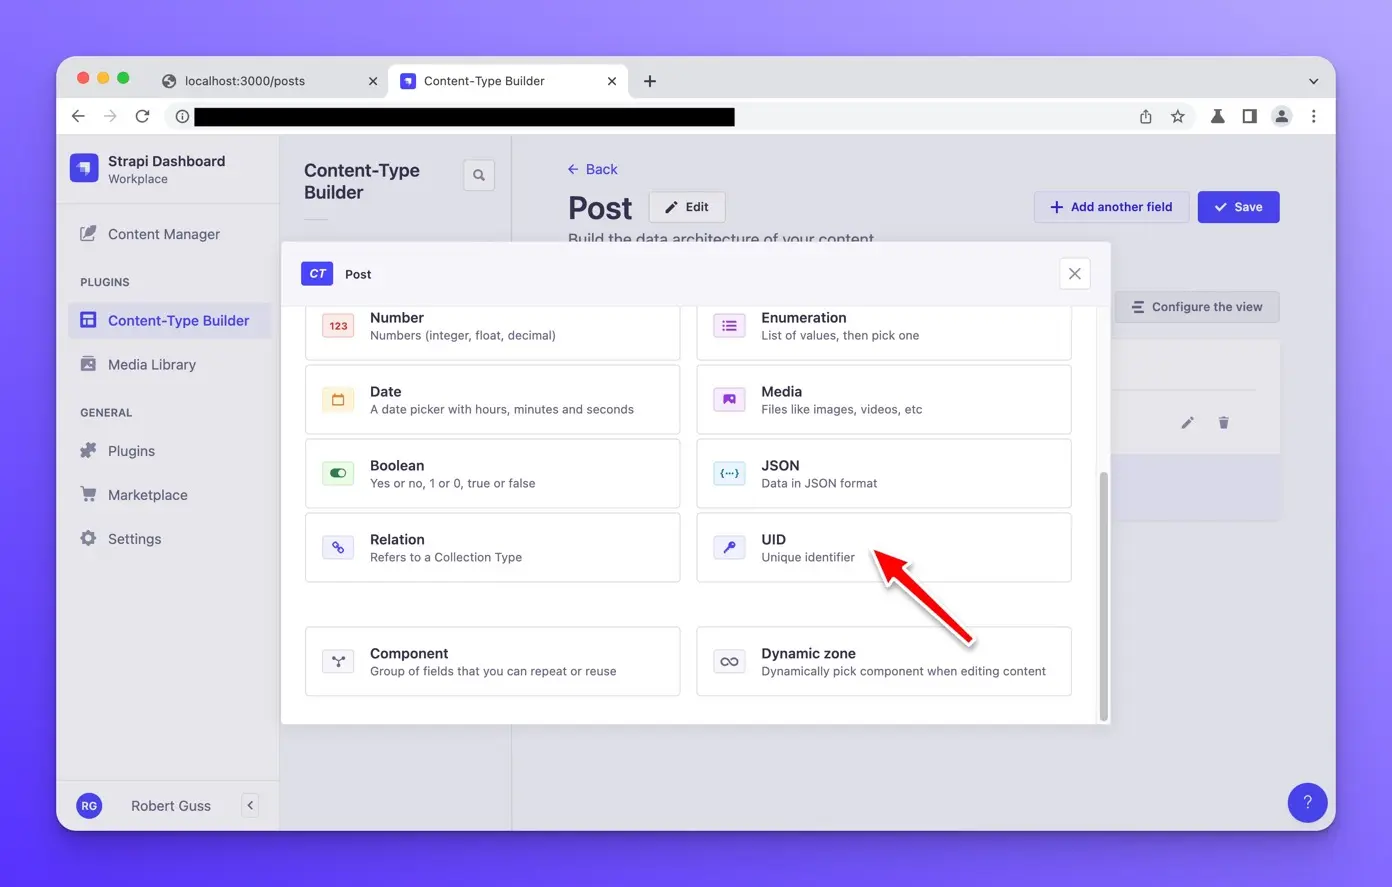
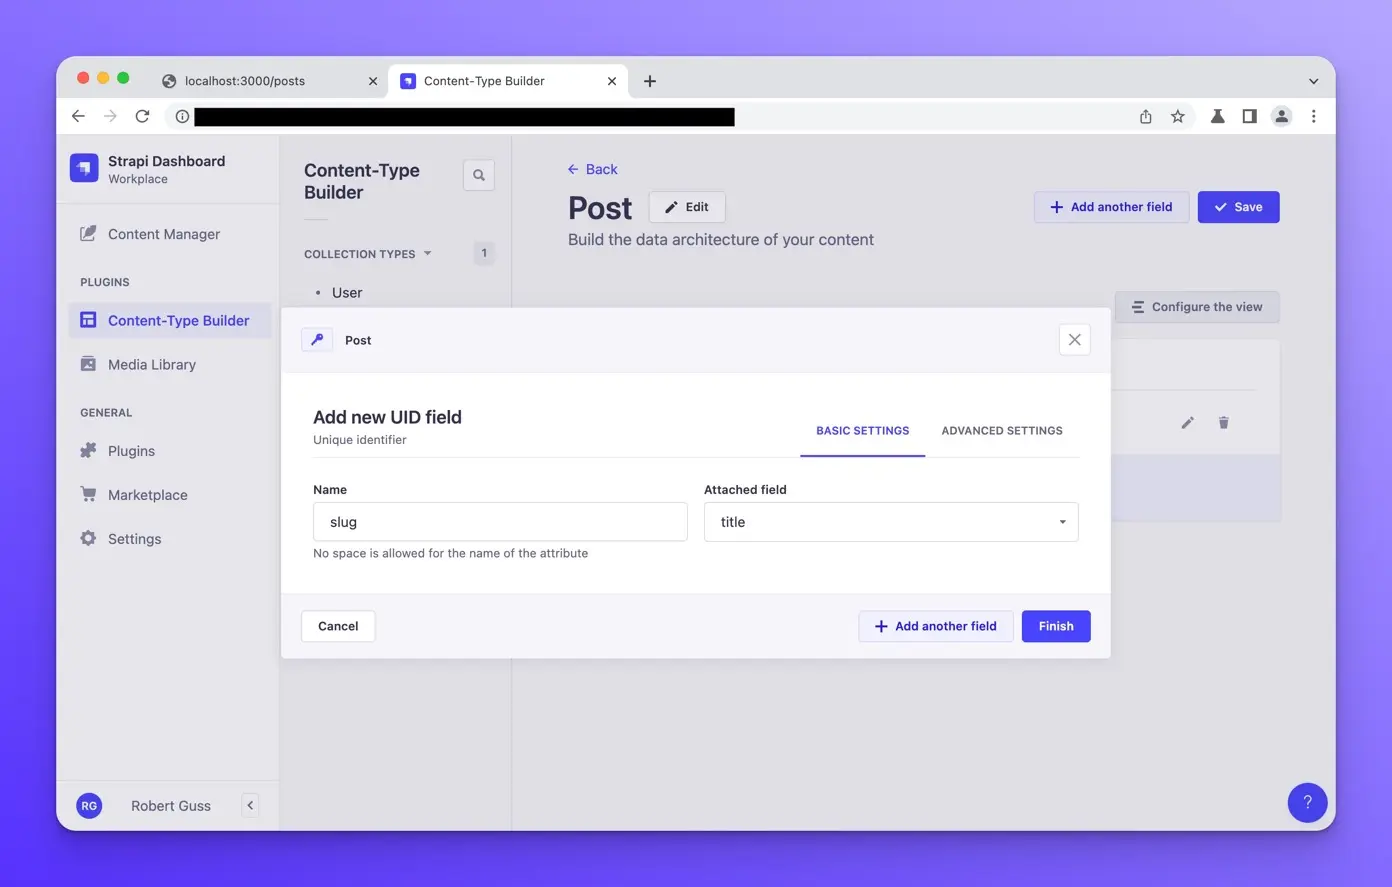
Slug field
Next, we will create a slug field for our post. Select the UID field.
Give it the name of “slug” and select “title” from the “Attached field.” Strapi will then auto-generate the slug for us from our title.
Then click “Add another field.”
Body field
Now we will create a field for the body of our post. Click on “Rich Text.”
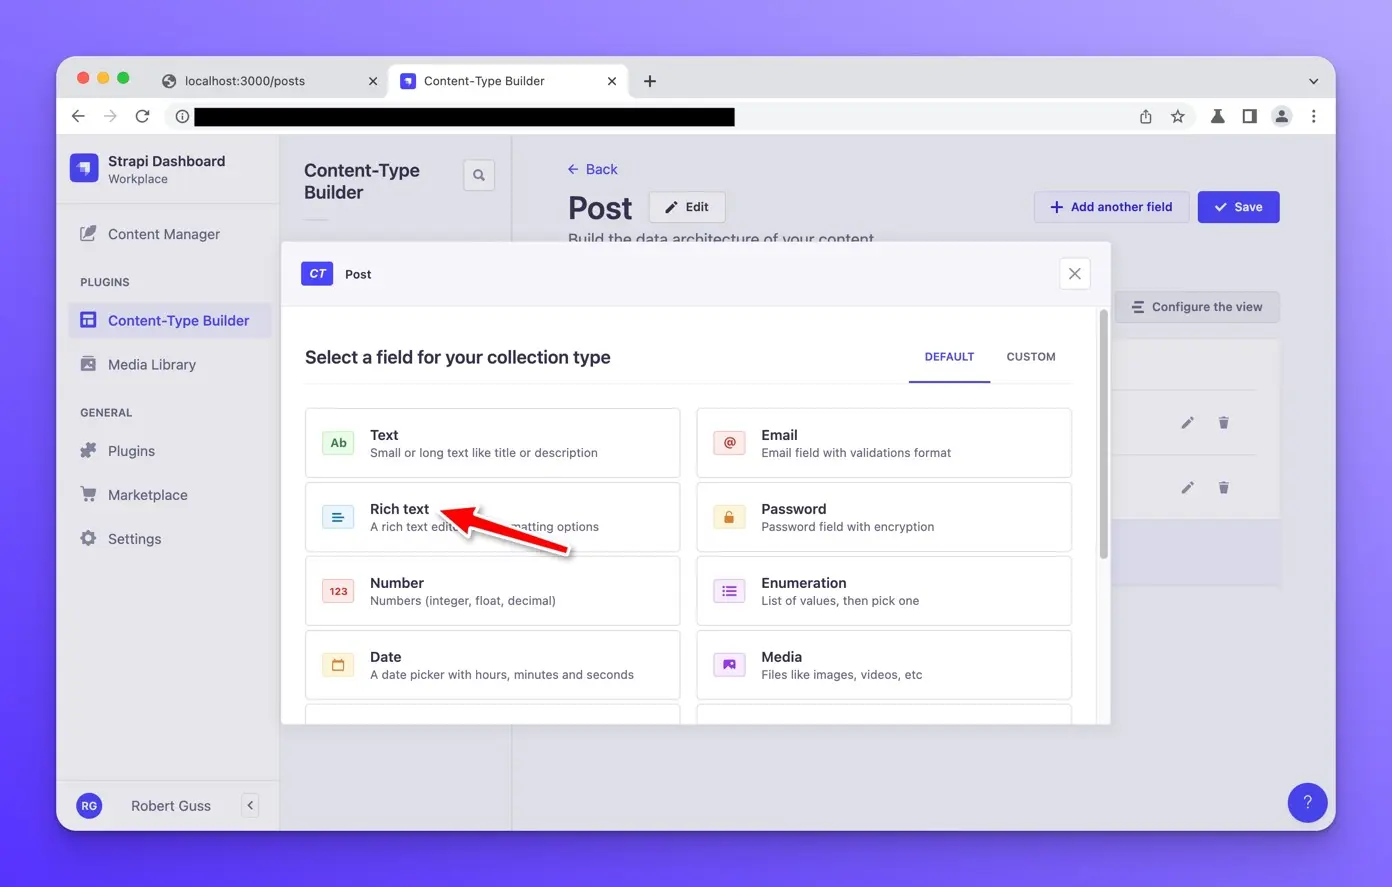
Enter “body” for the name and click “add another field.”

Image field
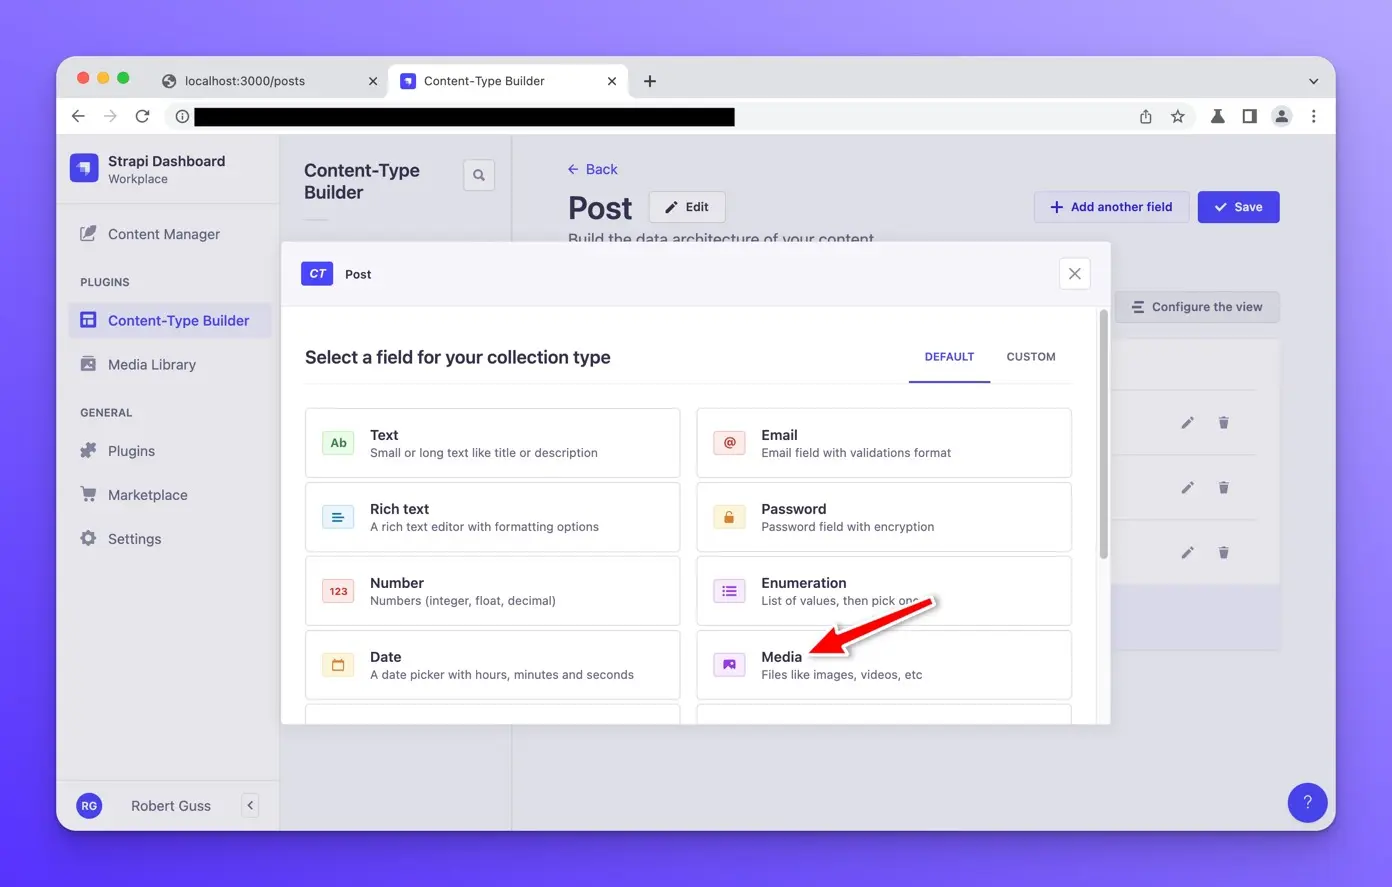
Finally, we will add an image field to upload an image for each post.
Click on the “Media” field.
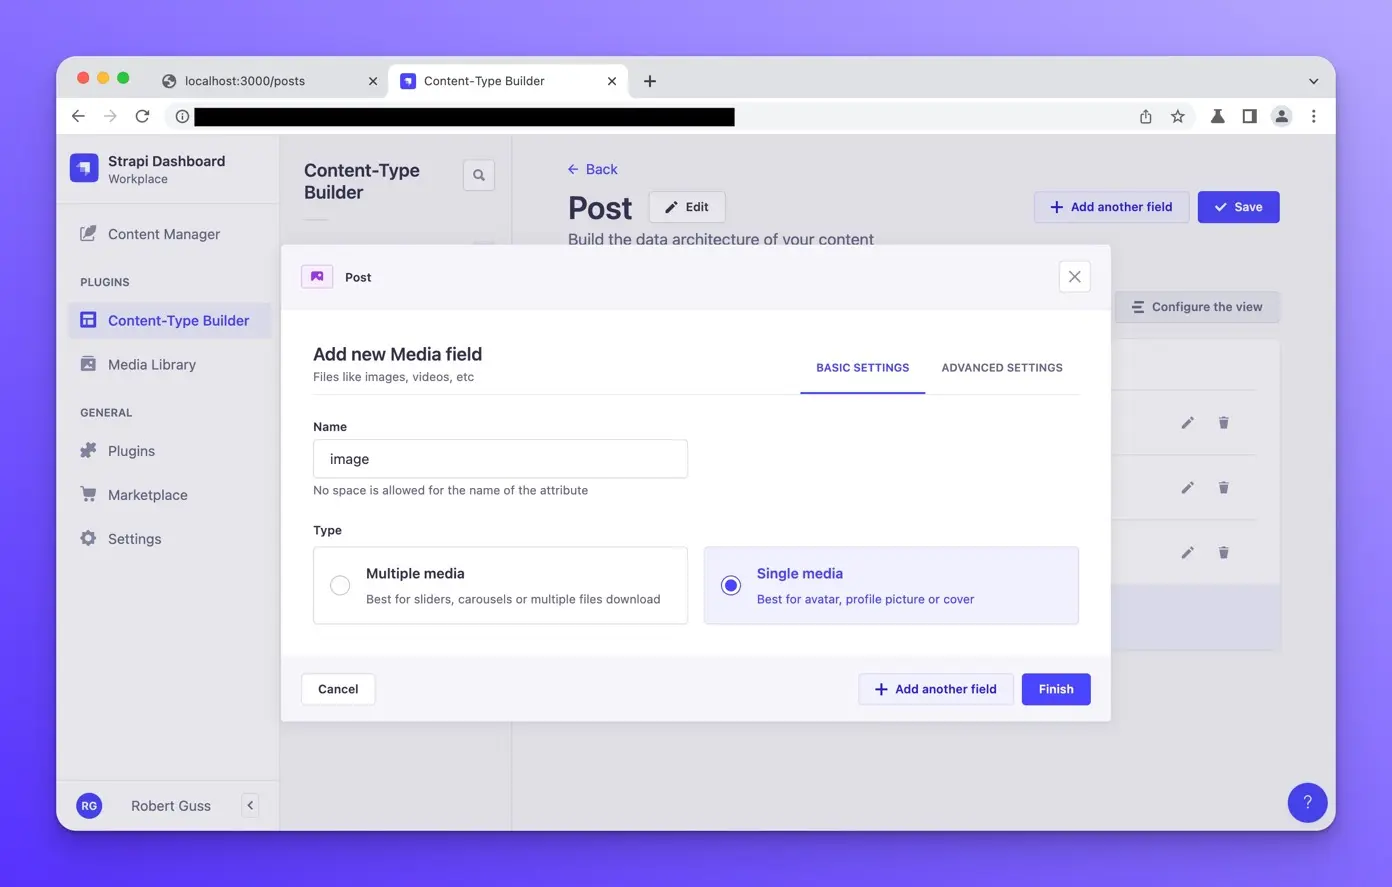
Enter “image” for the name and select “Single Media.”
Then click the Finish button.
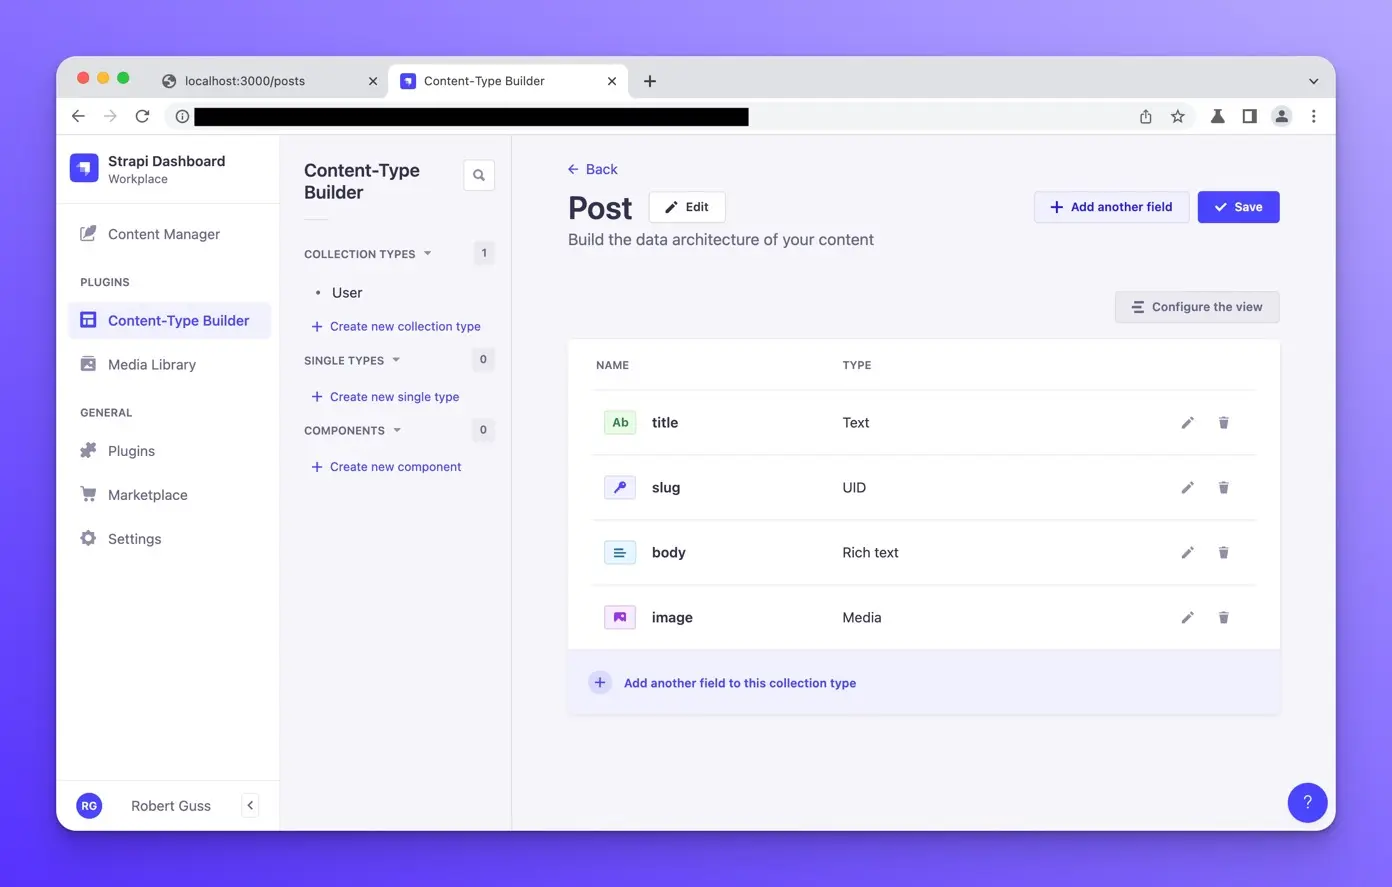
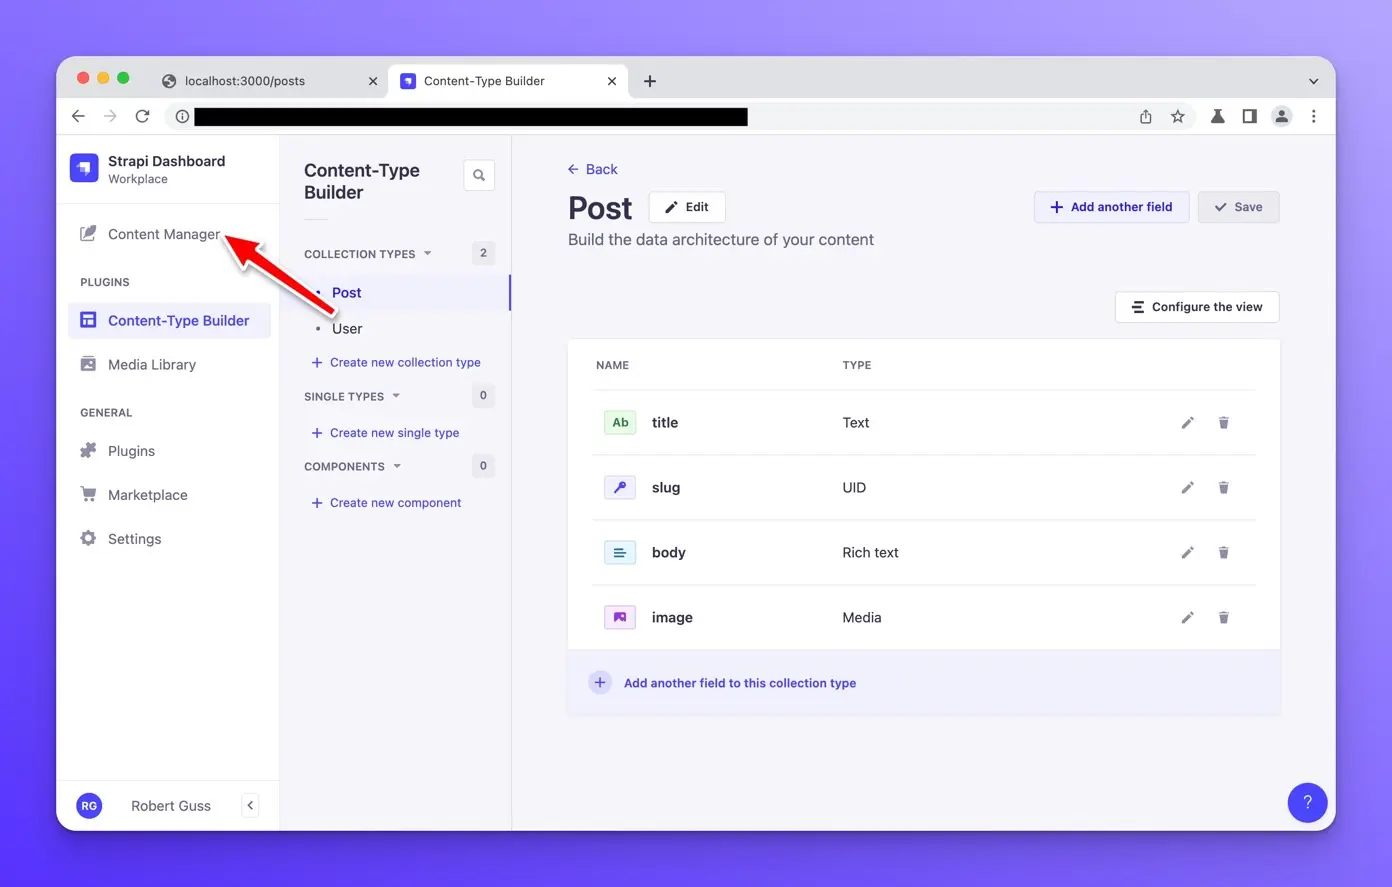
You should see the following fields and names in the Strapi dashboard for the Post collection type.
The final step is to click the “Save” button to save our Post type and fields.
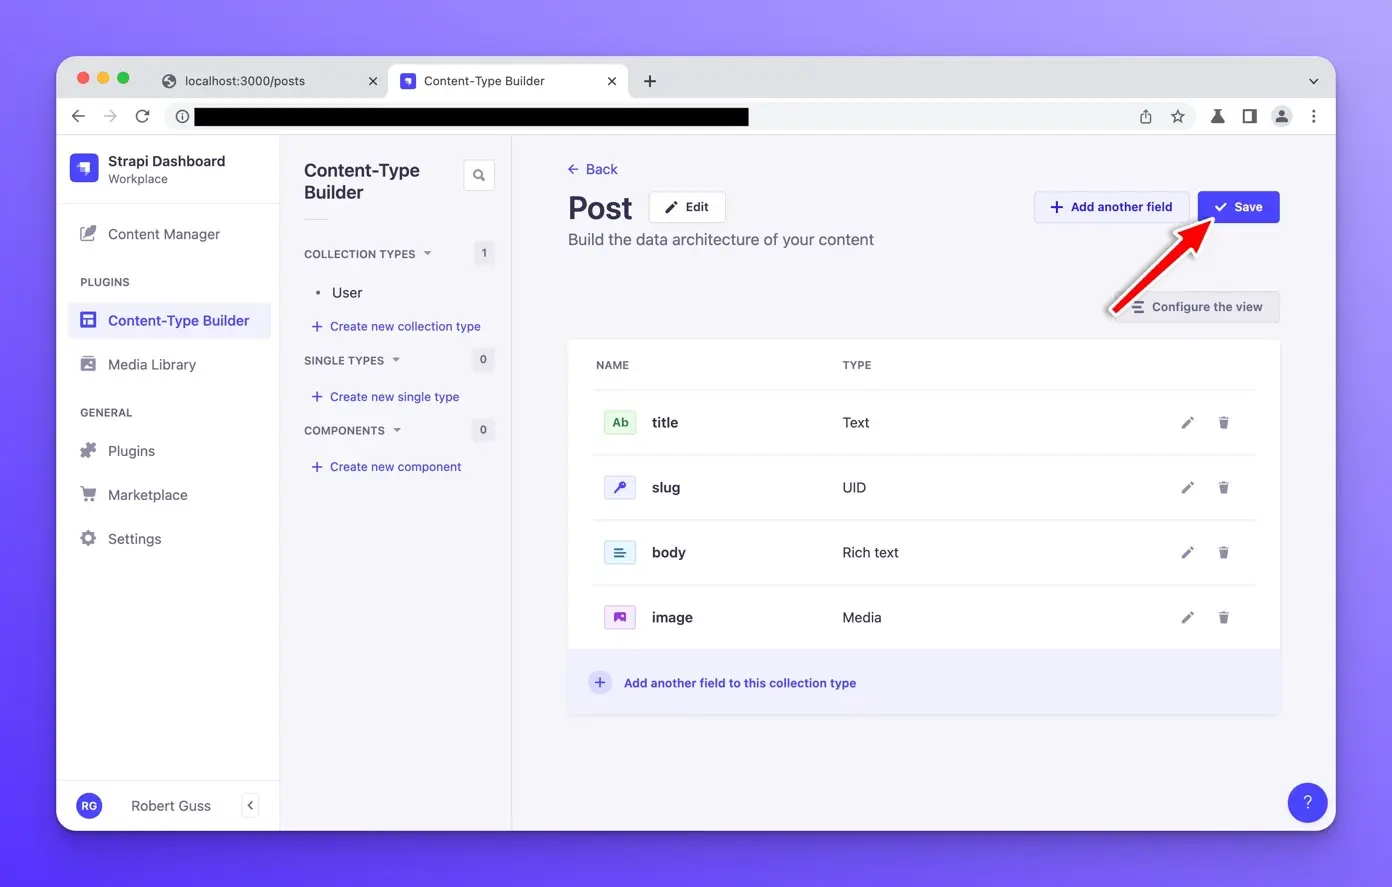
Strapi will automatically restart the server since it needs to update and reload the database.
Creating posts
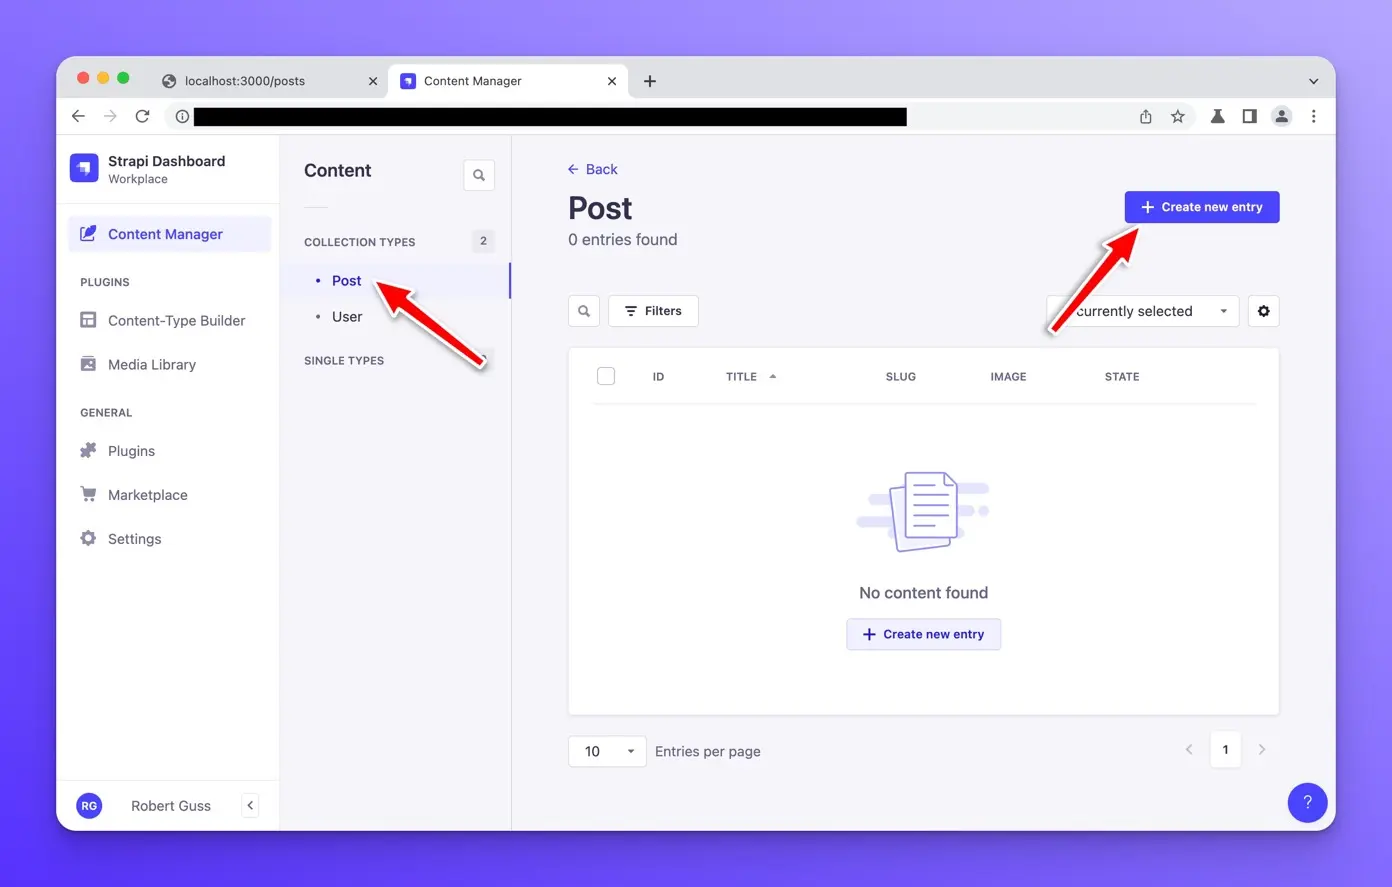
Now that we have our post collection type and fields, it’s time to create some posts. Click on “Content Manager” in the left sidebar.
Make sure the Post collection type is selected, and click “Create new entry.”
Now we need to fill in the fields with our post data. I will use Lorem Ipsum for the body text and images from Unsplash.
When you fill out the title field, the slug field should be generated automatically for you based on the title.
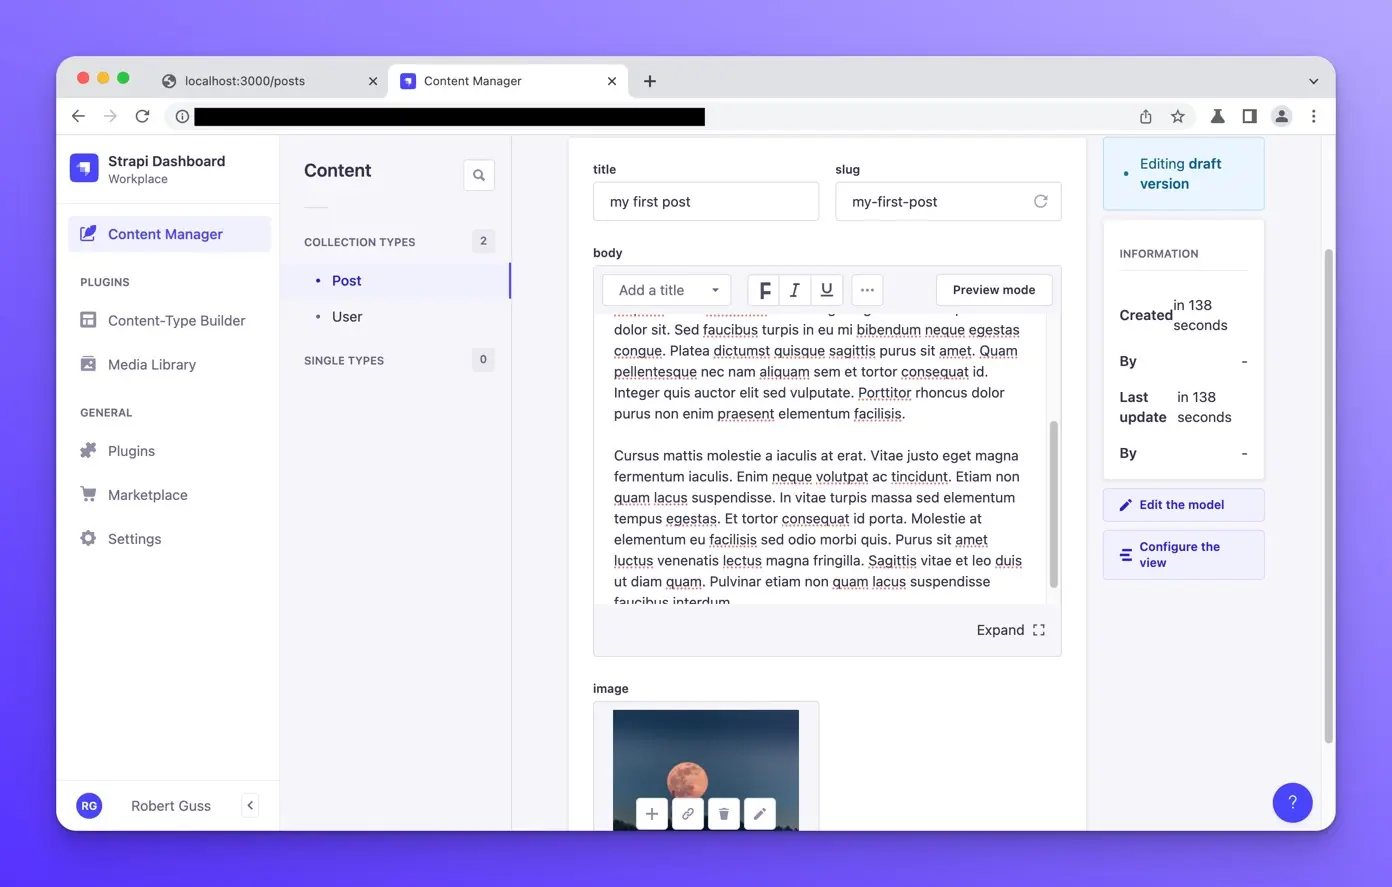
After you fill out everything and upload your image, click save at the top.
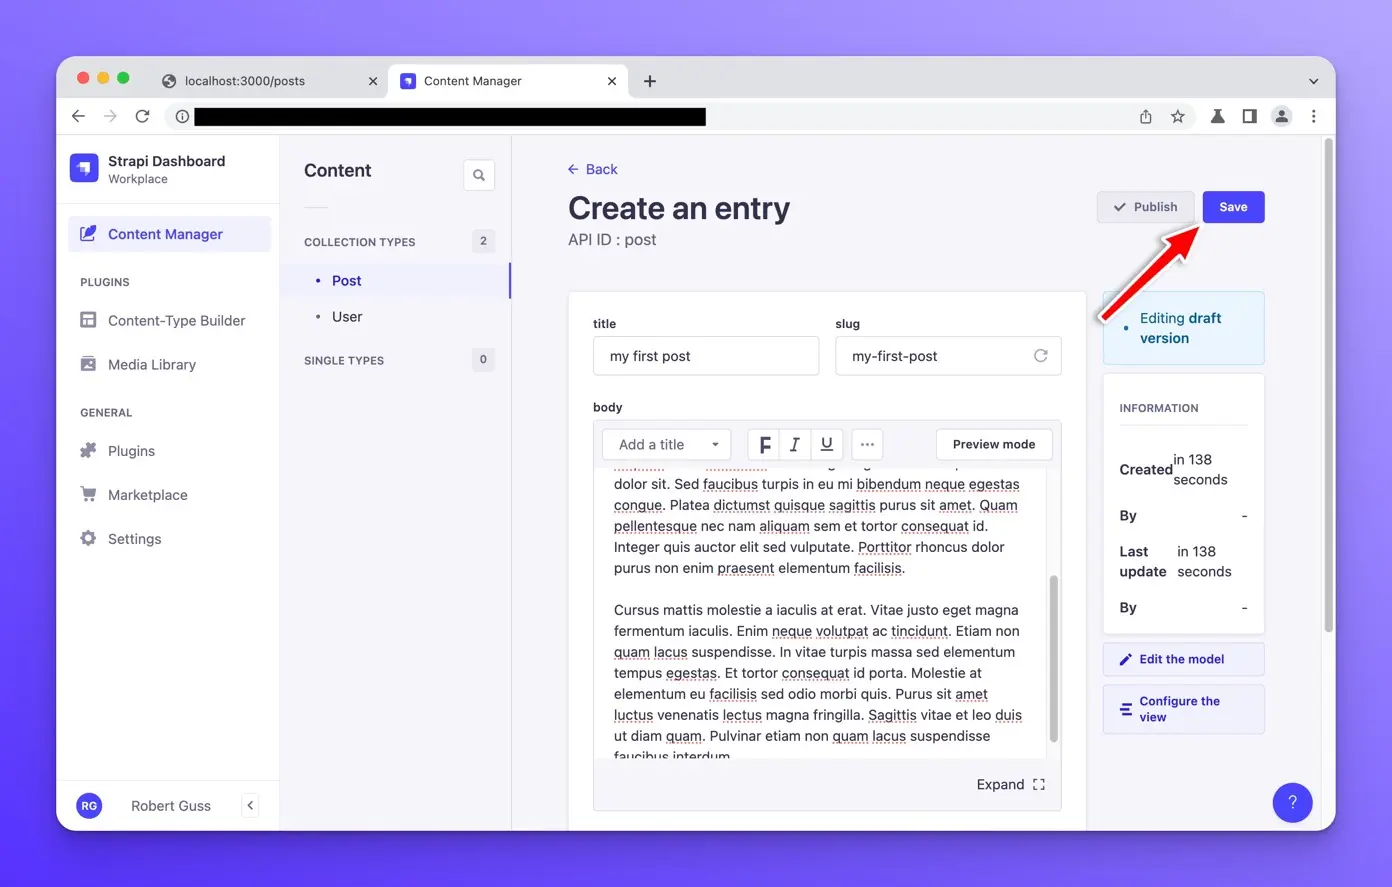
After saving it, click the “Publish” button to the left of the save button. You must publish the post for it to be available in the API.
Create as many posts as you would like. I recommend creating at least three posts.
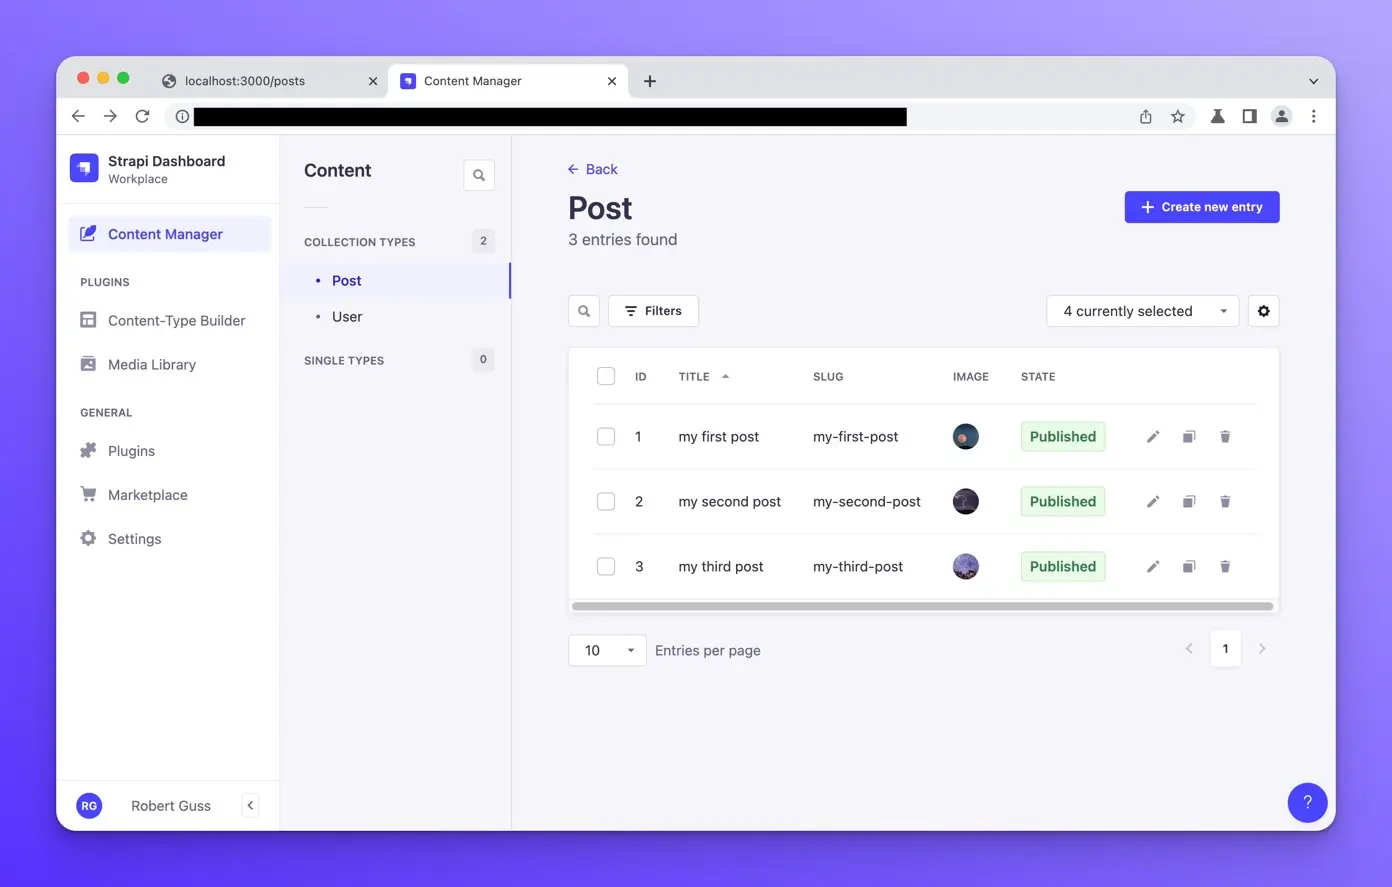
Once you have created all your posts, you should see them listed with the state of “Published.”
Posts REST API
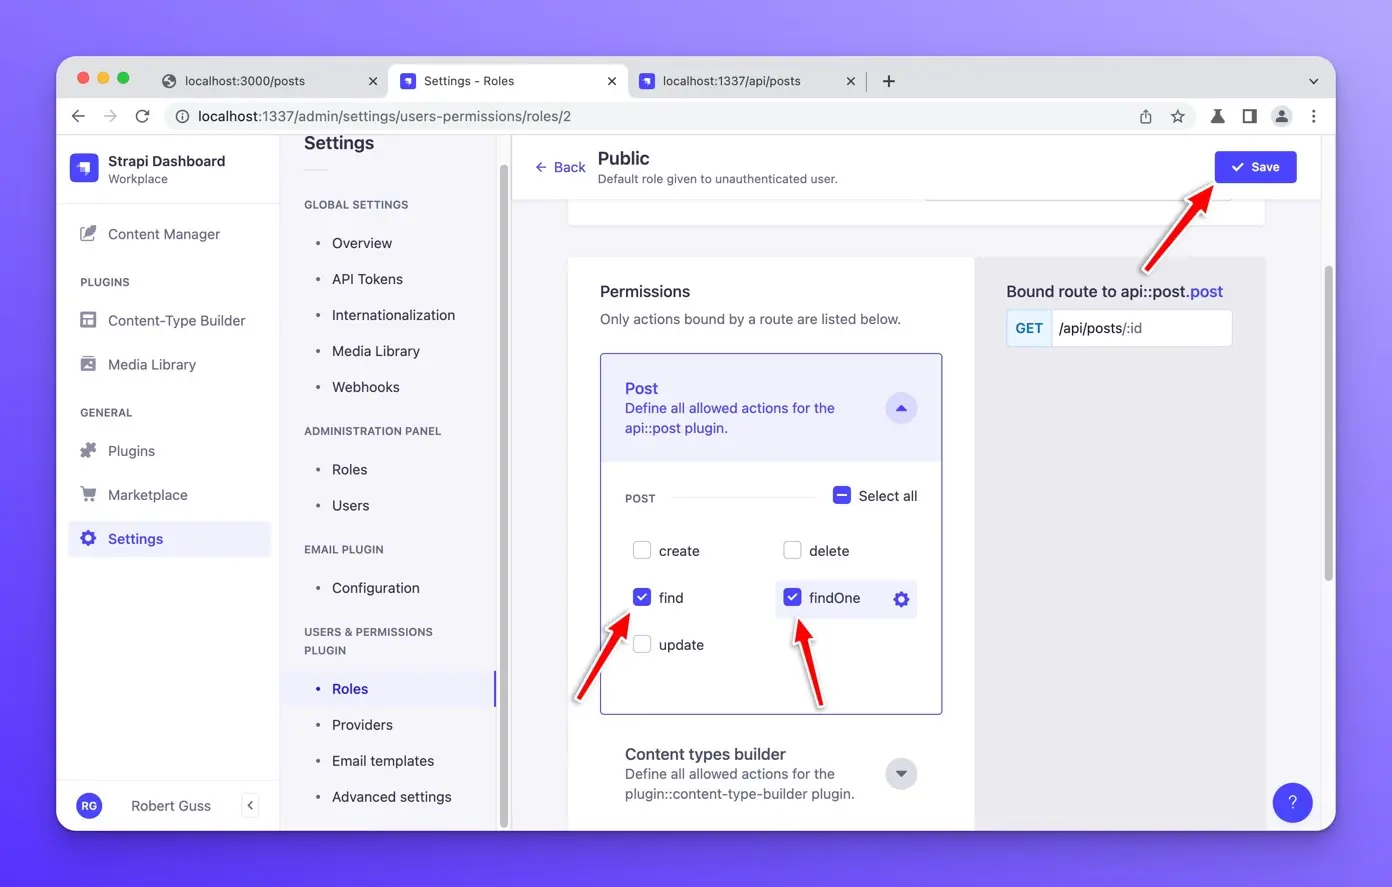
Now that we have created all our posts, we need to make our Post content type available to the API. Strapi has a fairly robust roles and permissions system. We have to explicitly tell Strapi which content types should be publicly available.
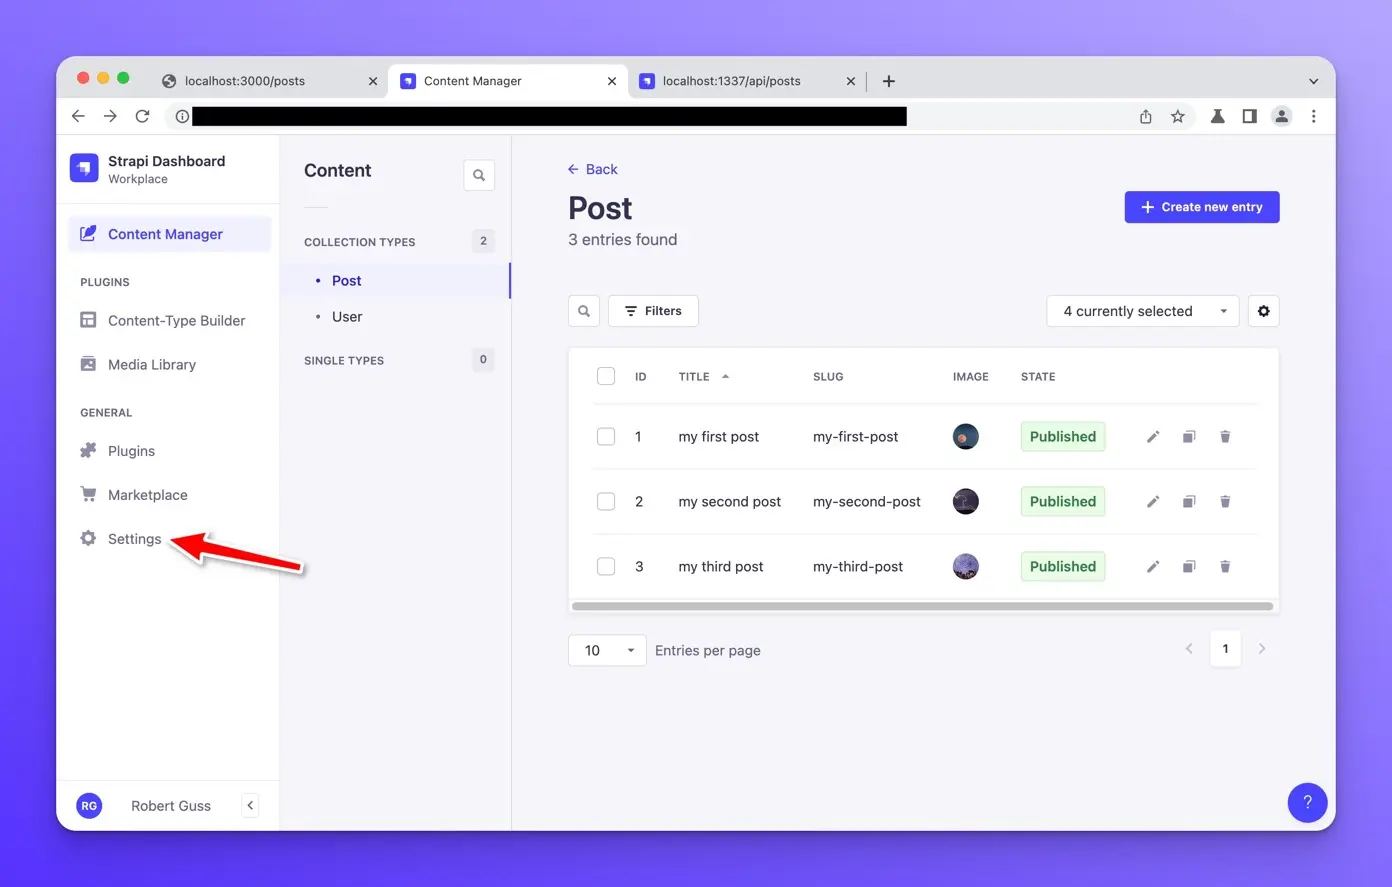
Click on “Settings” in the left sidebar.
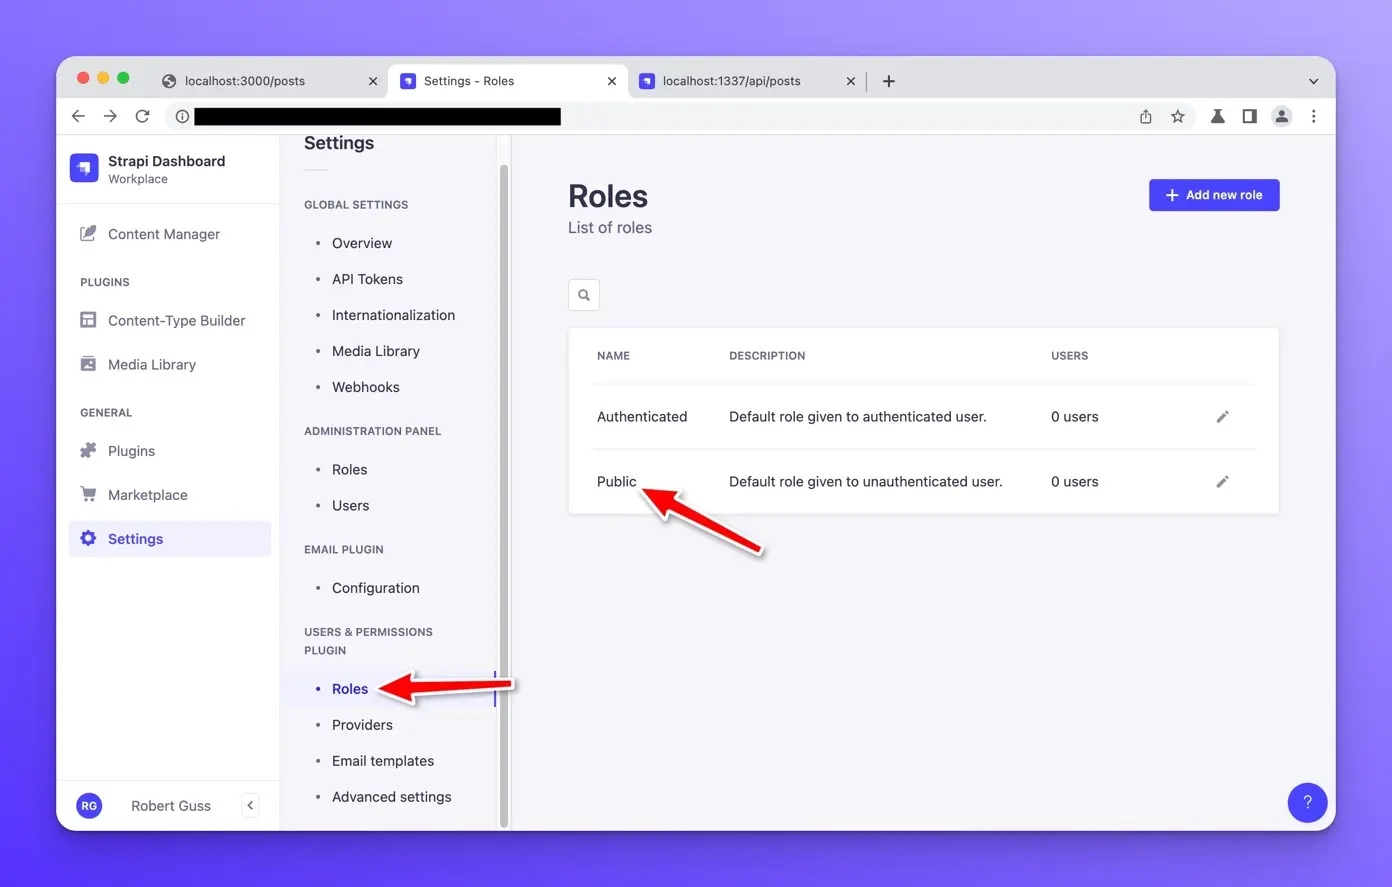
Underneath the “Users & Permissions Plugin,” select “Roles.” Then click on “Public.”
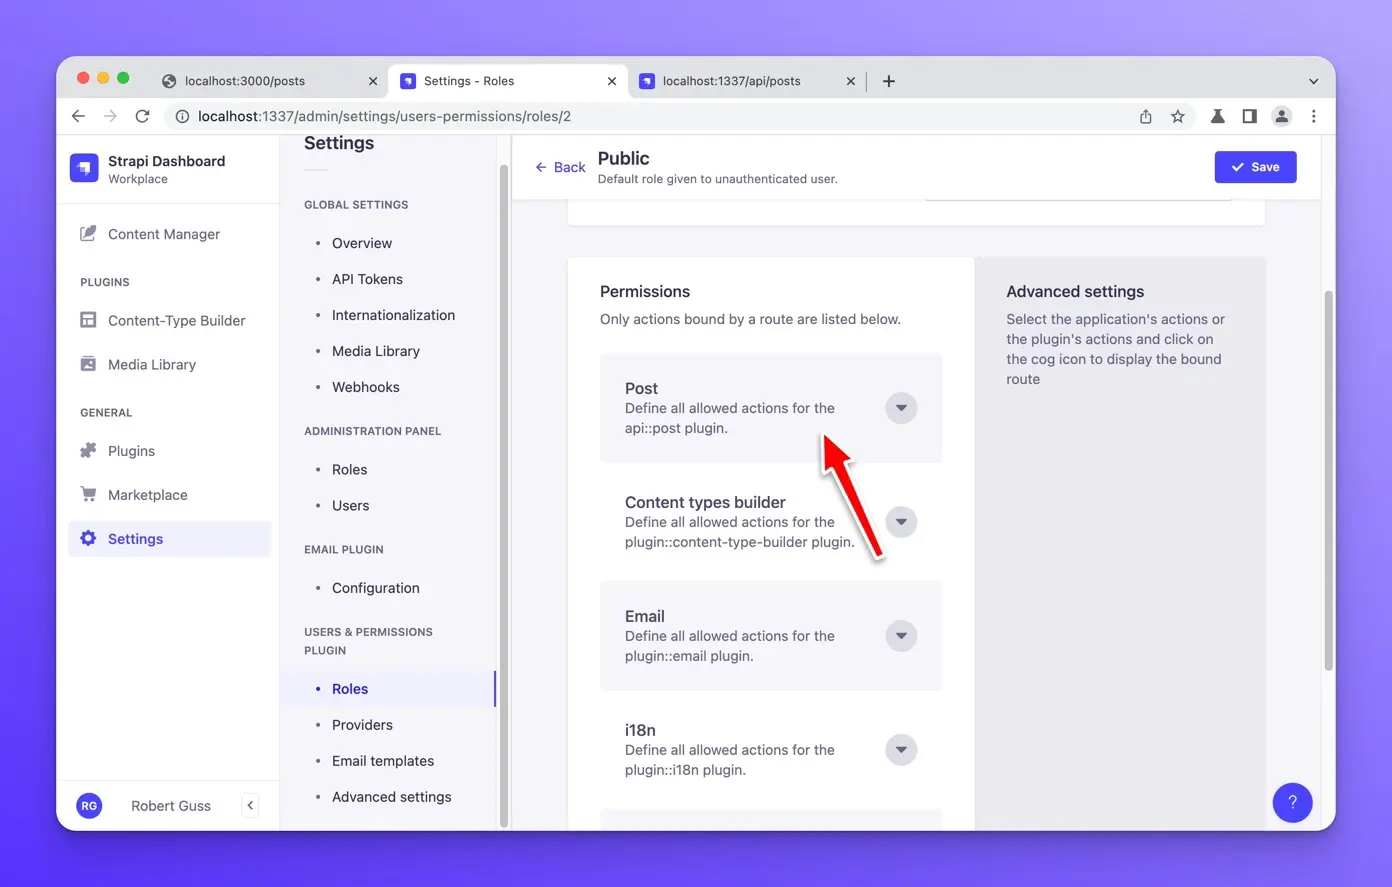
Scroll down to the Post tab and click it.
Select the checkboxes “find” and “findOne.”
Then click Save at the top.
Post REST API
Now open your browser to http://localhost:1337/api/posts, and you should see the following.
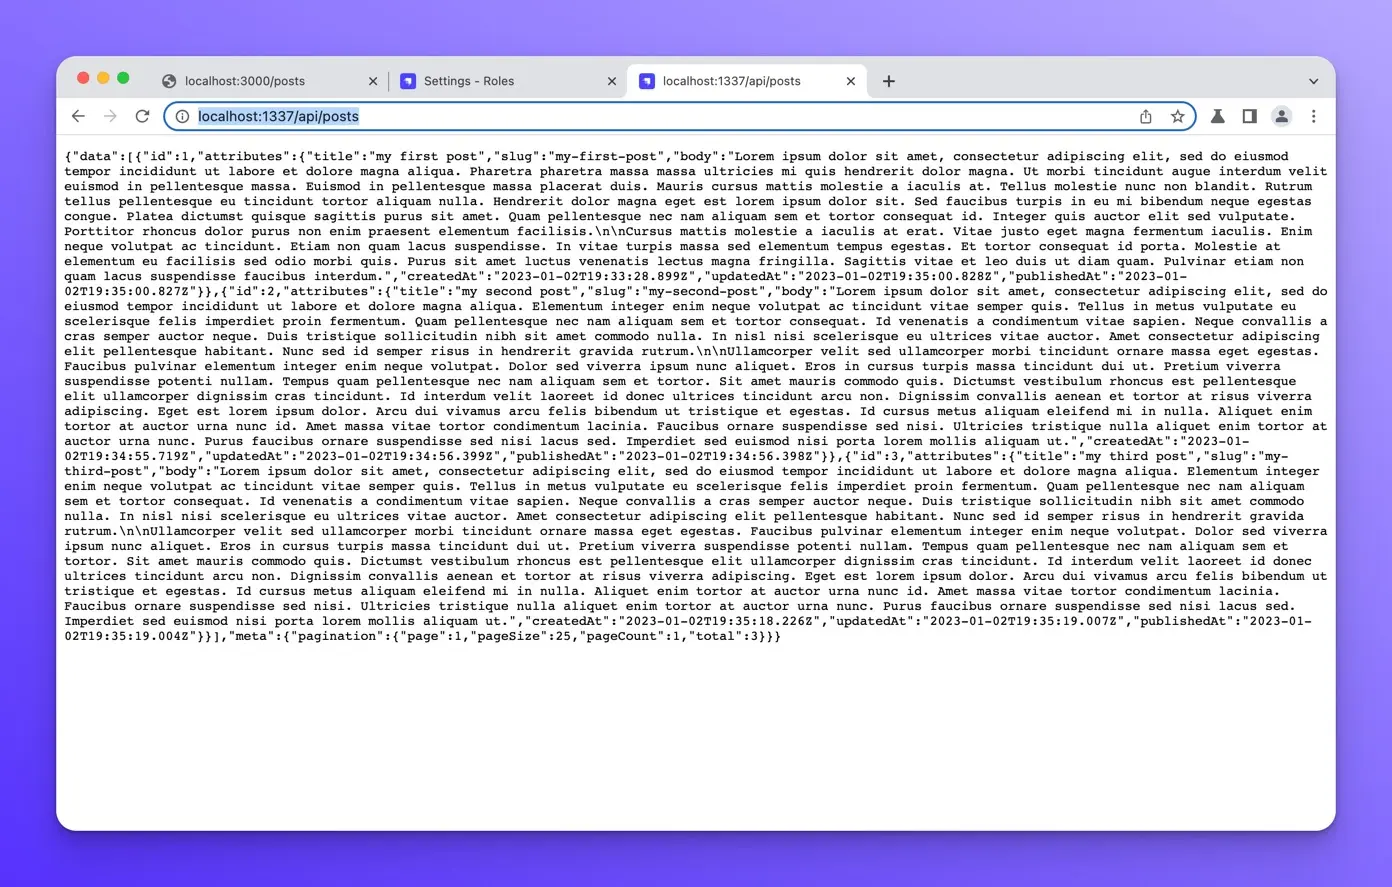
We successfully get all of our posts data as JSON from the /api/posts endpoint.
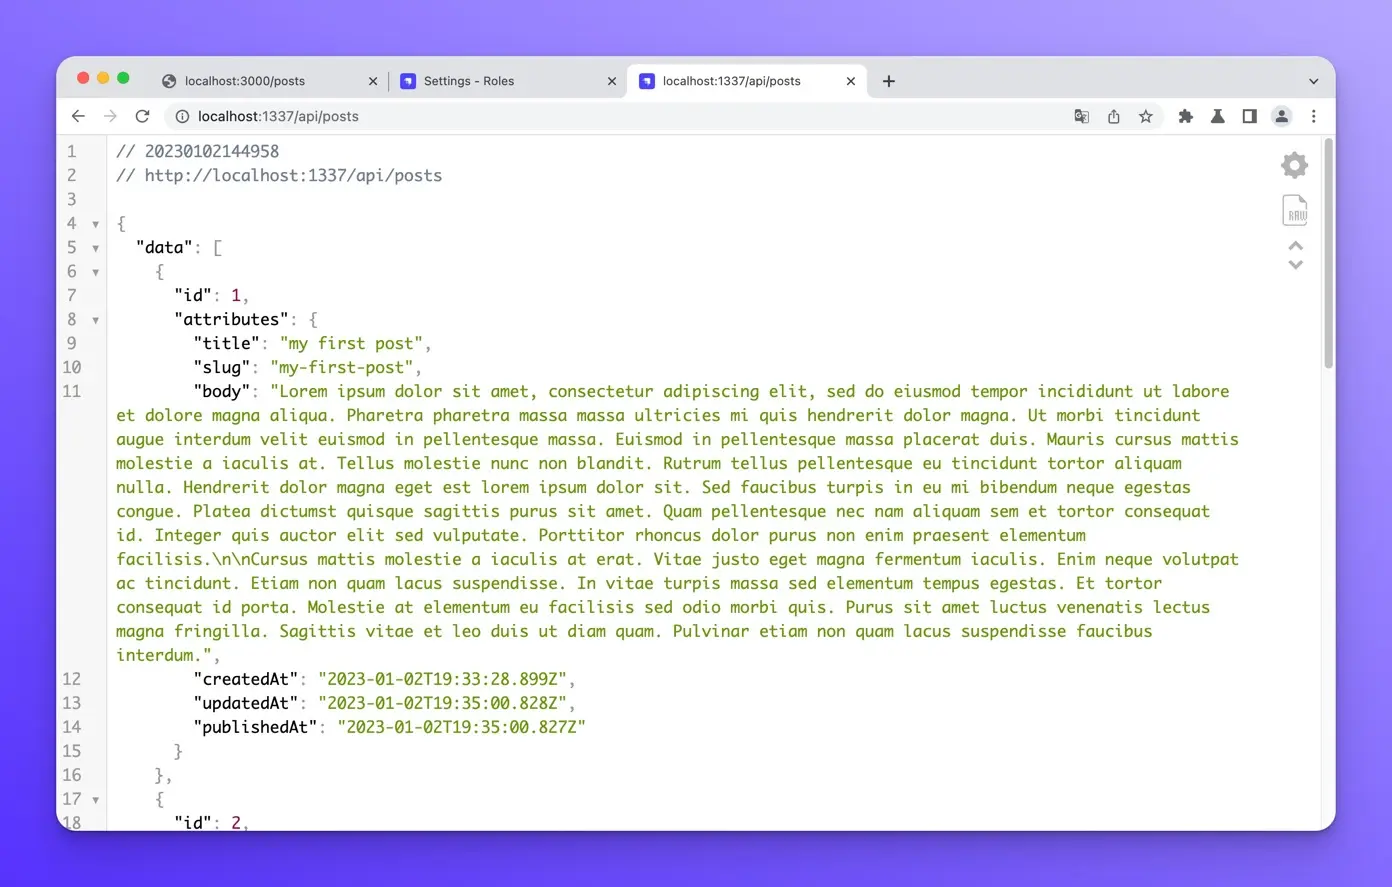
This is very difficult to read, so I highly recommend you install a JSON viewer plugin for Chrome that will format this JSON for you making it easier to read.
After installing the extension, refresh this page, and you should see the data formatted nicely!
Now that we have our posts data and REST API setup, it’s time to render this data in our Astro blog project, which is exactly what we will do in the next lesson.
Wrap up
In this lesson, we learned how to install and set up Strapi CMS. We created a post content type with four fields and then updated the roles and permissions of our public API to make our posts publicly available.