Tailwind CSS
Tailwind CSS Travel Site - 8. Footer Section & PurgeCSS
Updated:
In this lesson, we are going to be building the footer section of our travel site, and integrating PurgeCSS to reduce our bundle size
The final result will look like:
You can pick up where we last left off, by cloning the previous tutorial's branch with git.
git clone git@github.com:robertguss/howtocode.io-tailwind-css-landing-page.git

git checkout 7-testimonial-section
For the footer, I am just going to modify a footer I found from Sitepoint.
First, let's create a new footer.html partial in src/partials and include it in our index.html
<!DOCTYPE html>
<html lang="en">
  <head>
    <meta charset="UTF-8" />
    <meta name="viewport" content="width=device-width, initial-scale=1.0" />
    <title>Home | FunTravel</title>
    <link rel="stylesheet" href="./css/main.css" />
  </head>

  <body>
    <include src="./partials/nav.html"></include>
    <include src="./partials/hero.html"></include>
    <include src="./partials/quote-form.html"></include>
    <include src="./partials/popular-destinations.html"></include>
    <include src="./partials/features.html"></include>
    <include src="./partials/callouts.html"></include>
    <include src="./partials/testimonial.html"></include>
    <include src="./partials/footer.html"></include>

    <script src="./js/main.js"></script>
  </body>
</html>
Add the following markup to footer.html
<div class="w-full bg-blue-900">
  <div class="flex flex-wrap text-center text-white">
    <!-- ABOUT COLUMN -->

    <div class="w-full md:w-1/3 p-5 border-r border-blue-800 md:text-left">
      <div class="my-6 ml-3 text-xl font-semibold">ABOUT US</div>
      <p class="p-3 text-gray-400">
        Lorem ipsum dolor sit amet, consectetur adipiscing elit. Aenean ac est
        massa. Donec eget elementum sapien, tincidunt tempor nunc. Cras sodales
        id ipsum at convallis.
      </p>
      <p class="p-3 text-gray-400">
        Morbi tristique massa nec massa auctor, at scelerisque felis
        consectetur. Morbi tempus et odio sit amet feugiat. Maecenas dignissim a
        turpis in molestie. Fusce tincidunt vestibulum iaculis.
      </p>
    </div>

    <!-- CONTACTS COLUMN -->

    <div class="w-full md:w-1/3 p-5 border-r border-blue-800">
      <div class="my-6 text-xl font-semibold">CONTACT US</div>
      <p class="mt-8 text-gray-400">
        A108 Adam Street <br />
        New York, NY 535022 <br />
        United States <br />
        <strong>Phone:</strong> +1 5589 55488 55 <br />
        <strong>Email:</strong> info@funtravel.com
      </p>
    </div>

    <!-- FORM COLUMN -->

    <div class="w-full md:w-1/3 p-5">
      <div class="mt-6 text-xl font-semibold">SAY Hi!</div>
      <form class="w-4/5 mx-auto mt-2 px-6 pt-6 pb-4 rounded">
        <div class="flex items-center mb-4">
          <input
            class="w-full h-10 p-2 border-b border-blue-800 bg-blue-900 text-white"
            type="text"
            placeholder="Username"
          />
        </div>
        <div class="flex items-center mb-4">
          <input
            class="w-full h-10 p-2 border-b border-blue-800 bg-blue-900 text-white"
            type="text"
            placeholder="Email"
          />
        </div>
        <div class="mb-6">
          <textarea
            class="w-full h-24 px-2 pt-2 border-b-2 border-blue-800 bg-blue-900 text-white"
            placeholder="Message"
          ></textarea>
        </div>
        <div class="flex justify-between items-center">
          <button
            class="w-full py-2 px-4 rounded bg-blue-500 hover:bg-blue-700 text-white font-bold"
            type="button"
          >
            SEND
          </button>
        </div>
      </form>
    </div>
  </div>
</div>
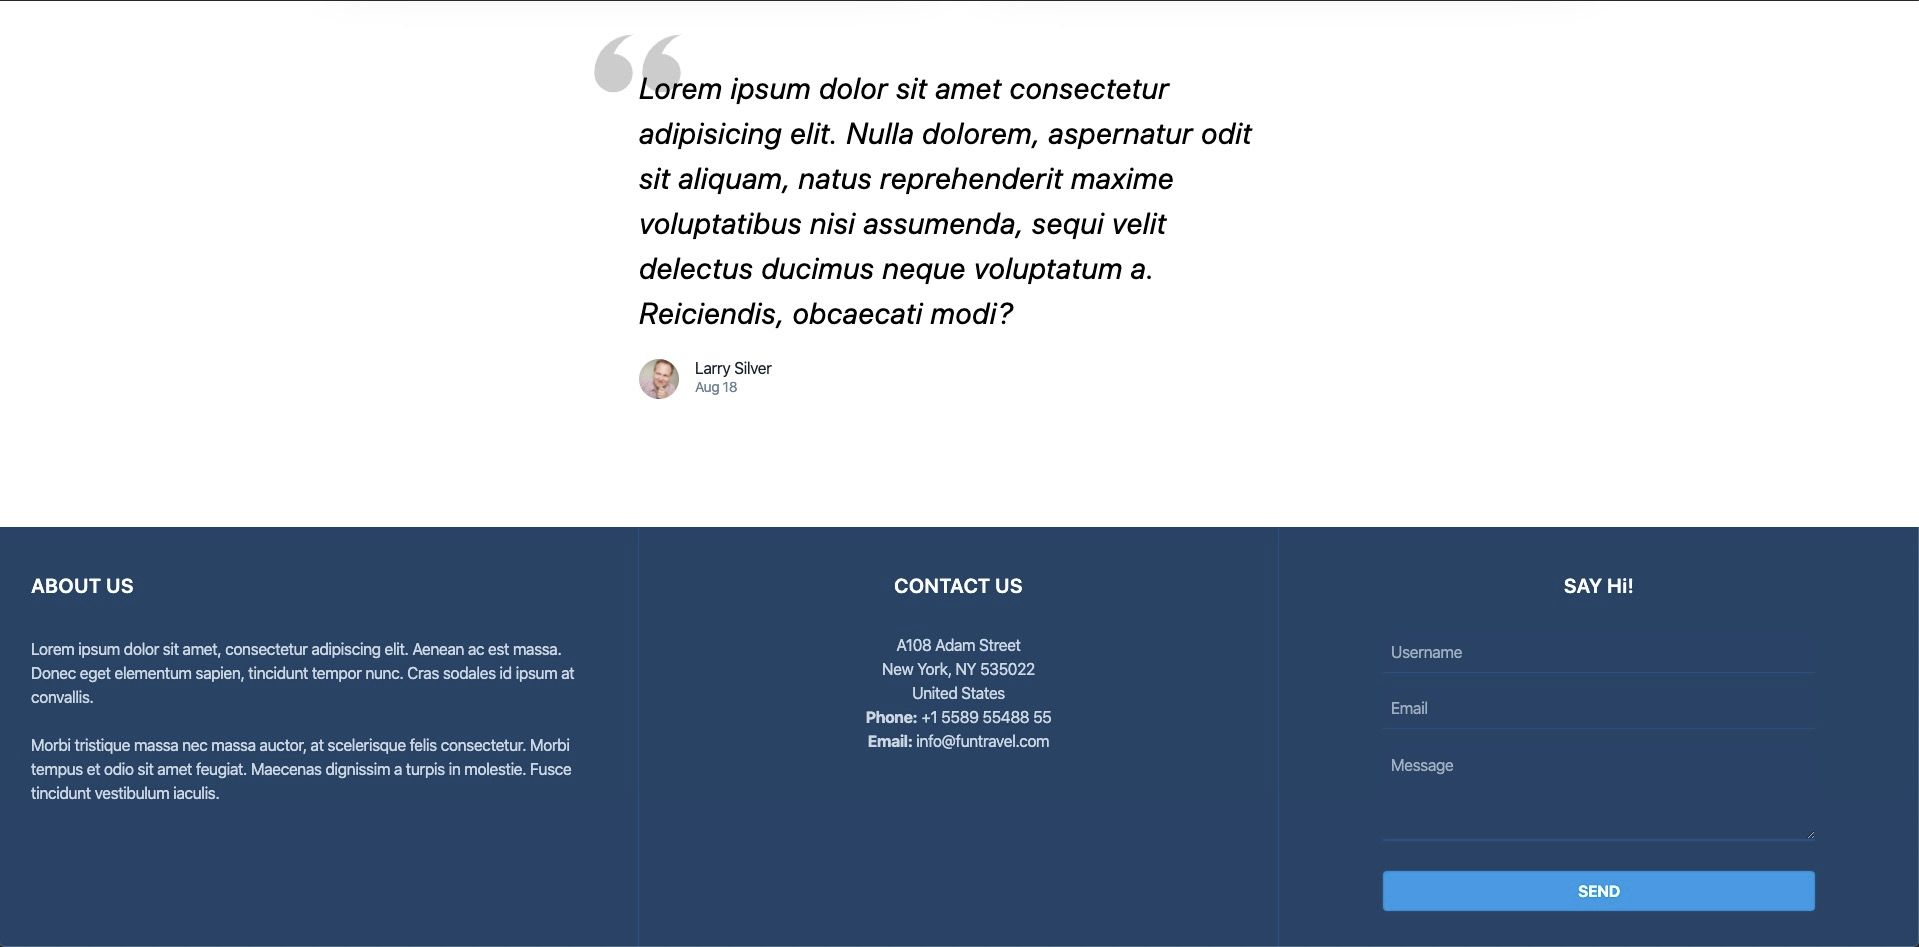
Our footer looks like:
Our complete travel site looks like:

Purge CSS
Now that we have completed our site, we need to get it ready for production. Let's run our build command for parcel and take a look at how big our bundle size is.
npm run build
You should see something similar to the following
Built in 8.45s.
dist/main.4a75d9d1.css 853.15 KB 3.77s dist/hero.ba103b23.jpg 454.1 KB 80ms dist/main.4a75d9d1.css.map 324.13 KB 35ms dist/jonathan.3233769a.jpg 25.58 KB 79ms dist/index.html 13.76 KB 4.59s dist/travel-tickets-colour.0885fda2.svg 8.21 KB 78ms dist/carry-on-colour.1cebe4f7.svg 4.63 KB 914ms dist/main.f84e1103.js 1.11 KB 45ms dist/main.f84e1103.js.map 99 B 34ms
Notice how large our main.css file is! It is over 853kb!!. The reason is that the entire Tailwind CSS library is being included. However, we only want to include the classes we are actually using, which is where Purge CSS comes in.
First we need to install PurgeCSS
npm install @fullhuman/postcss-purgecss --save-dev
Then we need to add it to our postcss.config.js file
const purgecss = require("@fullhuman/postcss-purgecss")({
  // Specify the paths to all of the template files in your project
  content: ["./src/**/*.html"],

  // Include any special characters you're using in this regular expression
  defaultExtractor: (content) => content.match(/[\w-/:]+(?<!:)/g) || [],
});

module.exports = {
  plugins: [
    require("tailwindcss"),
    require("autoprefixer"),
    ...(process.env.NODE_ENV === "production" ? [purgecss] : []),
  ],
};
We are only enabling PurgeCSS in production mode. So PurgeCSS will not run when we are using the dev server, only when we do a production build.
We then need to make a slight modification to our main.css file:
/* purgecss start ignore */
@tailwind base;
@tailwind components;
/* purgecss end ignore */
@tailwind utilities;

.better-to-buy:before {
  content: "";
  position: absolute;
  z-index: -1;
  width: 100%;
  height: 115%;
  top: 0;
  -webkit-transform: skewY(-12deg);
  transform: skewY(-12deg);
  background: #f6f9fc;
}

.heading-container {
  height: 65vh;
  top: -50px;
}

.hero img {
  height: 65vh;
}

.quote-form {
  margin-top: -45px;
  opacity: 0.99;
  z-index: 10;
}

.quotes {
  top: -50px;
  left: -50px;
  z-index: -1;
}

.testimonial {
  z-index: 2;
}

.travel-tickets {
  right: 0;
  top: -200px;
  transform: rotate(-15deg);
  z-index: -1;
}
This is all of the custom CSS we needed in order to build our travel site!
Let's run our build command again and see the results:
npm run build
Built in 2.83s.
dist/hero.ba103b23.jpg 454.1 KB 51ms dist/jonathan.3233769a.jpg 25.58 KB 48ms dist/index.html 13.76 KB 1.50s dist/main.b9e98fe1.css 8.45 KB 1.28s dist/travel-tickets-colour.0885fda2.svg 8.21 KB 47ms dist/main.b9e98fe1.css.map 5.07 KB 5ms dist/carry-on-colour.1cebe4f7.svg 4.63 KB 49ms dist/main.f84e1103.js 1.11 KB 47ms dist/main.f84e1103.js.map 99 B 2ms
Our main.css file is now only 8.45KB!! 🔥
So that wraps up this tutorial. I hope you enjoyed it and learned how powerful and fun it is to build sites with Tailwind CSS.
You can download a copy of the completed tutorial from the repo here. Each section of the tutorial is within its own branch. The branch for this article is 1-installing-tailwind-css
Or you can do it via git with:
git clone git@github.com:robertguss/howtocode.io-tailwind-css-landing-page.git

git checkout 8-footer-purge-css