AdonisJS
Adonis JS - 2. Routes, Layouts, Controllers
Updated:
In this section, we will be learning about routes, layouts, views and controllers. To begin, let's first setup and configure Bootstrap which will be using for the layout and styling of our application.
Run the following command to create our layouts directory and our default.edge file.
adonis make:view layouts/default
This will create a new file at resources/views/layouts/default.edge
Open this file in your text editor and add the following.
<!DOCTYPE html>
<html lang="en">
  <head>
    <meta charset="UTF-8" />
    <meta name="viewport" content="width=device-width, initial-scale=1.0" />
    <title>Alexandria</title>
    {{
    style('https://stackpath.bootstrapcdn.com/bootstrap/4.4.1/css/bootstrap.min.css')
    }}
  </head>
  <body>
    <div class="container">@!section('content')</div>

    {{ script('https://code.jquery.com/jquery-3.4.1.slim.min.js') }} {{
    script('https://cdn.jsdelivr.net/npm/popper.js@1.16.0/dist/umd/popper.min.js')
    }} {{
    script('https://stackpath.bootstrapcdn.com/bootstrap/4.4.1/js/bootstrap.min.js')
    }}
  </body>
</html>
Let's break this file down a little bit...
First, we are creating a basic html page. The {{ style() }} is a special method in Adonis to pull in our stylesheets. The {{ script() }} does the same, but for JavaScript. I am including the CDN files for Bootstrap 4.
The following code is what is used to 'inject" markup from other files into this layout file:
<div class="container">@!section('content')</div>
How this layout file works, will make more sense once we create our first view.
Navigation
Next, let's add a navbar from bootstrap to our layouts, as we are going to need this for our application.
Let's create a partials directory inside of our layouts folder for this component.
adonis make:view layouts/_partials/nav
Inside of this nav.edge file paste the following markup.
<nav class="navbar navbar-expand-lg navbar-light bg-light">
  <a class="navbar-brand" href="/">Alexandria</a>
  <button class="navbar-toggler" type="button" data-toggle="collapse" data-target="#navbarSupportedContent" aria-controls="navbarSupportedContent" aria-expanded="false" aria-label="Toggle navigation">
    <span class="navbar-toggler-icon"></span>
  </button>

  <div class="collapse navbar-collapse" id="navbarSupportedContent">
    <ul class="navbar-nav mr-auto">
      <li class="nav-item active">
        <a class="nav-link" href="#">Home</a>
      </li>
      <li class="nav-item">
        <a class="nav-link" href="#">Link</a>
      </li>
  </div>
</nav>
We now need to include this partial in our default.edge layout. Add the following to default.edge.
<!DOCTYPE html>
<html lang="en">
  <head>
    <meta charset="UTF-8" />
    <meta name="viewport" content="width=device-width, initial-scale=1.0" />
    <title>Alexandria</title>
    {{
    style('https://stackpath.bootstrapcdn.com/bootstrap/4.4.1/css/bootstrap.min.css')
    }}
  </head>
  <body>
    @include('layouts/_partials/nav')

    <div class="container">@!section('content')</div>

    {{ script('https://code.jquery.com/jquery-3.4.1.slim.min.js') }} {{
    script('https://cdn.jsdelivr.net/npm/popper.js@1.16.0/dist/umd/popper.min.js')
    }} {{
    script('https://stackpath.bootstrapcdn.com/bootstrap/4.4.1/js/bootstrap.min.js')
    }}
  </body>
</html>
You will notice that I have added @include('layous/_partials/nav') this include helper provided by Adonis will allow us to include other .edge files.
If you refresh the application, you will notice that nothing changes. We need to now configure our routes to use this new layout.
Open start/routes.js in your text editor. You should see the following:
"use strict";

/*
    |--------------------------------------------------------------------------
    | Routes
    |--------------------------------------------------------------------------
    |
    | Http routes are entry points to your web application. You can create
    | routes for different URL's and bind Controller actions to them.
    |
    | A complete guide on routing is available here.
    | http://adonisjs.com/docs/4.1/routing
    |
    */

/** @type {typeof import('@adonisjs/framework/src/Route/Manager')} */
const Route = use("Route");

Route.on("/").render("welcome");
There is currently only a single route, which is rendering the welcome.edge template located at resources/views/welcome.edge. Let's modify this template to use our new layout.
Add the following markup to welcome.edge:
@layout('layouts.default')

@section('content')
  <h1>Alexandria</h1>
@endsection
@layout('layouts.default') is telling Adonis to use our new layout file. This syntax can also be @layout('layouts/default')
Everything that exists between the @section() and @endsection() will be injected into the default.edge template, which if you recall looks like this:
<div class="container">
  @!section('content')
</div>
Now if you refresh the page you should see the following.
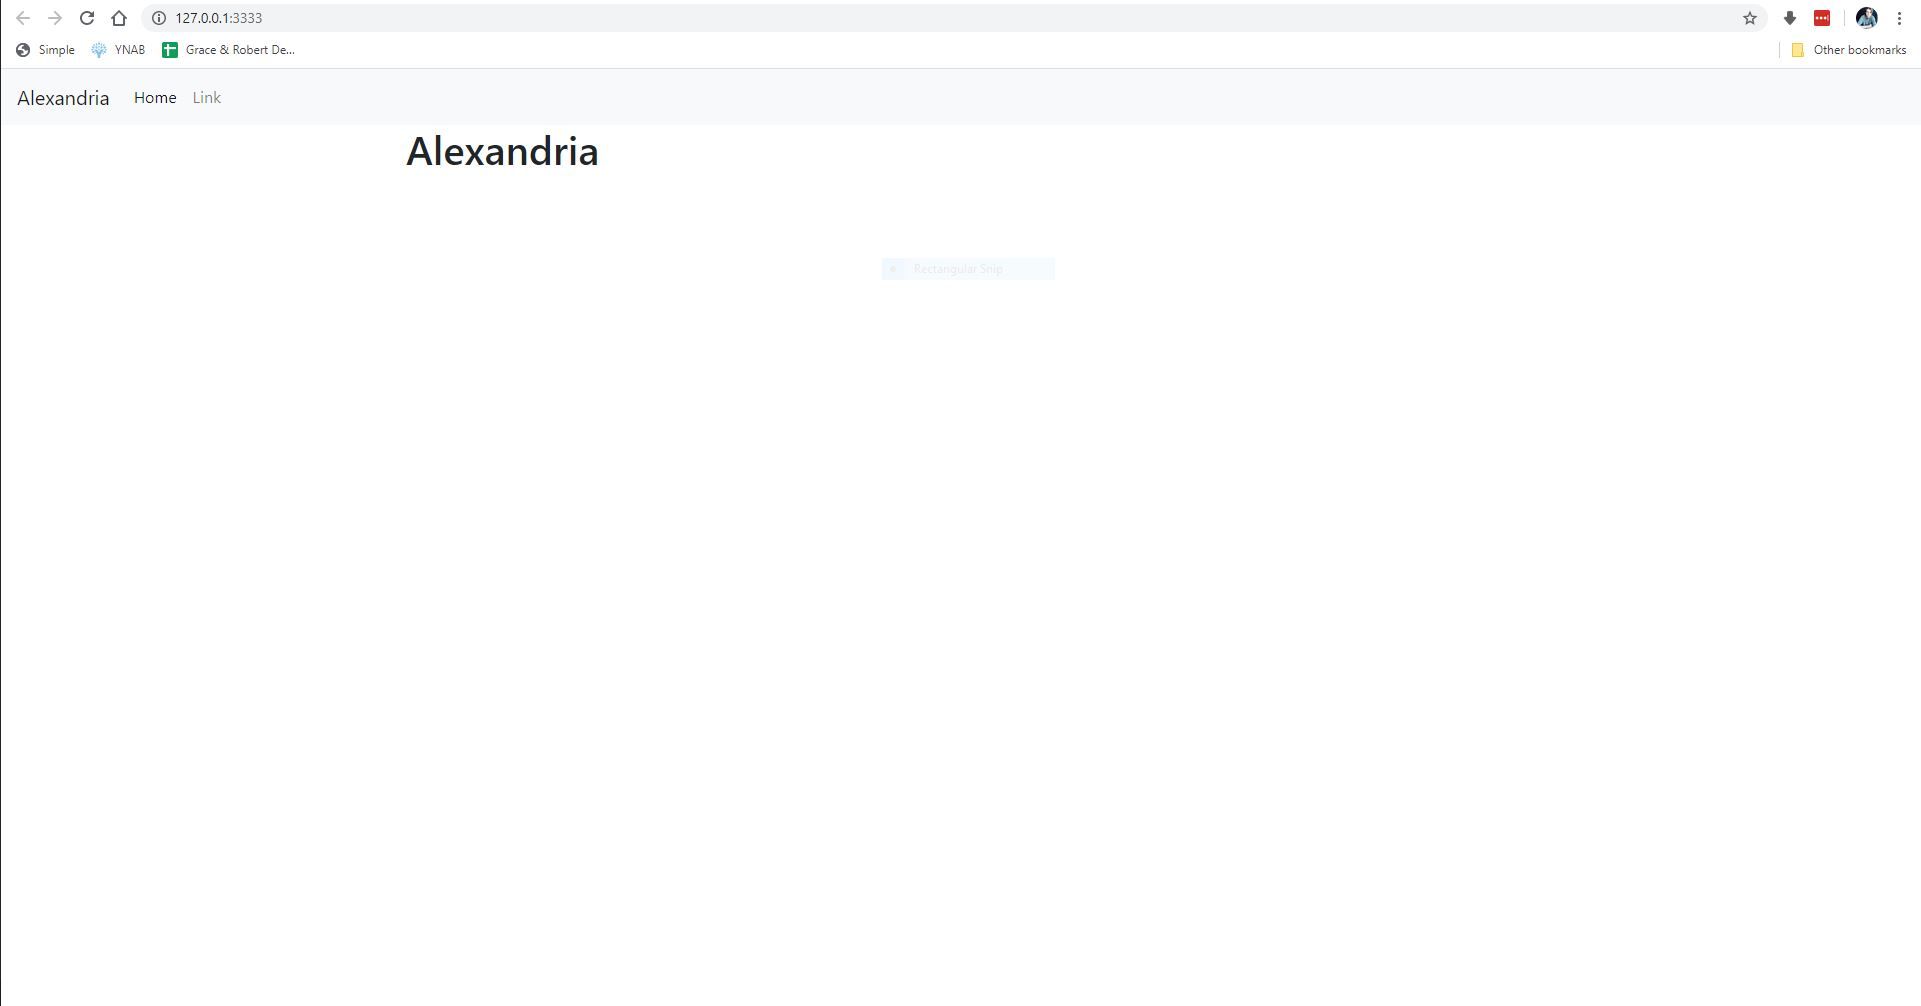 alexandria application home page
Book Controller
Now let's create our first controller for our books. Run the following command.
adonis make:controller Book
Select "For HTTP requests" when the terminal prompts you.
This will create a new file at app/Controllers/Http/BookController.js and looks like the following:
"use strict";

class BookController {}

module.exports = BookController;
We will now create our index() action which will return a list of all of our books. The data will be hard-coded for now, but soon we will be returning data from our database.
Add the following to BookController.js
"use strict";

class BookController {
  async index({ view }) {
    const books = [
      { title: "Book 1", author: "John Doe" },
      { title: "Book 2", author: "Jane Doe" },
      { title: "Book 3", author: "Adam Smith" },
    ];

    return view.render("book.index", {
      books: books,
    });
  }
}

module.exports = BookController;
We have created a new method called index() and are passing in a view object. This tells Adonis that this method will be returning a .edge view file. We then create a simple array called books that contains 3 objects with title and author. At the end of this method we are returning a view called index which is located inside of the book directory (this does not exist yet!) and then passing the view an object with a property of books, whose value is our books array. You can use some ES6 syntactic sugar like so:
return view.render("book.index", {
  books,
});
When the property and value of a JS object have the same name, you just need to add the name once.
Now, let's create this view.
adonis make:view book/index
This will create an index.edge file at resources/views/book/index.edge
Add the following markup to this file:
@layout('layouts.default')

@section('content')
  <h1>Books Index</h1>

  <ul>
    @each(book in books)
  <li>{{ book.title }} - {{ book.author }}</li>
    @endeach
  </ul>
@endsection
We are using our default.edge layout and using Edge's templating shorthand for a for loop to loop through our books array.
Now, we need to create a new route, which will load this view. Open up start/routes.js and add the following:
"use strict";
/*
|--------------------------------------------------------------------------
| Routes
|--------------------------------------------------------------------------
|
| Http routes are entry points to your web application. You can create
| routes for different URL's and bind Controller actions to them.
|
| A complete guide on routing is available here.
| http://adonisjs.com/docs/4.1/routing
|
*/
/** @type {typeof import('@adonisjs/framework/src/Route/Manager')} */
const Route = use("Route");
Route.on("/").render("welcome");
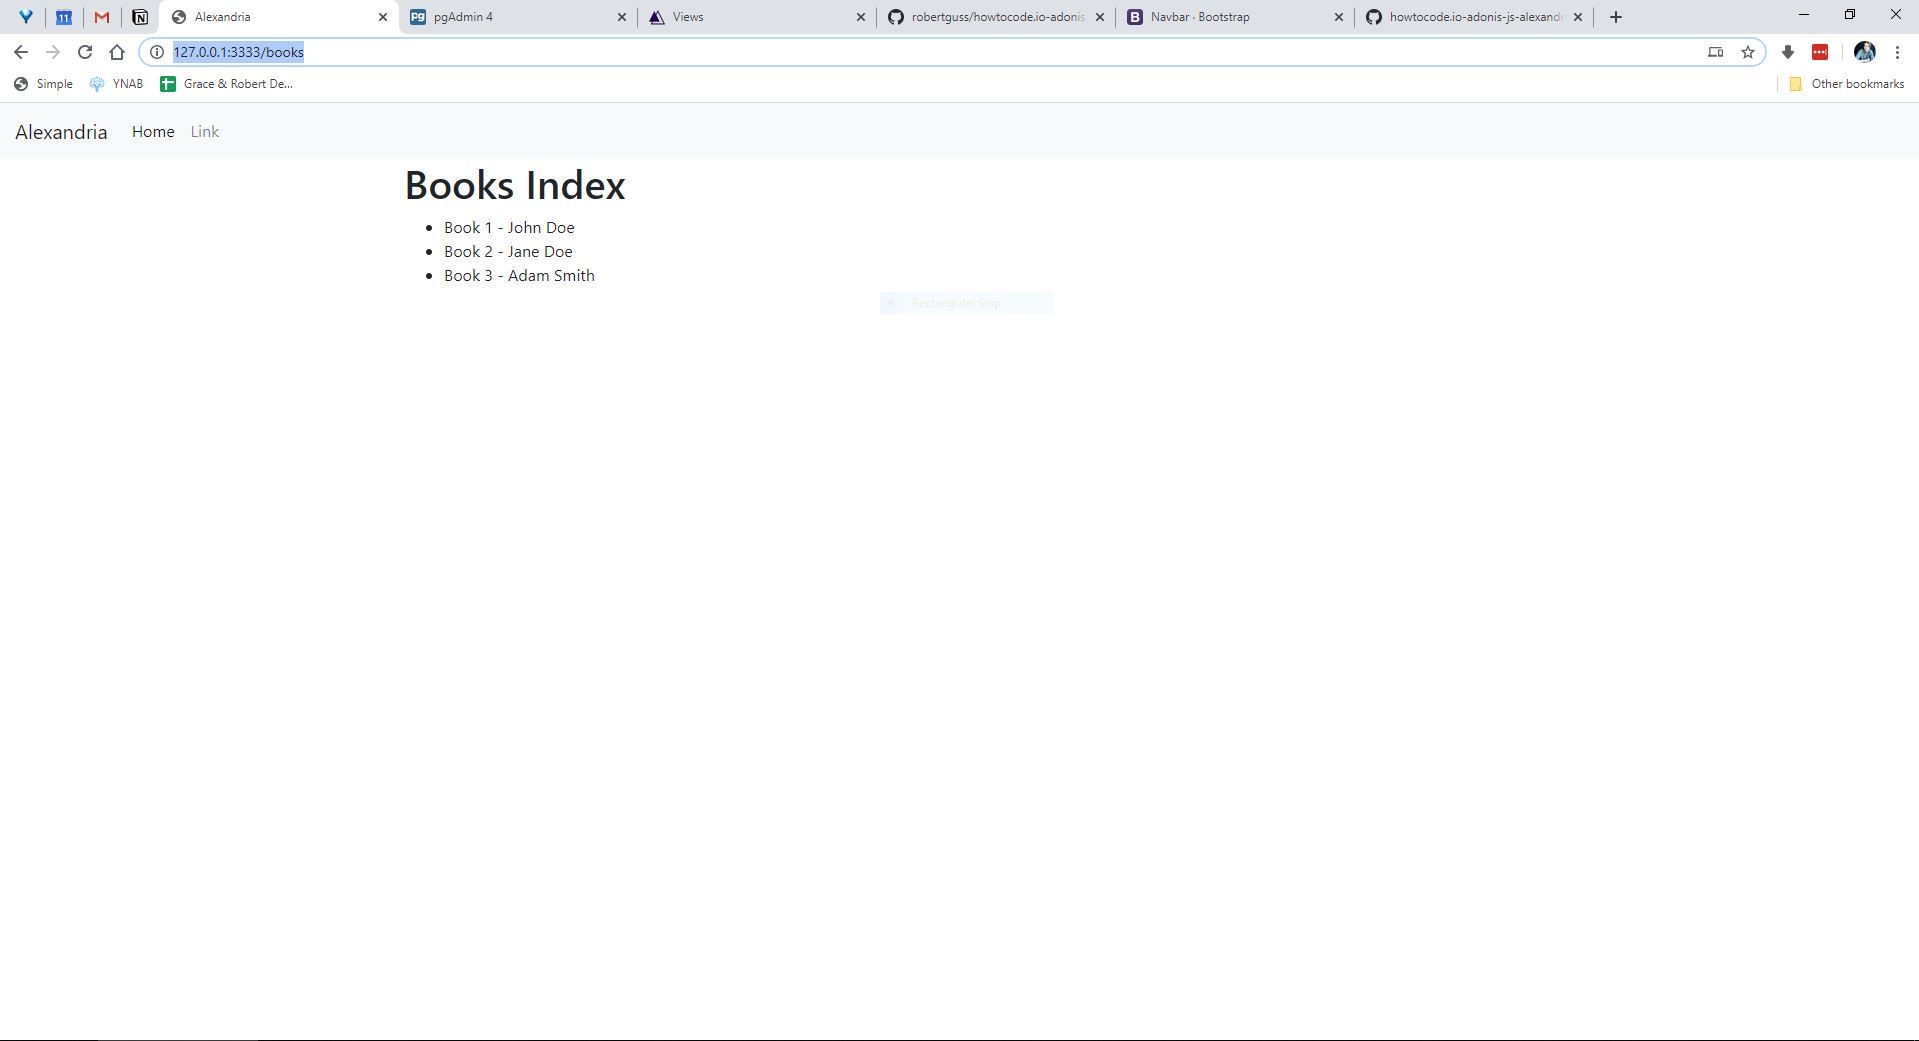
Route.get("/books", "BookController.index");
Now, go to http://localhost:3333/books and you should see the following:
Wrap Up
In this lesson, we learned about layouts, routes, views, Edge templating and Controllers. In the next lesson, we will add more methods to our controller to create books, forms, validation and create a book model to interact with our database.
Repo
The code for this section can be found in the repo under the branch 2-routes-layouts-views-controllers.