AdonisJS
Adonis JS - 5. User Authentication
Updated:
In this section we are going to learn how to setup user authentication so only registered and logged in users are able to create, edit & delete books. In a real world library, these users would be the staff of the library. Non registered users are able to view all of the books.
Create Users
If you remember back to the first section of this tutorial, we ran the migrations that Adonis provides "out of the box" for us to test that our database was connected properly. One of these migrations was for a users table. It also created a user model, so much of the groundwork has already been laid for us!
Let's create a form that will allow users to register and sign up for our application.
adonis make:view user/create
Add the following markup to our new user/create.edge view:
@layout('layouts.default')

@section('content')
  <h1>Register User</h1>

  <form action="/register" method="POST">
    {{ csrfField() }}

    <div class="form-group">
      <label for="">Username</label>
      <input type="text" name="username" class="form-control">
    </div>

    <div class="form-group">
      <label for="">Email</label>
      <input type="text" name="email" class="form-control">
    </div>

    <div class="form-group">
      <label for="">Password</label>
      <input type="password" name="password" class="form-control">
    </div>

    <input type="submit" value="Submit" class="btn btn-primary">
  </form>
@endsection
Challenge: Add form validation to the user form to make sure all of the required data is entered and formatted properly
You will notice the form action is making a POST request to /register so let's create this route in our routes.js in addition to our GET route.
"use strict";

/*
    |--------------------------------------------------------------------------
    | Routes
    |--------------------------------------------------------------------------
    |
    | Http routes are entry points to your web application. You can create
    | routes for different URL's and bind Controller actions to them.
    |
    | A complete guide on routing is available here.
    | http://adonisjs.com/docs/4.1/routing
    |
    */

/** @type {typeof import('@adonisjs/framework/src/Route/Manager')} */
const Route = use("Route");

// Route.on("/").render("welcome");
Route.get("/", "BookController.index");
Route.get("books/create", "BookController.create");
Route.post("books", "BookController.store");
Route.get("books/:id", "BookController.show");
Route.get("/books/:id/edit", "BookController.edit");
Route.put("/books/:id", "BookController.update");
Route.delete("/books/:id", "BookController.destroy");

// Register Users
Route.get("register", "UserController.create");
Route.post("register", "UserController.store");
Our route is using a new UserController which does not exist yet, so let's create it now.
adonis make:controller User
Select "For HTTP requests" in the prompt in your terminal
Now let's add our create() method:
"use strict";

class UserController {
  create({ view }) {
    return view.render("user.create");
  }
}

module.exports = UserController;
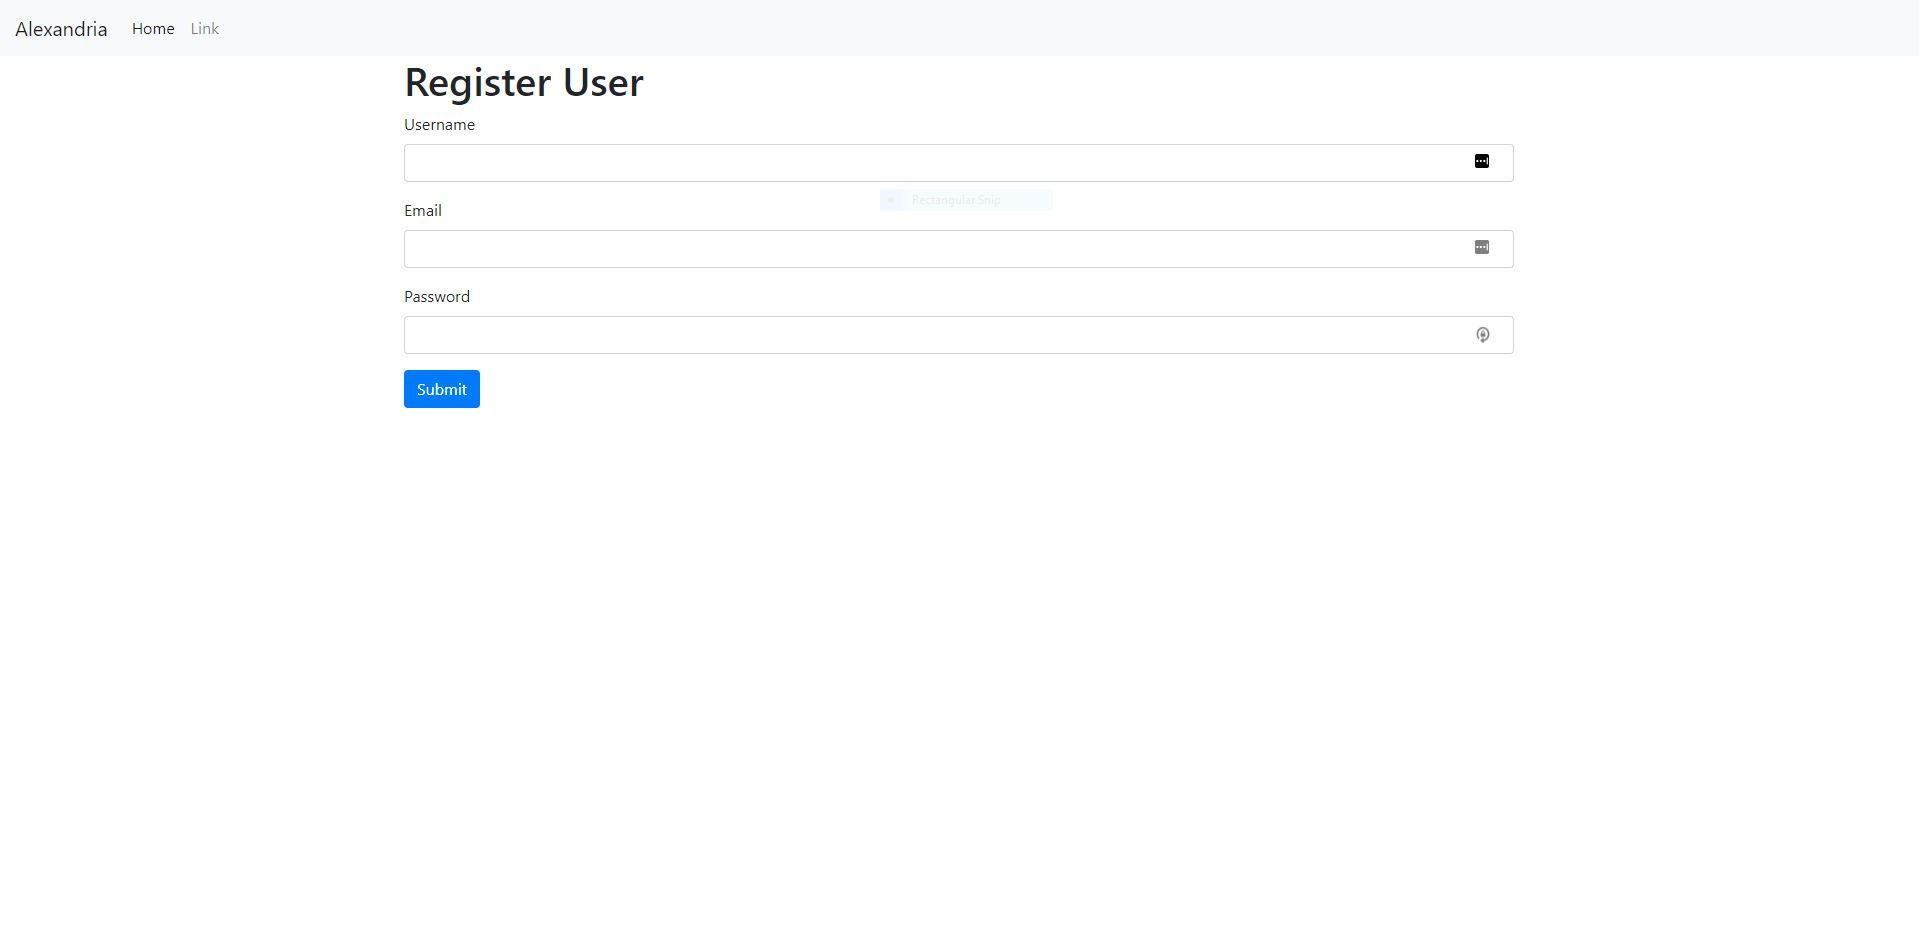
Go to http://localhost:3333/register in your browser and you should see the following:
Next, we need to add our store() method on our user controller to actually save this user in our database.
"use strict";

const User = use("App/Models/User");

class UserController {
  create({ view }) {
    return view.render("user.create");
  }

  async store({ auth, session, request, response }) {
    const data = request.only(["username", "email", "password"]);

    const user = await User.create(data);

    session.flash({ notification: "User created successfully" });

    return response.redirect("/");
  }
}

module.exports = UserController;
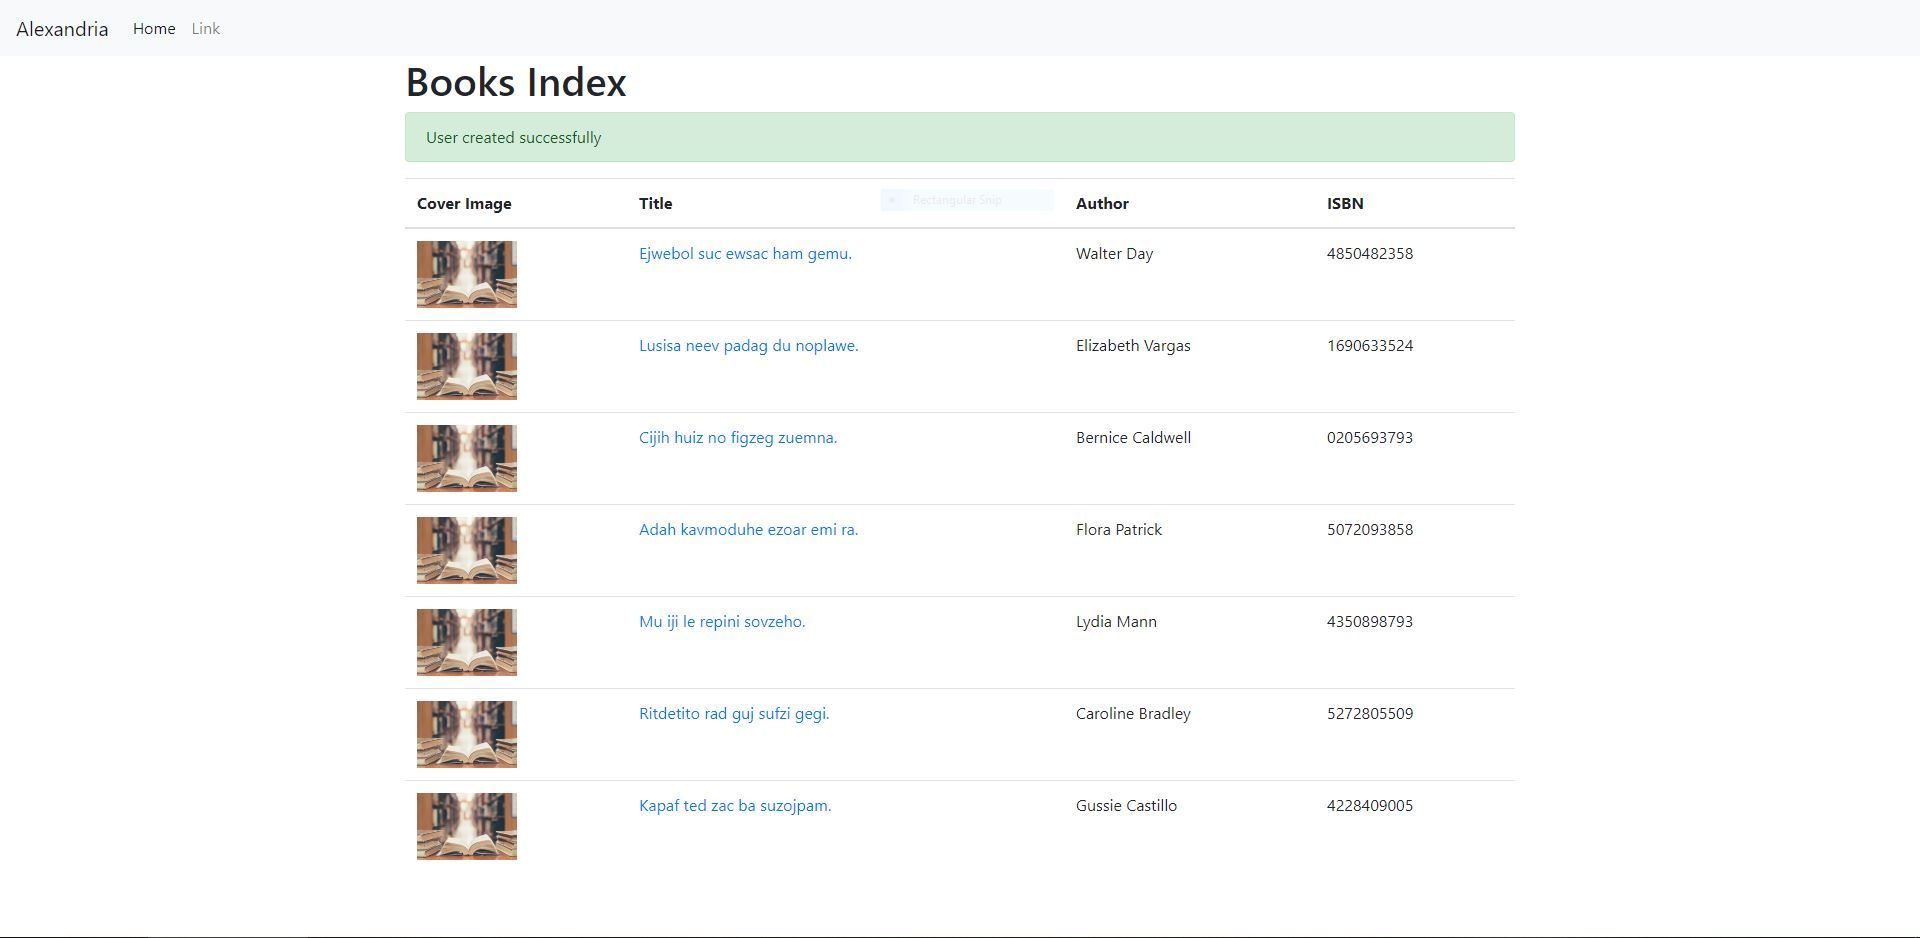
Refresh the page and fill out the user information and hit submit. If all goes well you should see the following:
Let's double-check and make sure our new user is in our database.
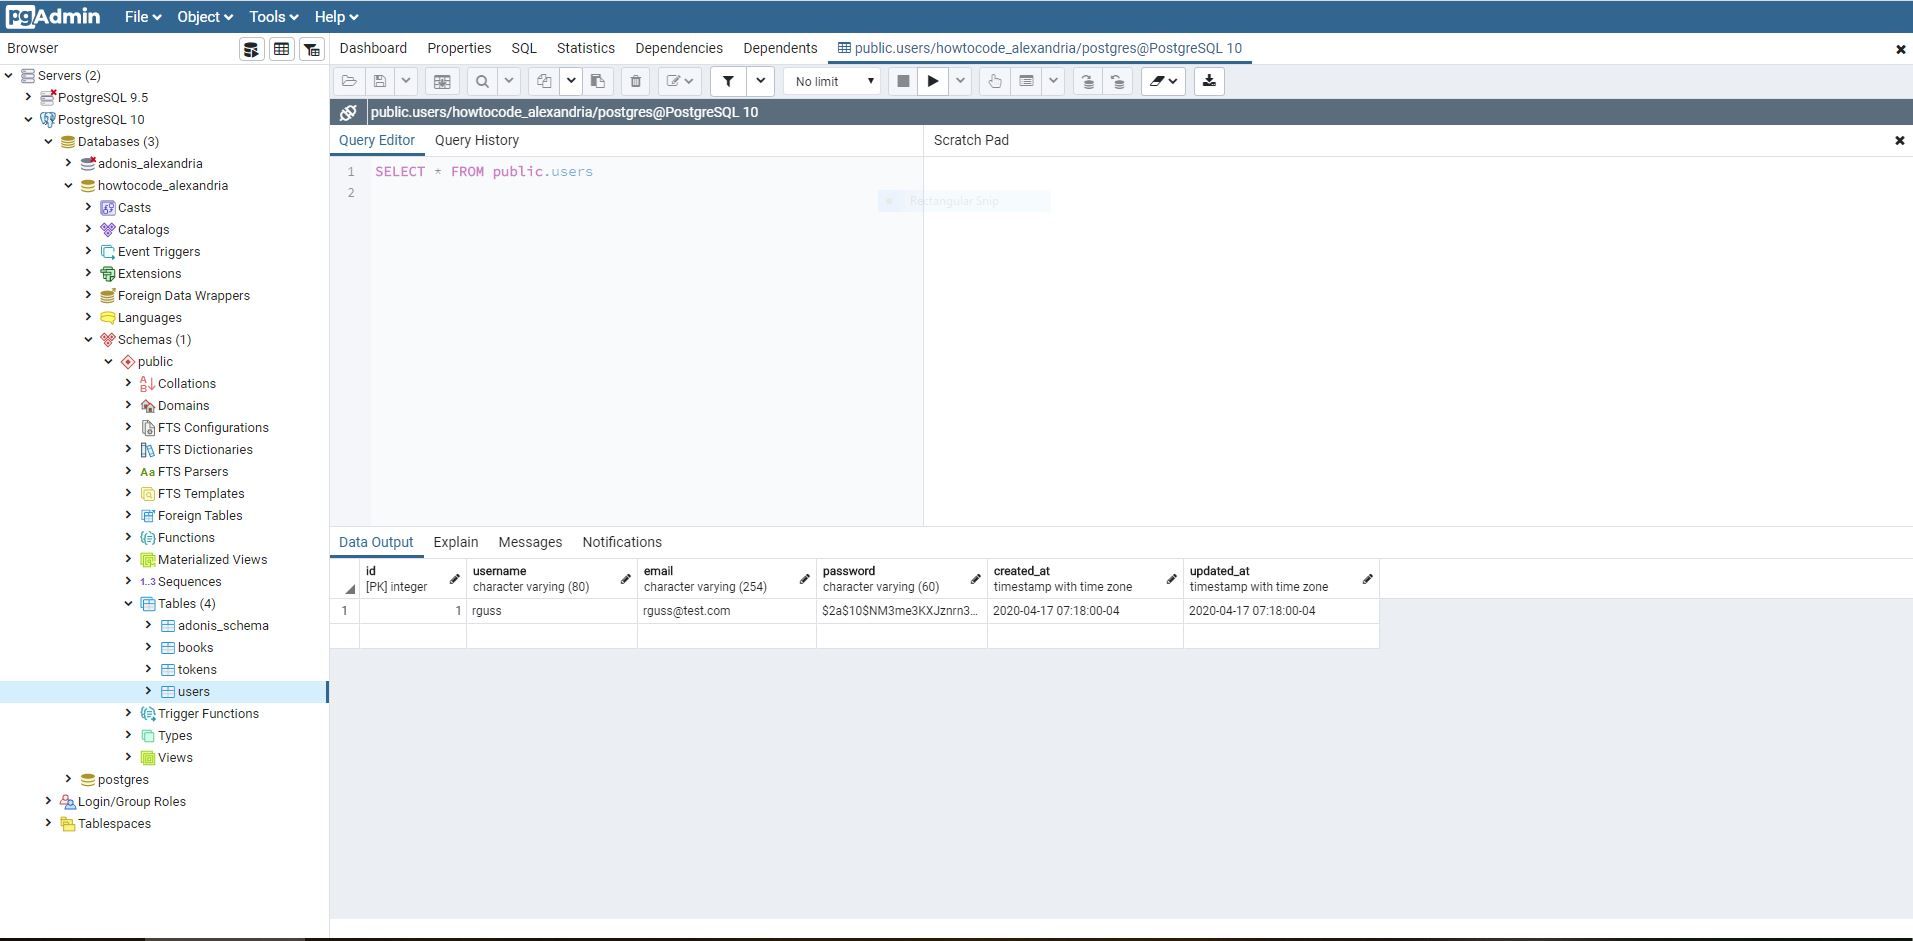
Adonis hashes passwords for us automatically... one less thing for us to worry about.
Challenge: create the ability to edit and delete users. Look at how we are doing this for our books and modify the code as needed for users.
User Login
Now that we can create our users, we need a way for them to login and logout of our application.
First, let's create a SessionContoller that will handle the logging in and out of users.
adonis make:controller Session
```**_

_**Select "For HTTP requests" in the prompt in your terminal**_

We are also going to need a form for users to login with:

```bash
adonis make:view session/create
Finally, we are going to need some new routes.
"use strict";

/*
    |--------------------------------------------------------------------------
    | Routes
    |--------------------------------------------------------------------------
    |
    | Http routes are entry points to your web application. You can create
    | routes for different URL's and bind Controller actions to them.
    |
    | A complete guide on routing is available here.
    | http://adonisjs.com/docs/4.1/routing
    |
    */

/** @type {typeof import('@adonisjs/framework/src/Route/Manager')} */
const Route = use("Route");

// Route.on("/").render("welcome");
Route.get("/", "BookController.index");
Route.get("books/create", "BookController.create");
Route.post("books", "BookController.store");
Route.get("books/:id", "BookController.show");
Route.get("/books/:id/edit", "BookController.edit");
Route.put("/books/:id", "BookController.update");
Route.delete("/books/:id", "BookController.destroy");

// Register Users
Route.get("register", "UserController.create");
Route.post("register", "UserController.store");

// Session
Route.get("login", "SessionController.create");
Route.post("login", "SessionController.store");
With all that in place, let's create our our login form. Add the following markup to session/create.edge
@layout('layouts.default')

@section('content')
  <h1>Login</h1>

  @if(old('notification'))
    <div class="alert alert-danger">
      {{ old('notification') }}
    </div>
  @endif

  <form action="/login" method="POST">
    {{ csrfField() }}

    <div class="form-group">
      <label for="">Email</label>
      <input type="text" name="email" class="form-control">
    </div>

    <div class="form-group">
      <label for="">Password</label>
      <input type="password" name="password" class="form-control">
    </div>

    <input type="submit" value="Submit" class="btn btn-primary">
  </form>
@endsection
Now let's update our controller:
"use strict";

class SessionController {
  create({ view }) {
    return view.render("session.create");
  }

  async store({ auth, request, response, session }) {
    const { email, password } = request.all();

    try {
      await auth.attempt(email, password);
    } catch (e) {
      session.flashExcept(["password"]);

      session.flash({
        error: "We cannot find any account with these credentials.",
      });

      return response.redirect("login");
    }

    session.flash({ notification: "Logged in successfully" });
    return response.redirect("/");
  }
}

module.exports = SessionController;
Go to http://localhost:3333/login and try and login with the user you created in the previous step:
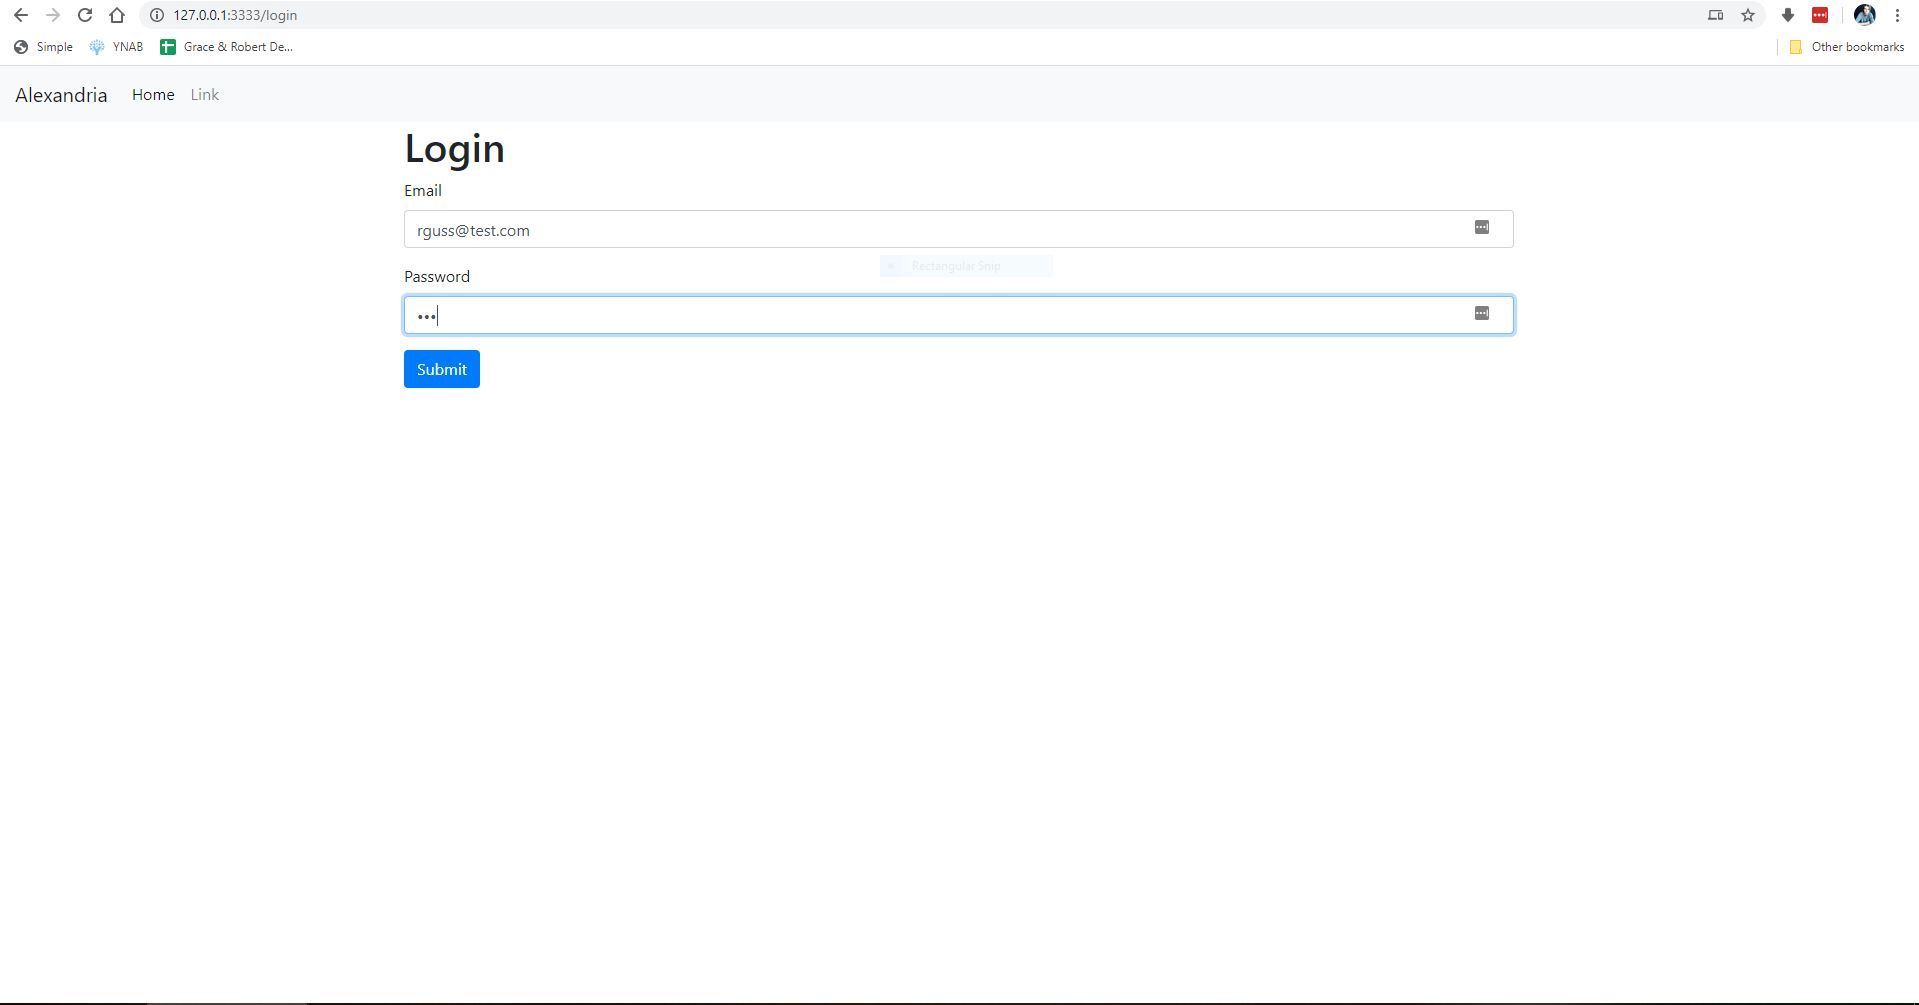
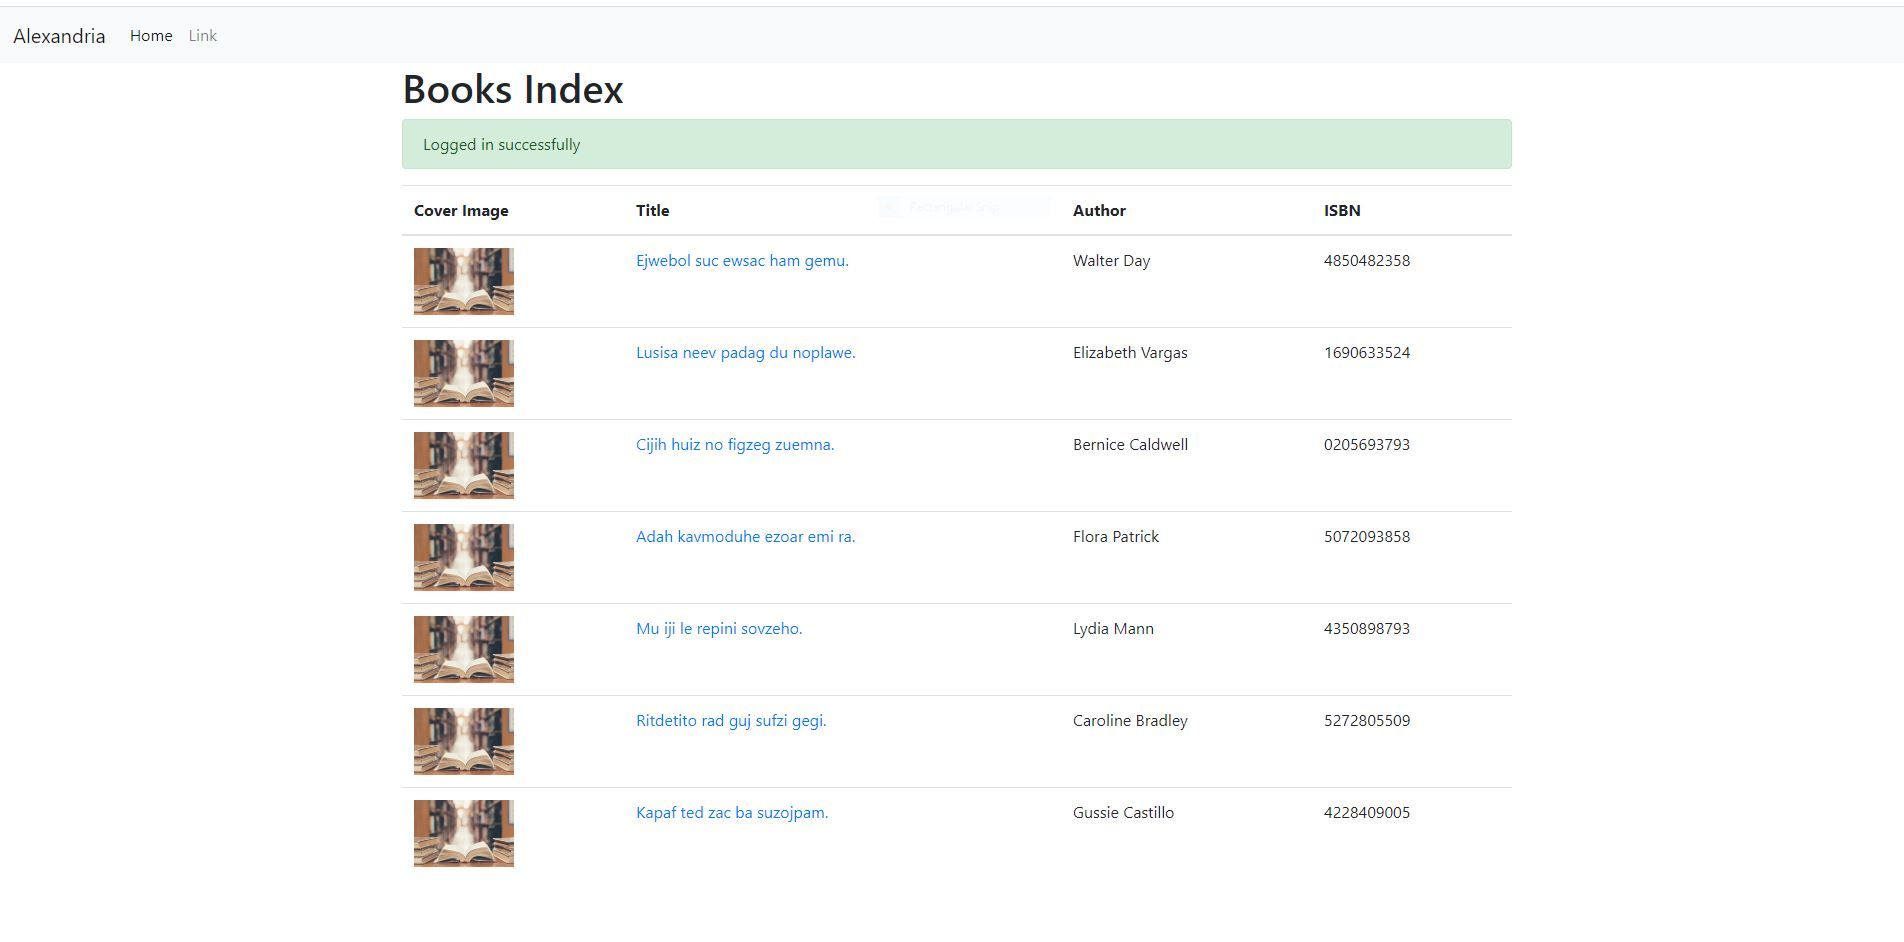
Great! Now we are logged in.
User Logout
Let's also add the ability for users to logout. First we need to create a new logout route:
"use strict";

/*
    |--------------------------------------------------------------------------
    | Routes
    |--------------------------------------------------------------------------
    |
    | Http routes are entry points to your web application. You can create
    | routes for different URL's and bind Controller actions to them.
    |
    | A complete guide on routing is available here.
    | http://adonisjs.com/docs/4.1/routing
    |
    */

/** @type {typeof import('@adonisjs/framework/src/Route/Manager')} */
const Route = use("Route");

// Route.on("/").render("welcome");
Route.get("/", "BookController.index");
Route.get("books/create", "BookController.create");
Route.post("books", "BookController.store");
Route.get("books/:id", "BookController.show");
Route.get("/books/:id/edit", "BookController.edit");
Route.put("/books/:id", "BookController.update");
Route.delete("/books/:id", "BookController.destroy");

// Register Users
Route.get("register", "UserController.create");
Route.post("register", "UserController.store");

// Session
Route.get("login", "SessionController.create");
Route.post("login", "SessionController.store");
Route.get("logout", "SessionController.delete");
Then we need to create a delete() method on our controller:
"use strict";
class SessionController {
create({ view }) {
return view.render("session.create");
}
async store({ auth, request, response, session }) {
const { email, password } = request.all();
try {
await auth.attempt(email, password);
} catch (e) {
session.flashExcept(["password"]);
session.flash({
error: "We cannot find any account with these credentials.",
});
return response.redirect("login");
}
session.flash({ notification: "Logged in successfully" });
return response.redirect("/");
}
async delete({ auth, response, session }) {
await auth.logout();
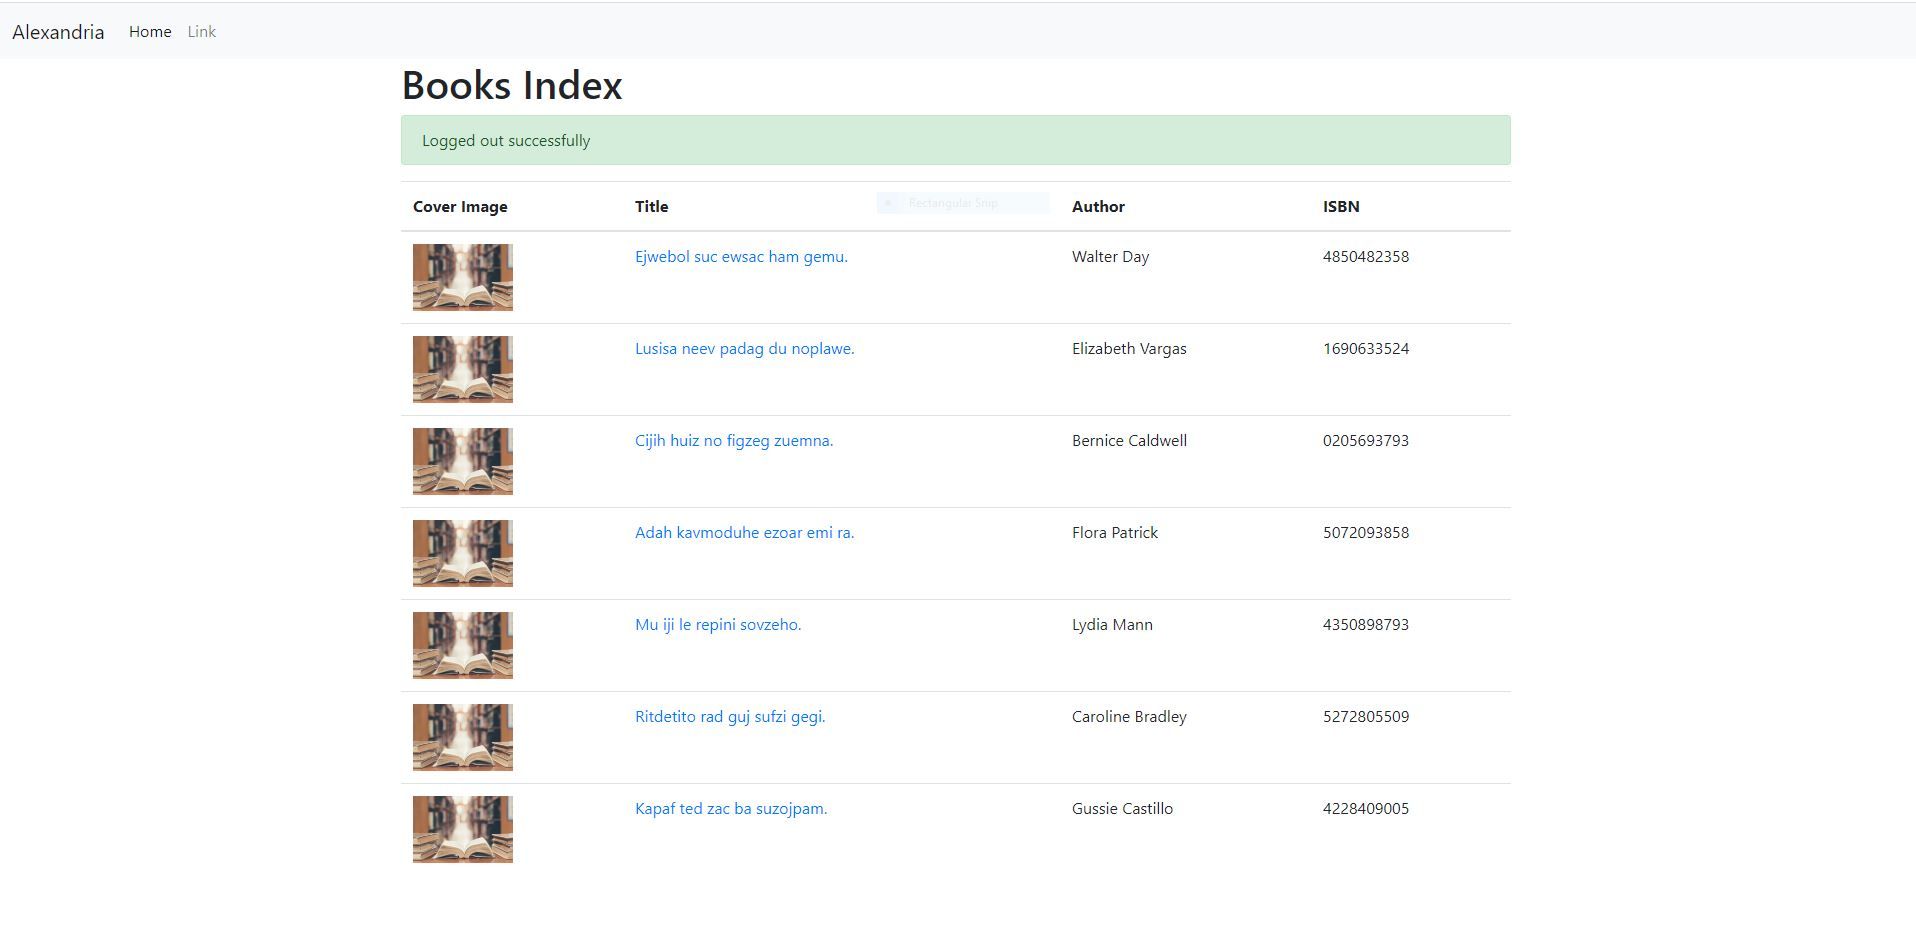
session.flash({ notification: "Logged out successfully" });
return response.redirect("/");
}
}
module.exports = SessionController;
Now if we refresh the page, and then go to http://localhost:3333/logout we should see the following:
Protecting Routes
Now that we need to secure certain routes so that only logged in users are able to create, edit & delete books. We can do this with route groups in Adonis.
We are going to wrap various routes in the following groups:
Route.group(() => {}).middleware(["auth"]);
Routes that are inside of the "auth" group will only be accessible to logged in users.
Update your routes.js file with the following:
"use strict";

/*
    |--------------------------------------------------------------------------
    | Routes
    |--------------------------------------------------------------------------
    |
    | Http routes are entry points to your web application. You can create
    | routes for different URL's and bind Controller actions to them.
    |
    | A complete guide on routing is available here.
    | http://adonisjs.com/docs/4.1/routing
    |
    */

/** @type {typeof import('@adonisjs/framework/src/Route/Manager')} */
const Route = use("Route");

// Must be logged in
Route.group(() => {
  // Session
  Route.get("logout", "SessionController.delete");

  // Register Users
  Route.get("register", "UserController.create");
  Route.post("register", "UserController.store");

  // Books
  Route.get("books/create", "BookController.create");
  Route.post("books", "BookController.store");
  Route.get("/books/:id/edit", "BookController.edit");
  Route.put("/books/:id", "BookController.update");
  Route.delete("/books/:id", "BookController.destroy");
}).middleware(["auth"]);

// Books
Route.get("/", "BookController.index");
Route.get("books/:id", "BookController.show");

// Session
Route.get("login", "SessionController.create");
Route.post("login", "SessionController.store");
The order of your routes is important! This file is read from top to bottom, so it is important that you pay close attention to the order in which you list all of your routes
So now a user must be logged in to register a new user or create, edit or delete books. You can test this by trying to visit any of these routes when not logged in and then visiting the same routes again after logging in.
To make this easier, let's update our navigation with links to these various routes. Add the following to resources/views/layouts/_partials/nav.edge
<nav class="navbar navbar-expand-lg navbar-light bg-light">
  <a class="navbar-brand" href="/">Alexandria</a>
  <button
    class="navbar-toggler"
    type="button"
    data-toggle="collapse"
    data-target="#navbarSupportedContent"
    aria-controls="navbarSupportedContent"
    aria-expanded="false"
    aria-label="Toggle navigation"
  >
    <span class="navbar-toggler-icon"></span>
  </button>

  <div class="collapse navbar-collapse" id="navbarSupportedContent">
    <ul class="navbar-nav mr-auto">
      @loggedIn
      <li class="nav-item">
        <a class="nav-link" href="/books/create">Add a Book</a>
      </li>
      <li class="nav-item">
        <a class="nav-link" href="/register">Create a User</a>
      </li>
      <li class="nav-item">
        <a class="nav-link" href="/logout">Logout</a>
      </li>
      @else
      <li class="nav-item">
        <a class="nav-link" href="/login">Login</a>
      </li>
      @endloggedIn
    </ul>
  </div>
</nav>
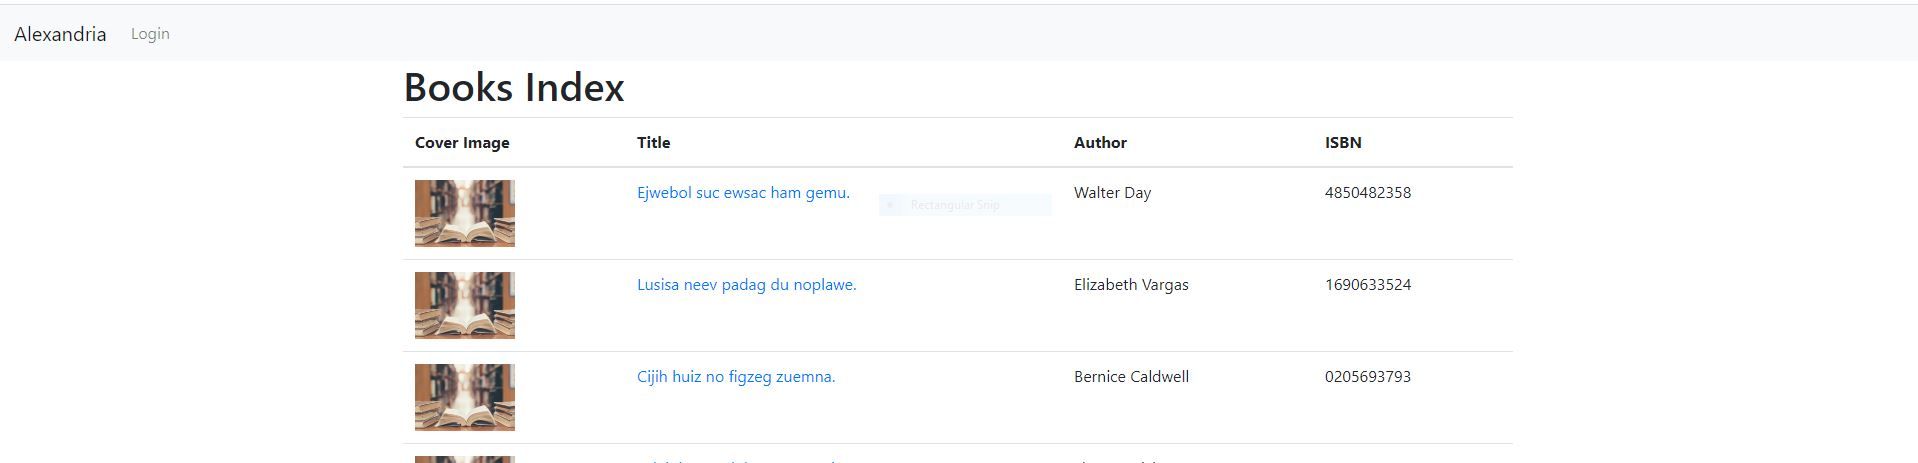
Notice the @loggedIn helper method. Anything inside of this will only be shown to logged in users and the routes in the @else will be shown to all.
Now our homepage nav bar should look like this:
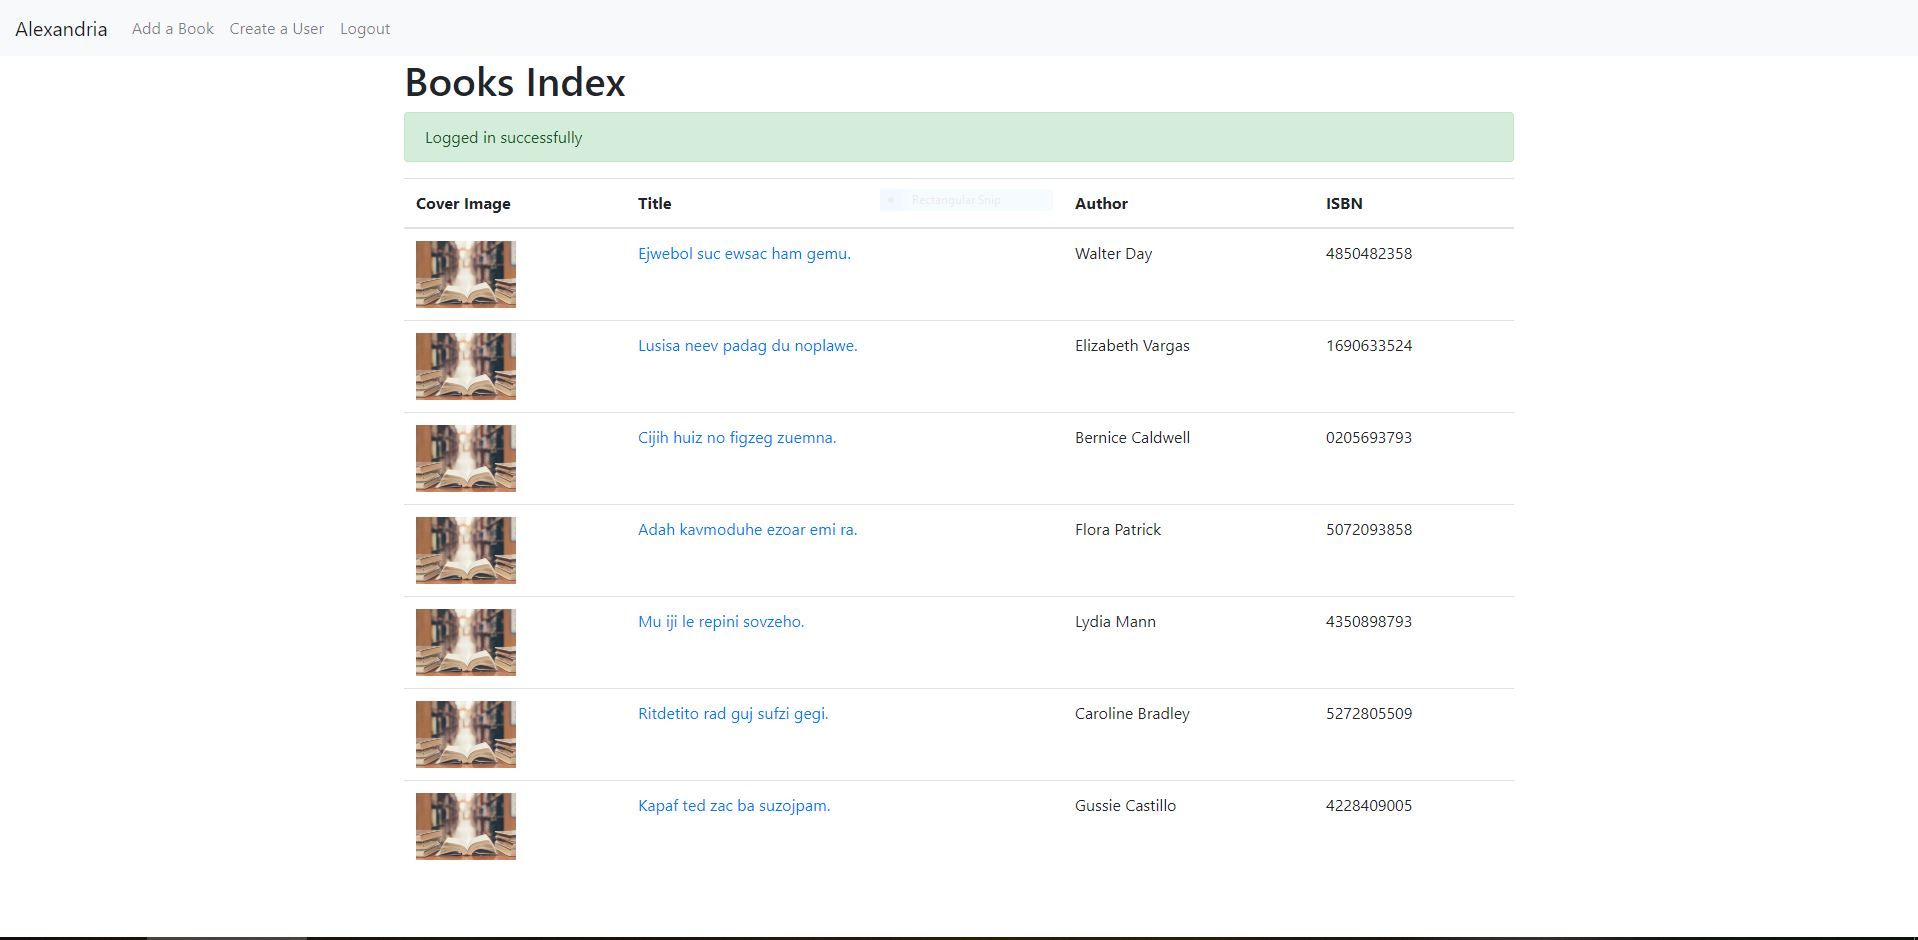
Click on the login link, login and the navbar should now look like:
Repo
The code for this section can be found in the repo under the branch 5-user-authentication.
Wrap Up
In this lesson, we learned how to create & authenticate users. We also learned how to protect certain routes from non-authenticated users and hide certain portions of our views with built in edge templating methods.
This wraps up the Adonis JS Fundamentals tutorial. I hope you enjoyed building this application and will continue to build more with this awesome framework!