Astro
Creating our markdown blog
Updated:
Creating our blog project
First, we will need to create a new Astro project. I like to keep all of my code inside a projects folder on my computer. For example, I will create this new Astro project inside projects/getting-started-with-astro. You can create it wherever you like on your machine, however.
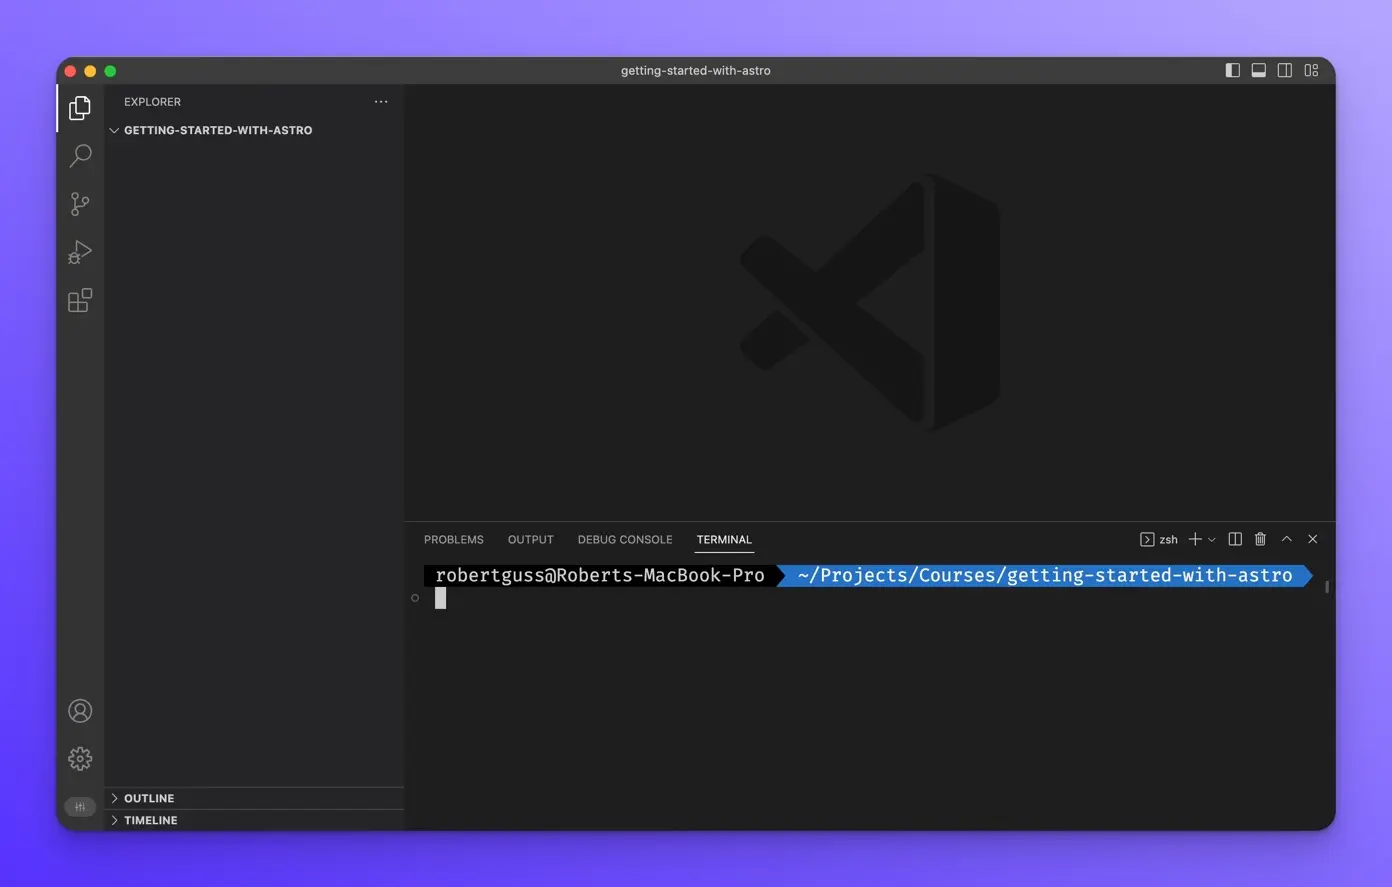
Throughout this project, I will be using the terminal built into VSCode. So, I will open up the getting-started-with-astro directory, which is currently empty, in VSCode like so:
Type the following in the terminal and press Enter.
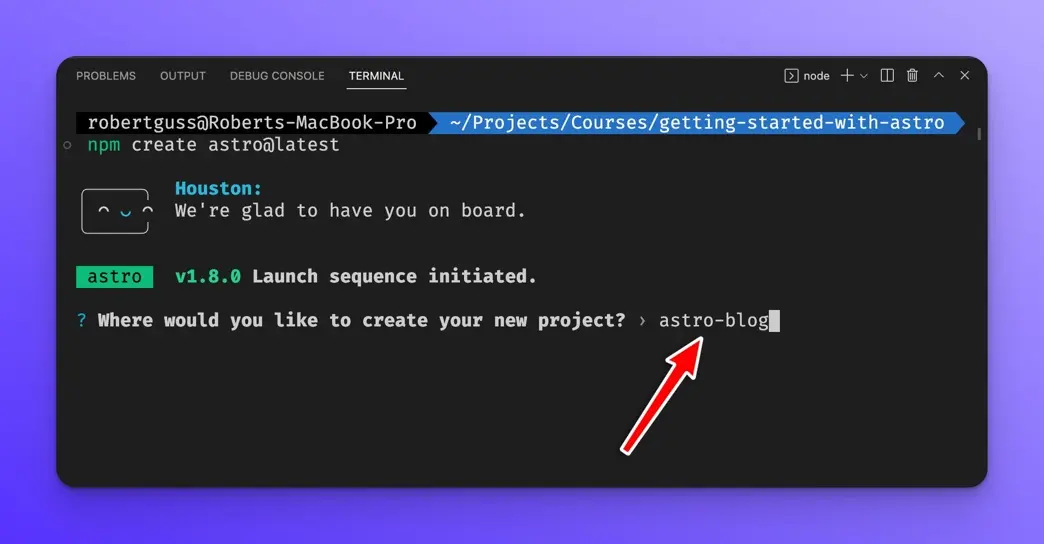
npm create astro@latest
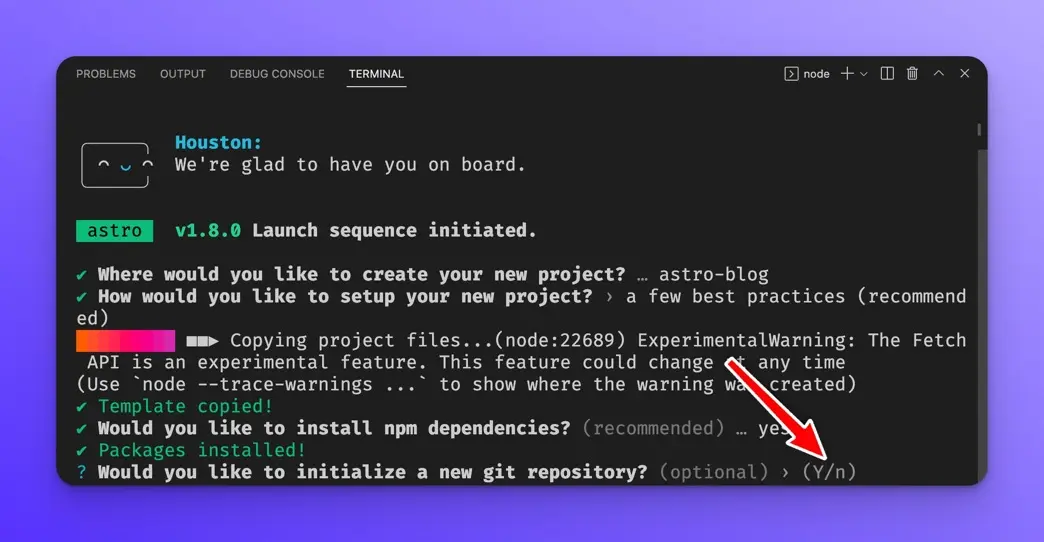
The Astro CLI will then ask you what to name your new project. I will call it astro-blog.
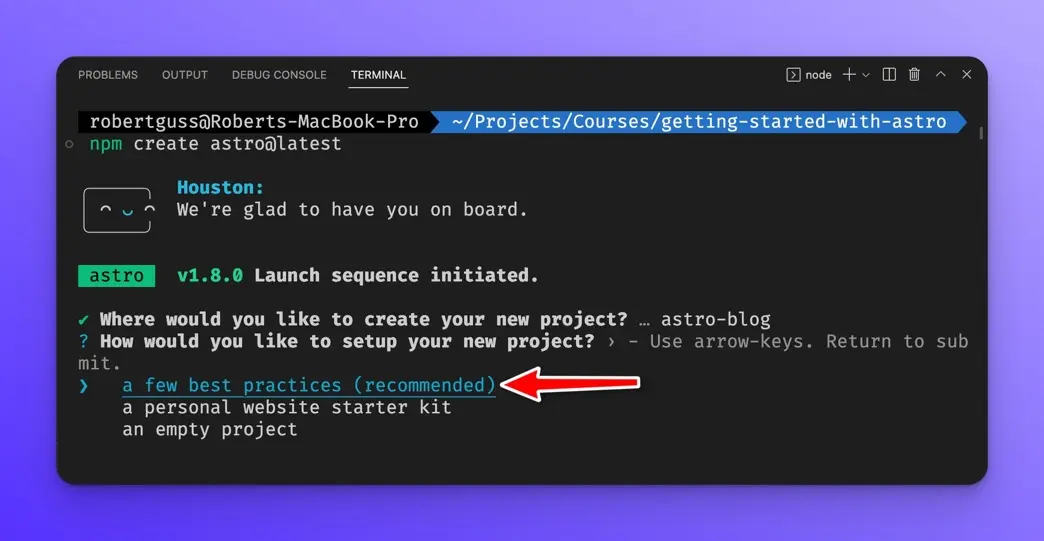
Next, select the “a few best practices” option.
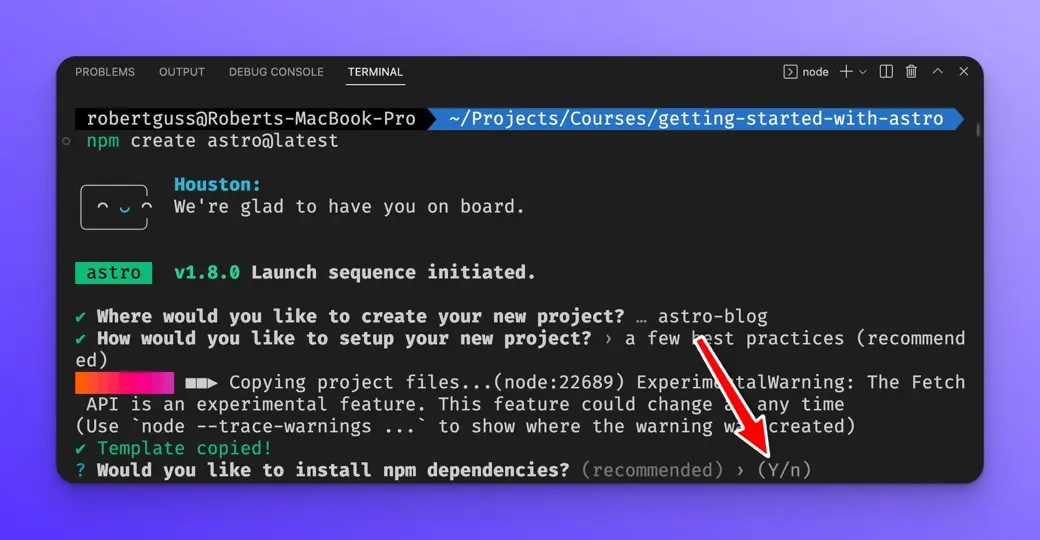
When asked if you want to install the NPM dependencies, press y and Astro will install everything automatically.
Next, you will be asked if you want to initialize a new git repository, press y.
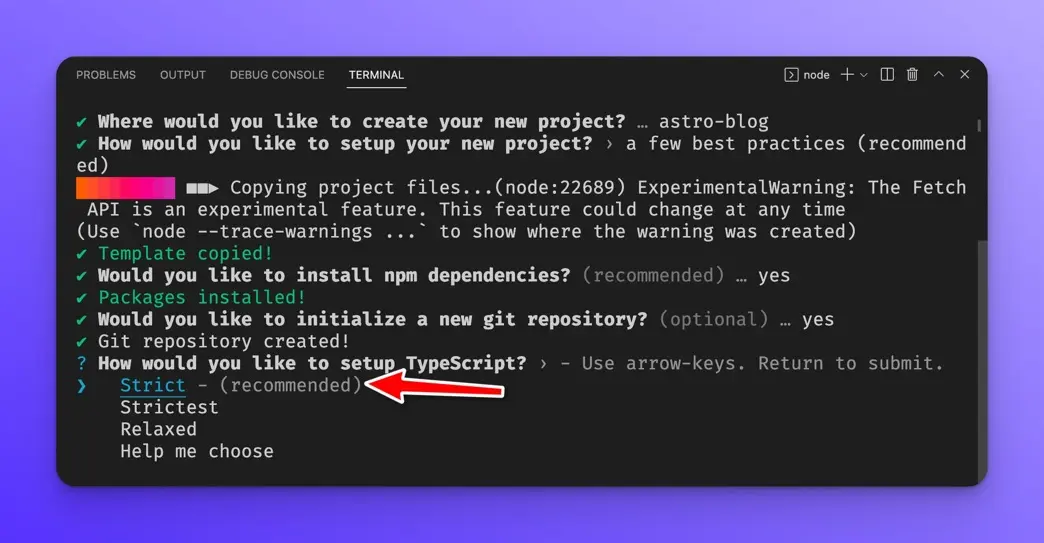
Then select “Strict” for the TypeScript settings and press Enter.
Your project should now be created and ready to go.
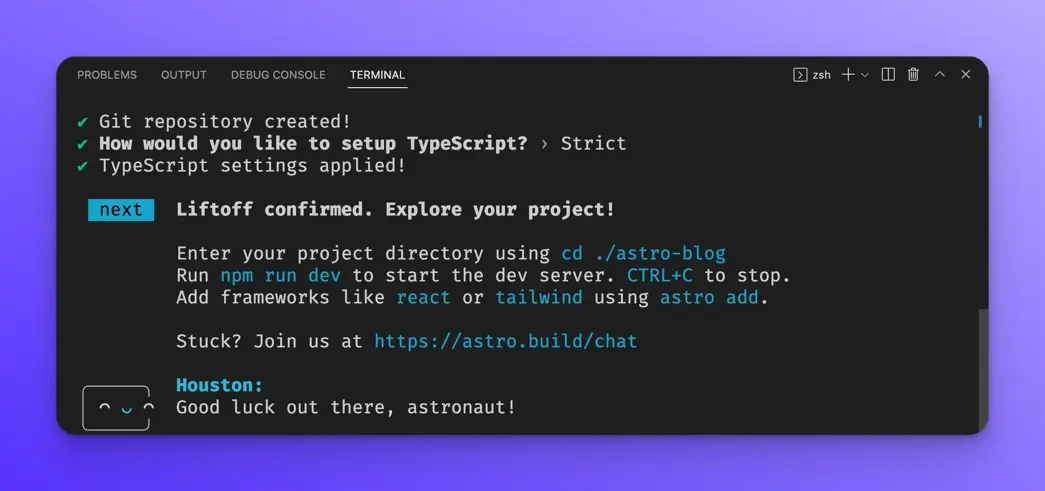
cd into your project folder:
cd astro-blog
and then type:
npm run dev
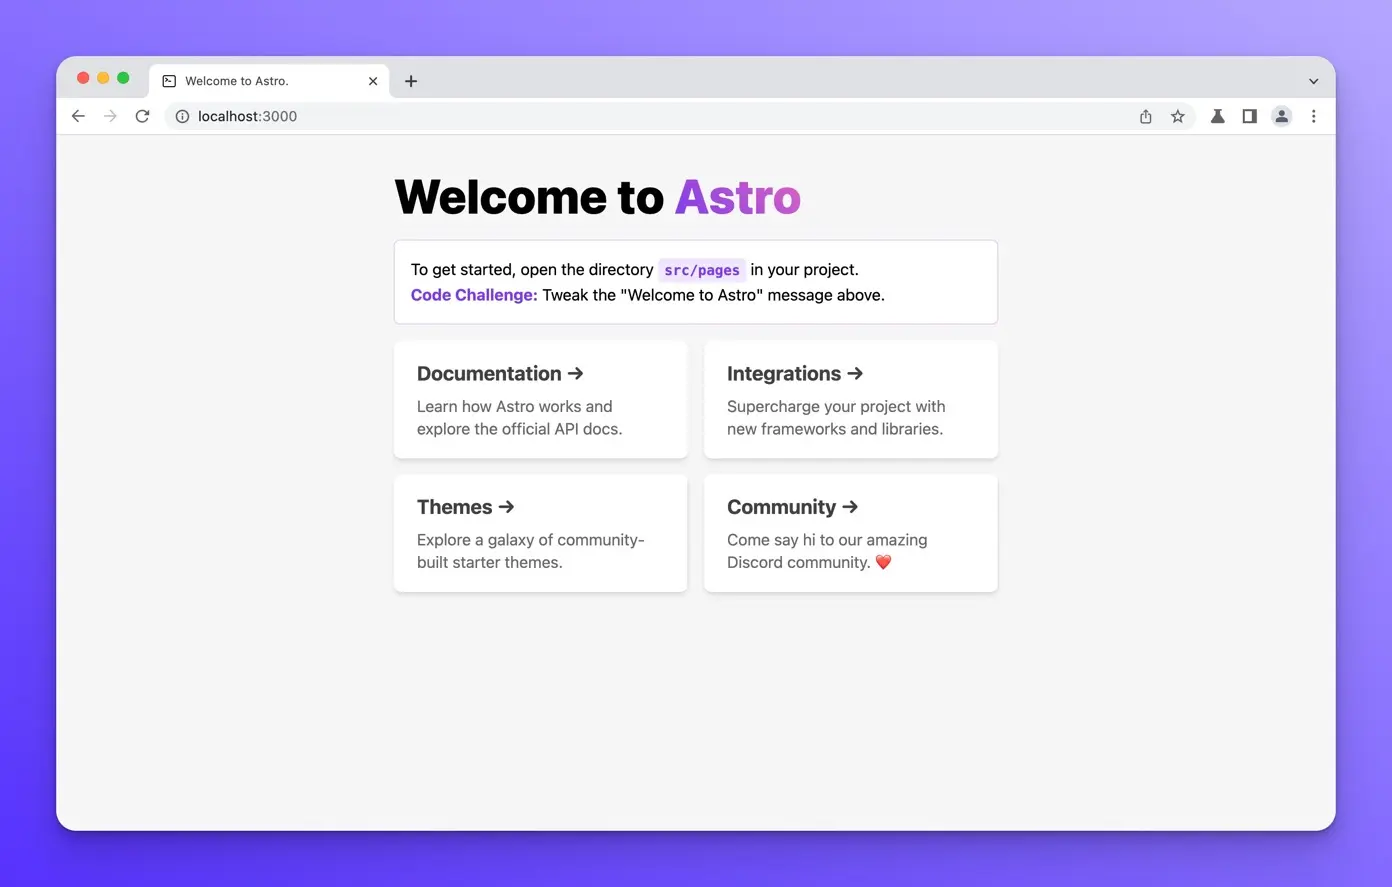
The dev server should run on http://localhost:3000
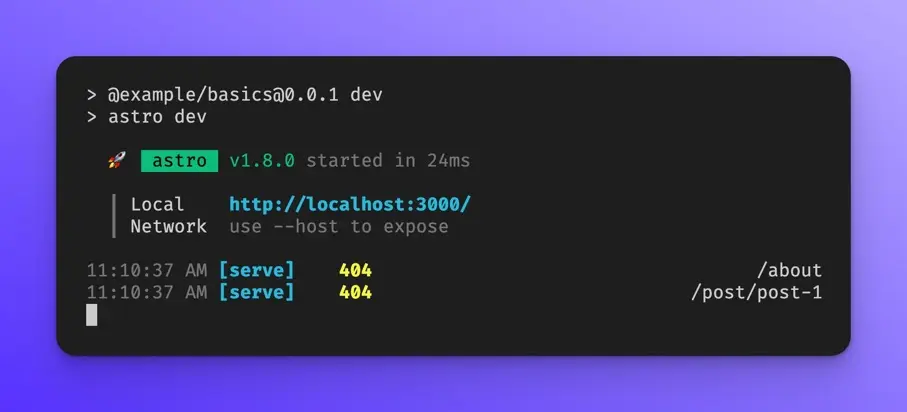
If you open that URL in your browser, you should see the following:
Creating our posts page
Now that we have created our new Astro project, let’s create a page called posts that will render all our blog posts. Create a new folder inside src/pages called posts.
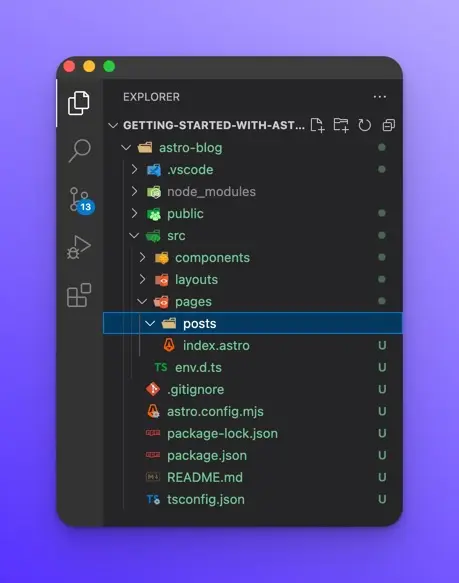
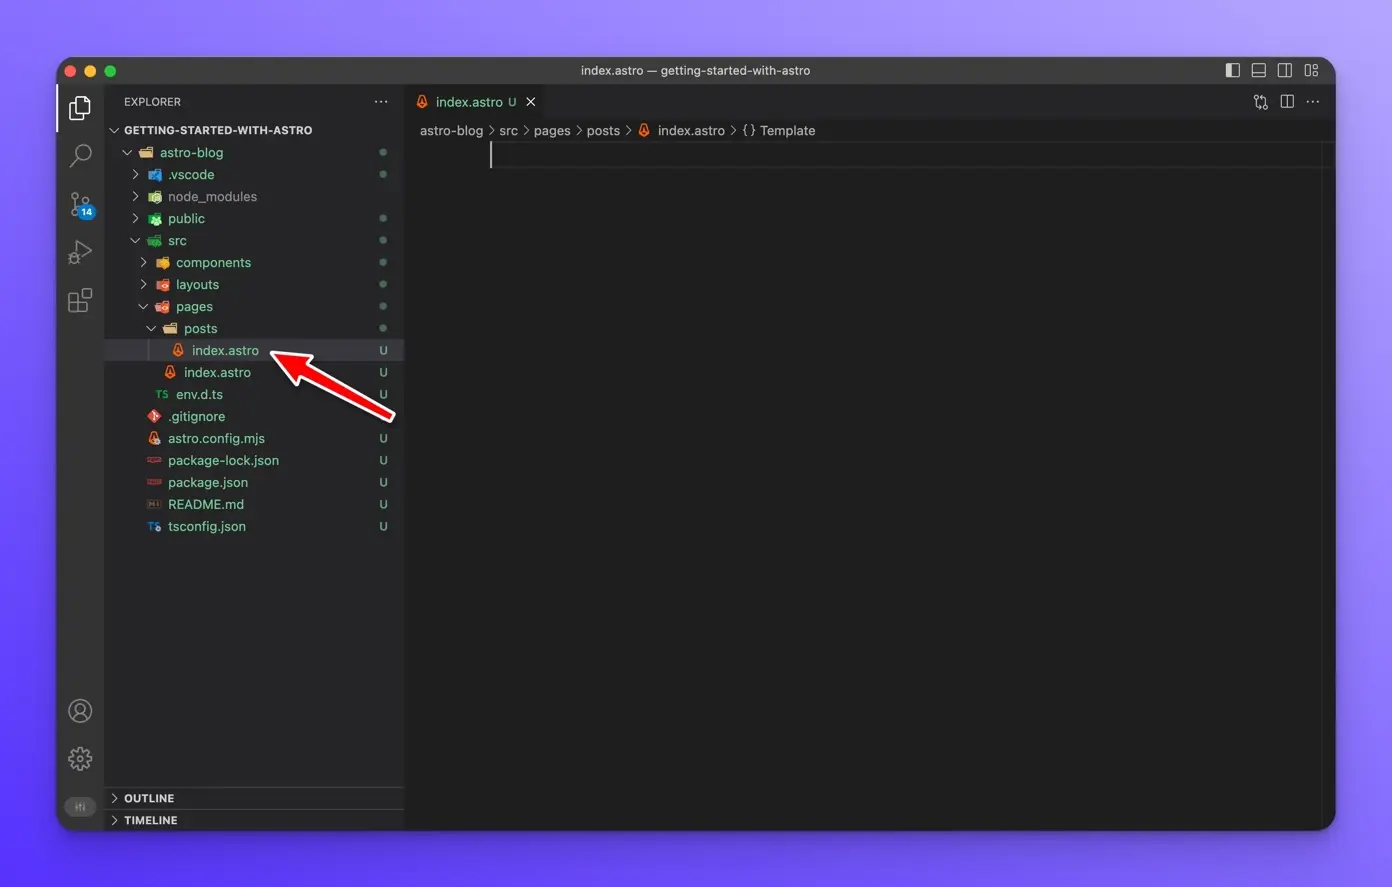
Inside the src/pages/posts folder, create a new file called index.astro
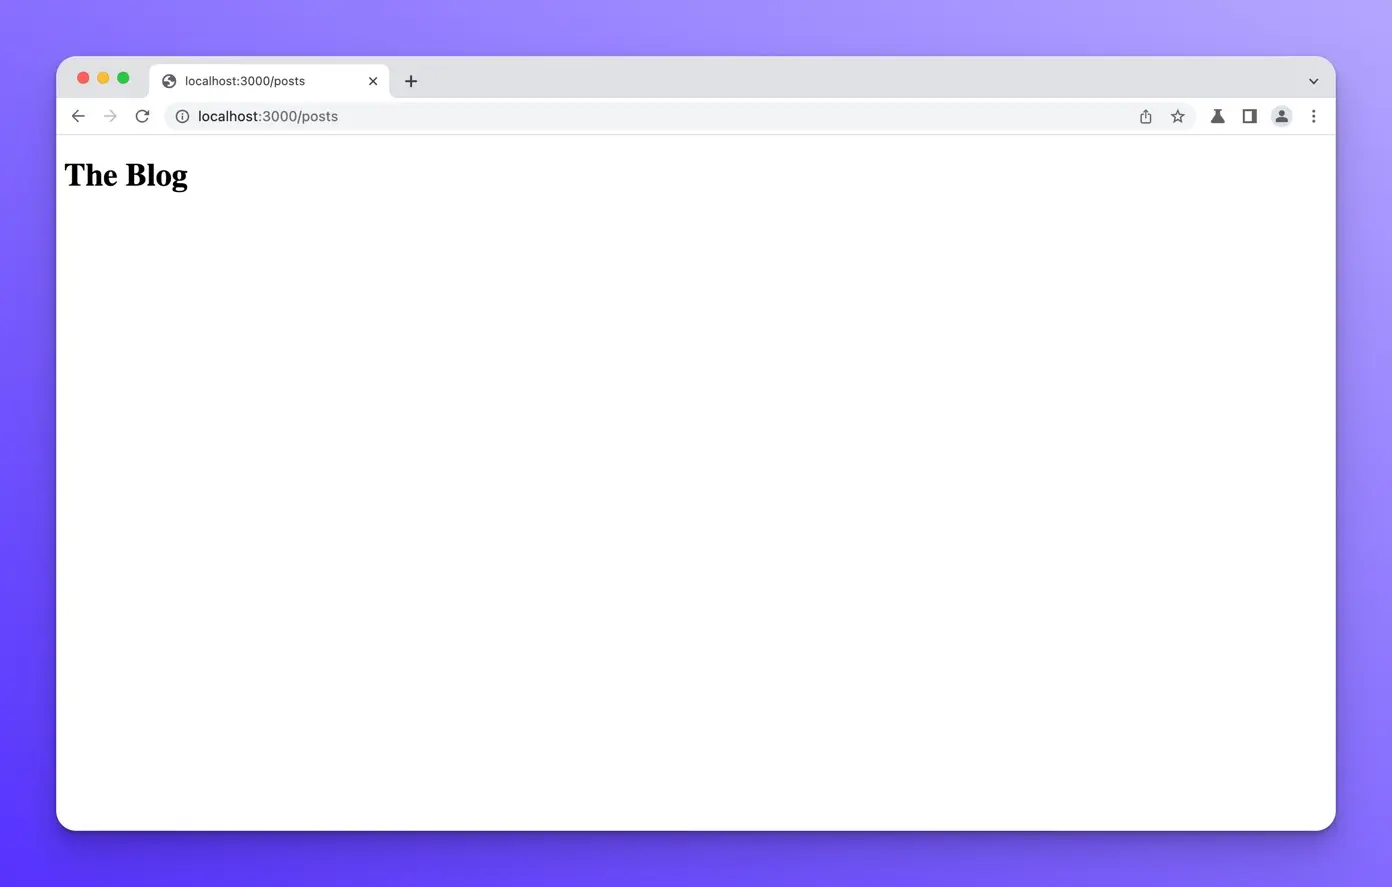
Create an h1 tag with “The Blog” inside.
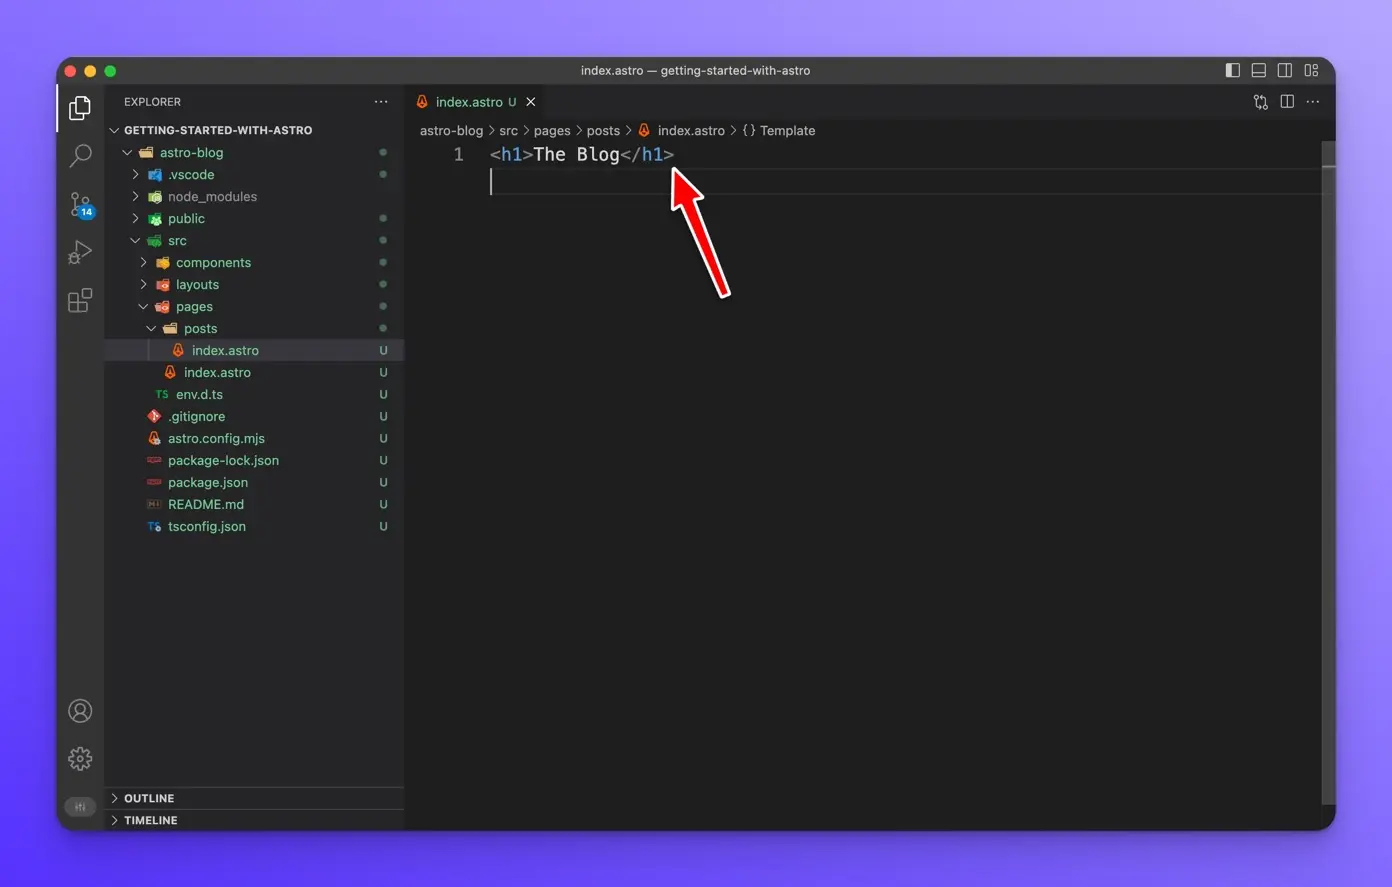
Now let’s visit this page and make sure everything is working correctly. Open up [http://localhost:3000/posts](http://localhost:3000/posts) in your browser. You should see the following:
Markdown posts
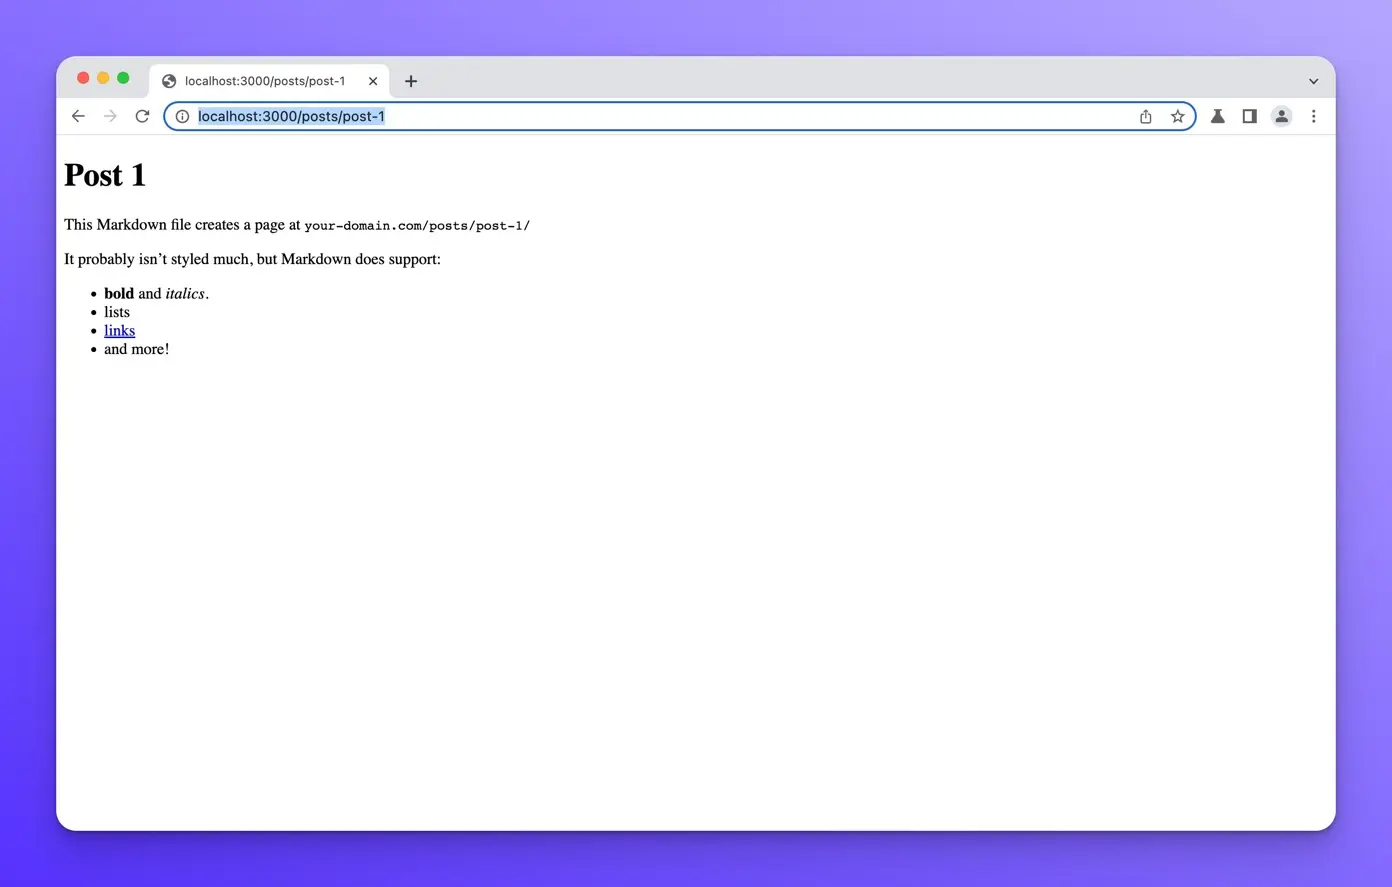
Now that we have created our /posts page, we need to create some blog posts. Inside the /posts directory, let’s create some sample blog posts. I will create three markdown files but feel free to create as many as you would like.
Here are the contents of all three files.
---
title: Post 1
---

# Post 1

This Markdown file creates a page at `your-domain.com/posts/post-1/`

It probably isn't styled much, but Markdown does support:

- **bold** and _italics._
- lists
- [links](https://astro.build)
- and more!
---
title: Post 2
---

# Post 2

This Markdown file creates a page at `your-domain.com/posts/post-2/`

It probably isn't styled much, but Markdown does support:

- **bold** and _italics._
- lists
- [links](https://astro.build)
- and more!
---
title: Post 3
---
# Post 3
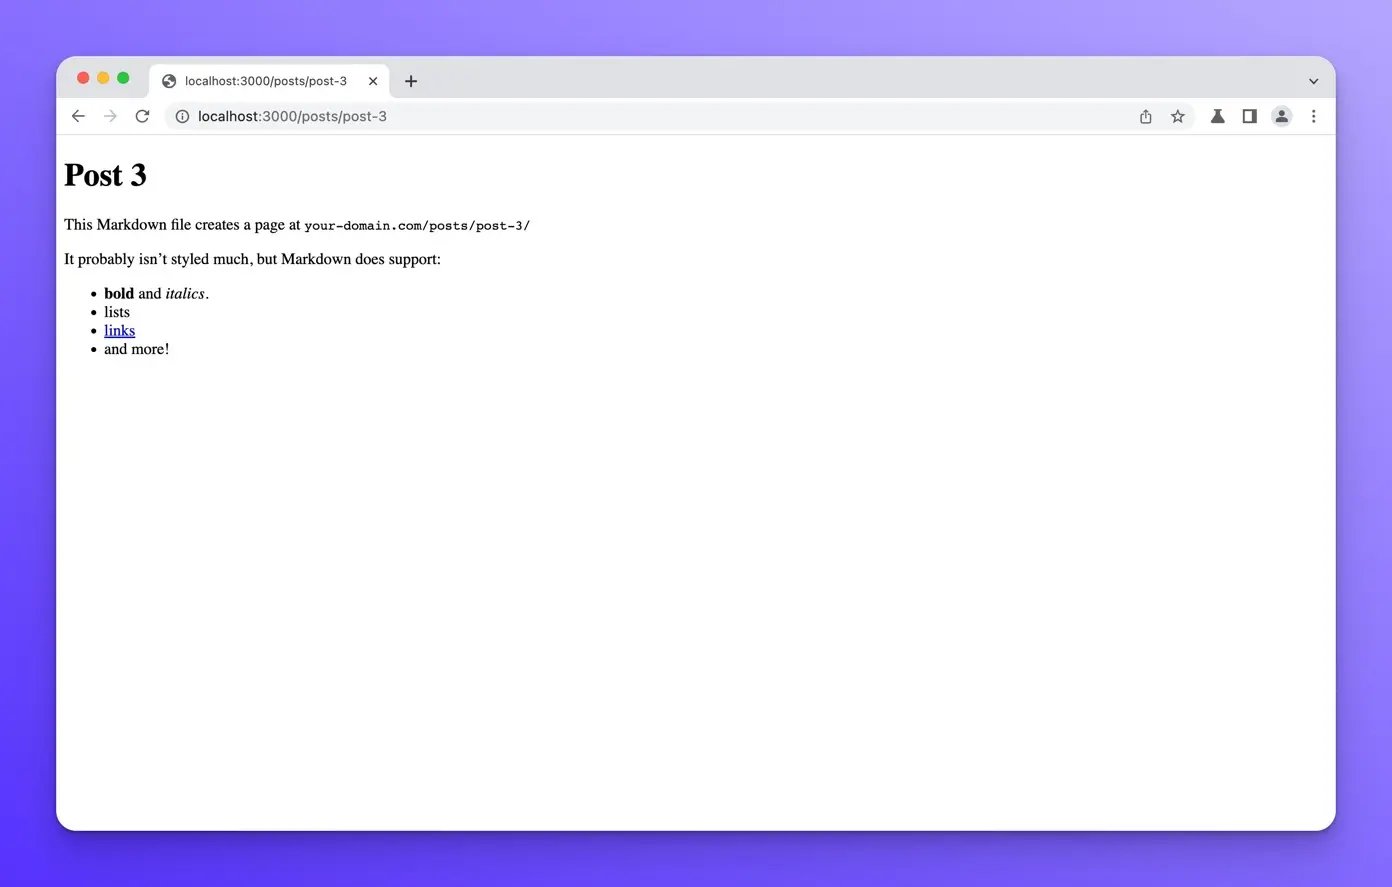
This Markdown file creates a page at `your-domain.com/posts/post-3/`
It probably isn't styled much, but Markdown does support:
- **bold** and _italics._
- lists
- [links](https://astro.build)
- and more!
Now, if you open your browser to http://localhost:3000/posts/post-1 you should see the following:
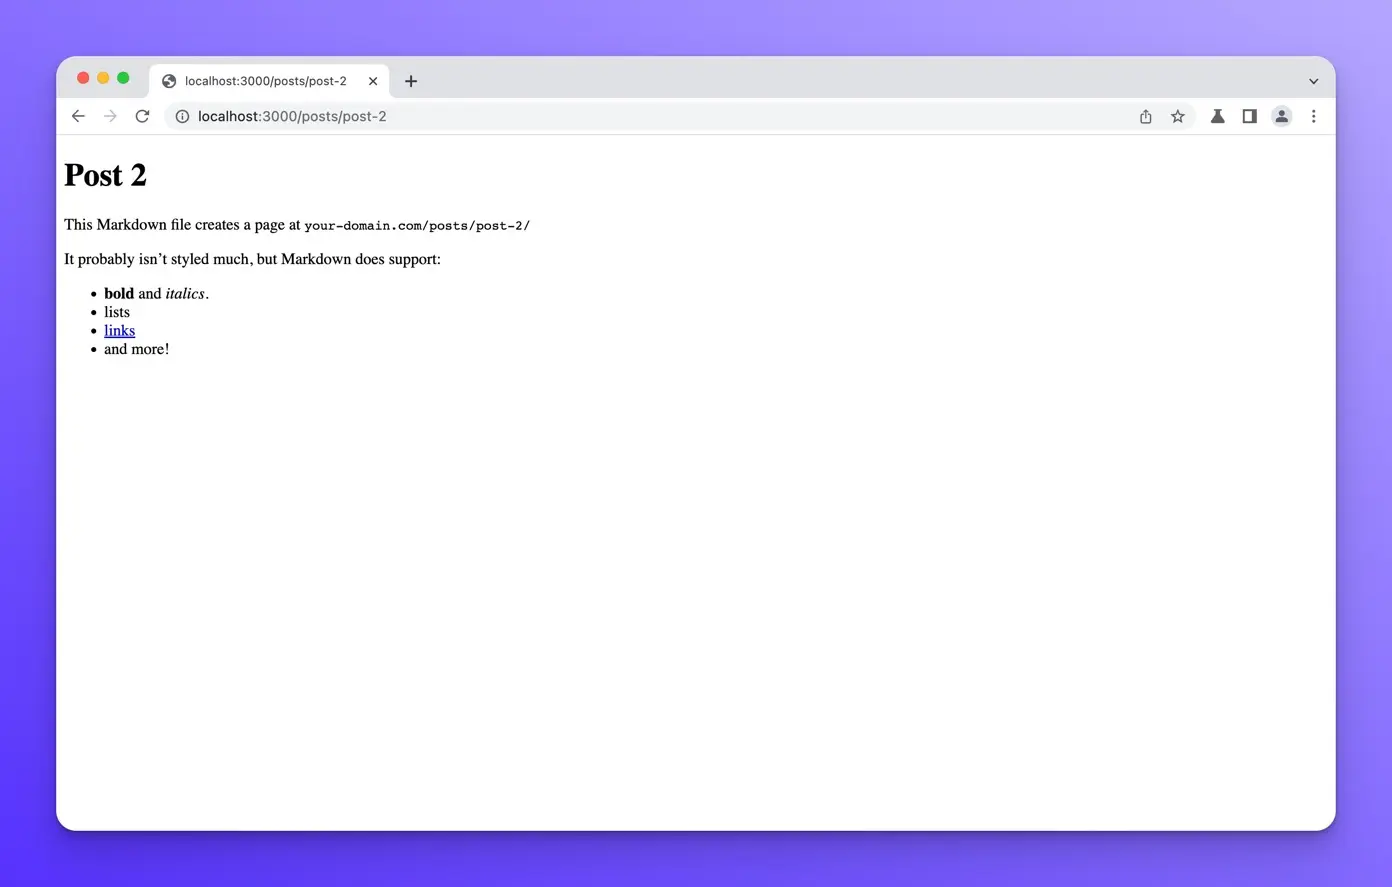
You should be able to see the other posts at /posts/post-2 and /posts/post-3
Now that we have created static routes for each of our blog posts. Let’s update the /posts page to render the title of our posts as a clickable link that will navigate to each post page when clicked.
We need to import all our markdown files into the src/pages/posts/index.astro page components like so:
// src/pages/posts/index.astro
---
const posts = await Astro.glob("./*.md");
---

<h1>The Blog</h1>
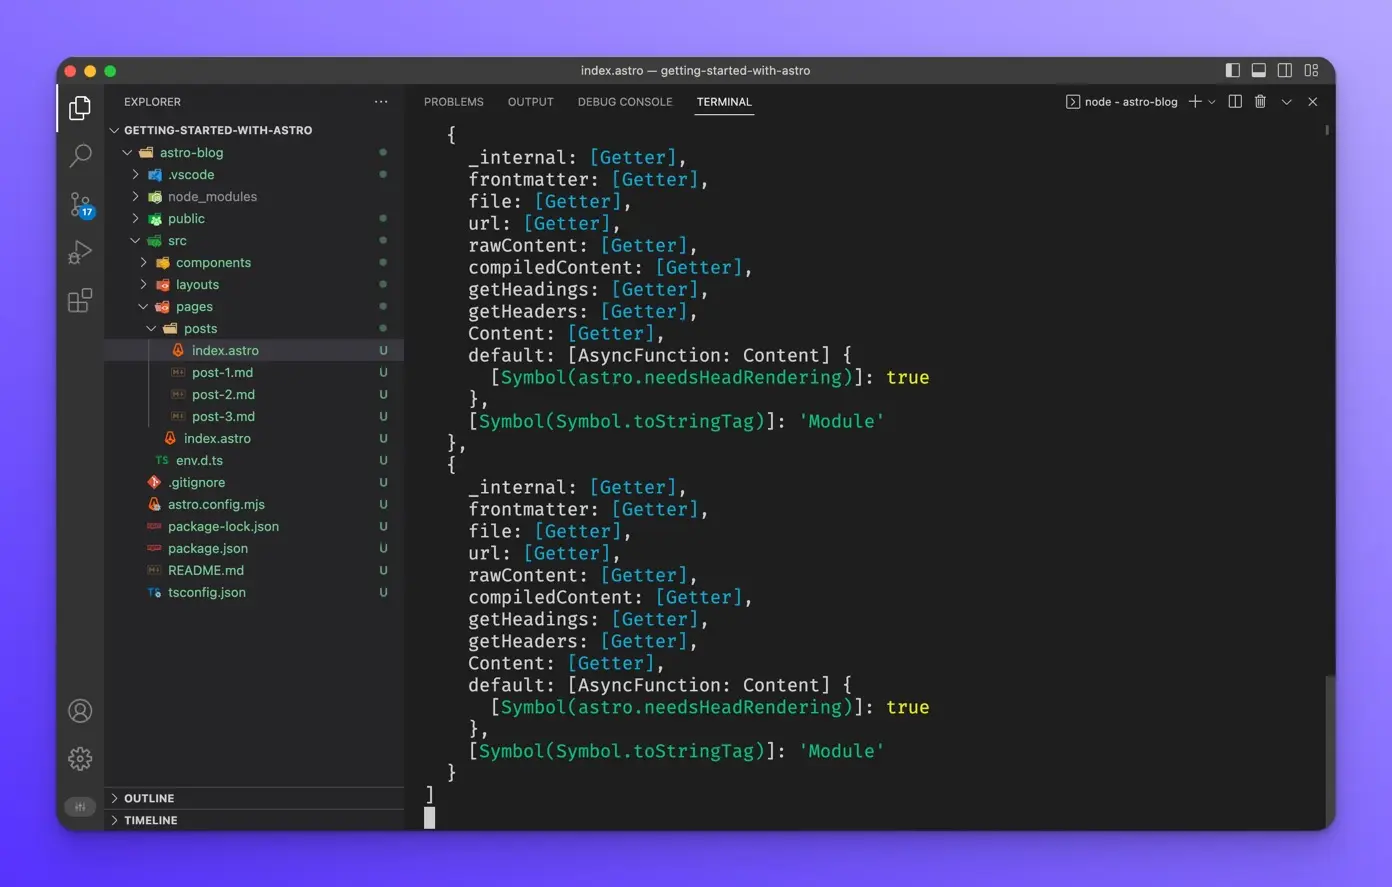
We are using the Astro.glob function to import all of our markdown posts at once. We can verify this is working by using console.log() to log out our posts like so:
---
const posts = await Astro.glob("./*.md");
console.log(posts);
---

<h1>The Blog</h1>
You should see the following output in your terminal when you refresh the /posts page.
Now that we know we are getting all of our posts, we can render them like so:
---
const posts = await Astro.glob("./*.md");
console.log(posts);
---

<h1>The Blog</h1>

<ul>
  {
    posts.map((post) => (
      <li>
        <a href={post.url}>{post.frontmatter.title}</a>
      </li>
    ))
  }
</ul>
In our template, we use .map() to iterate over the posts variable and create a clickable link for each post title.
Now the /posts page should look like this:
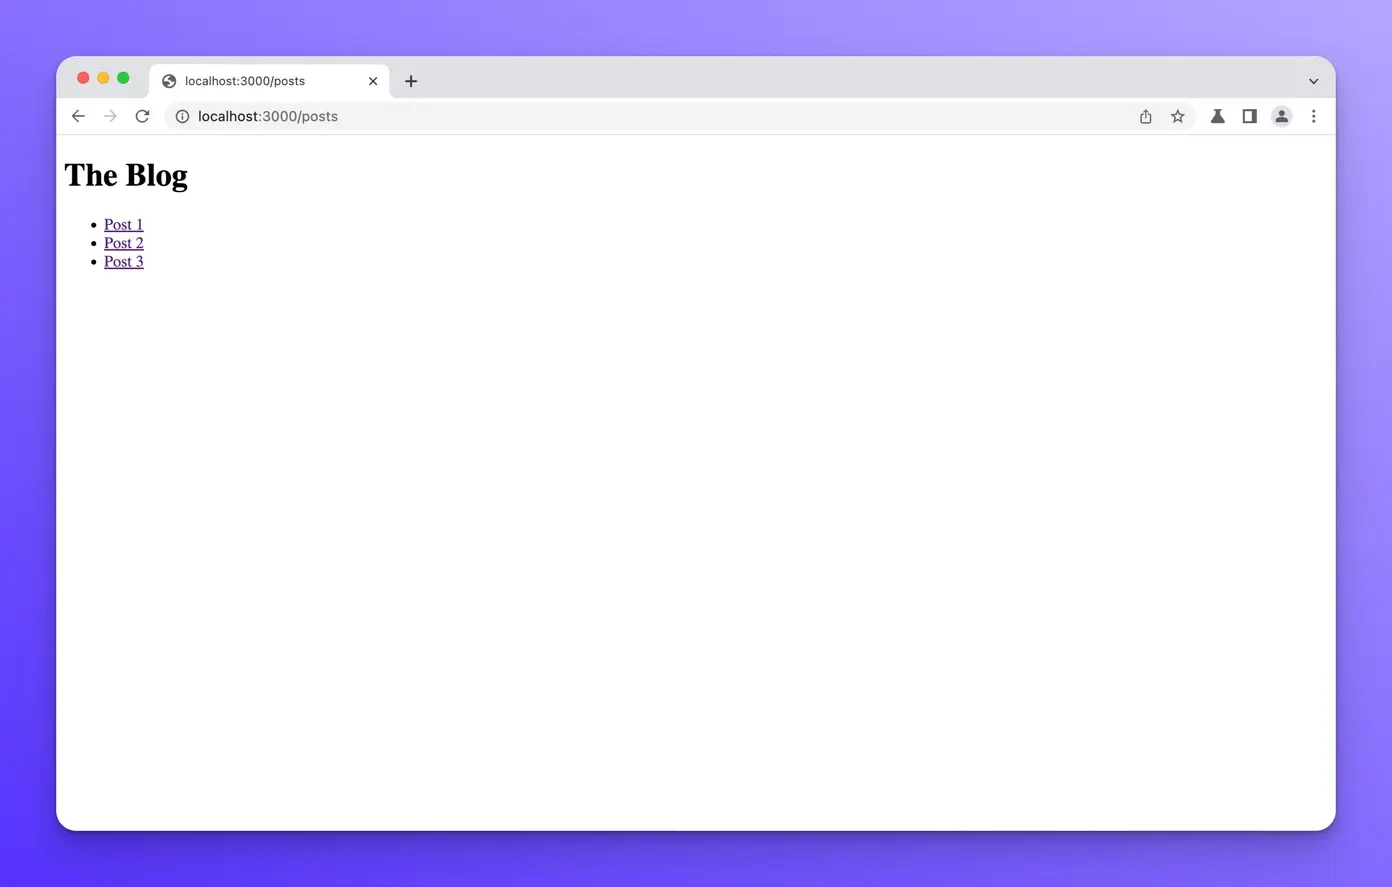
Clicking on each title link should take you to the respective post page.
Wrap up
In this lesson, we created a new Astro project and a /posts Astro page component. We then created a few markdown blog posts and rendered them on the posts page. In the next lesson, we will learn how to use MDX for our blog posts.