Astro
How to install Astro and build your first site
Updated:
Dev tools
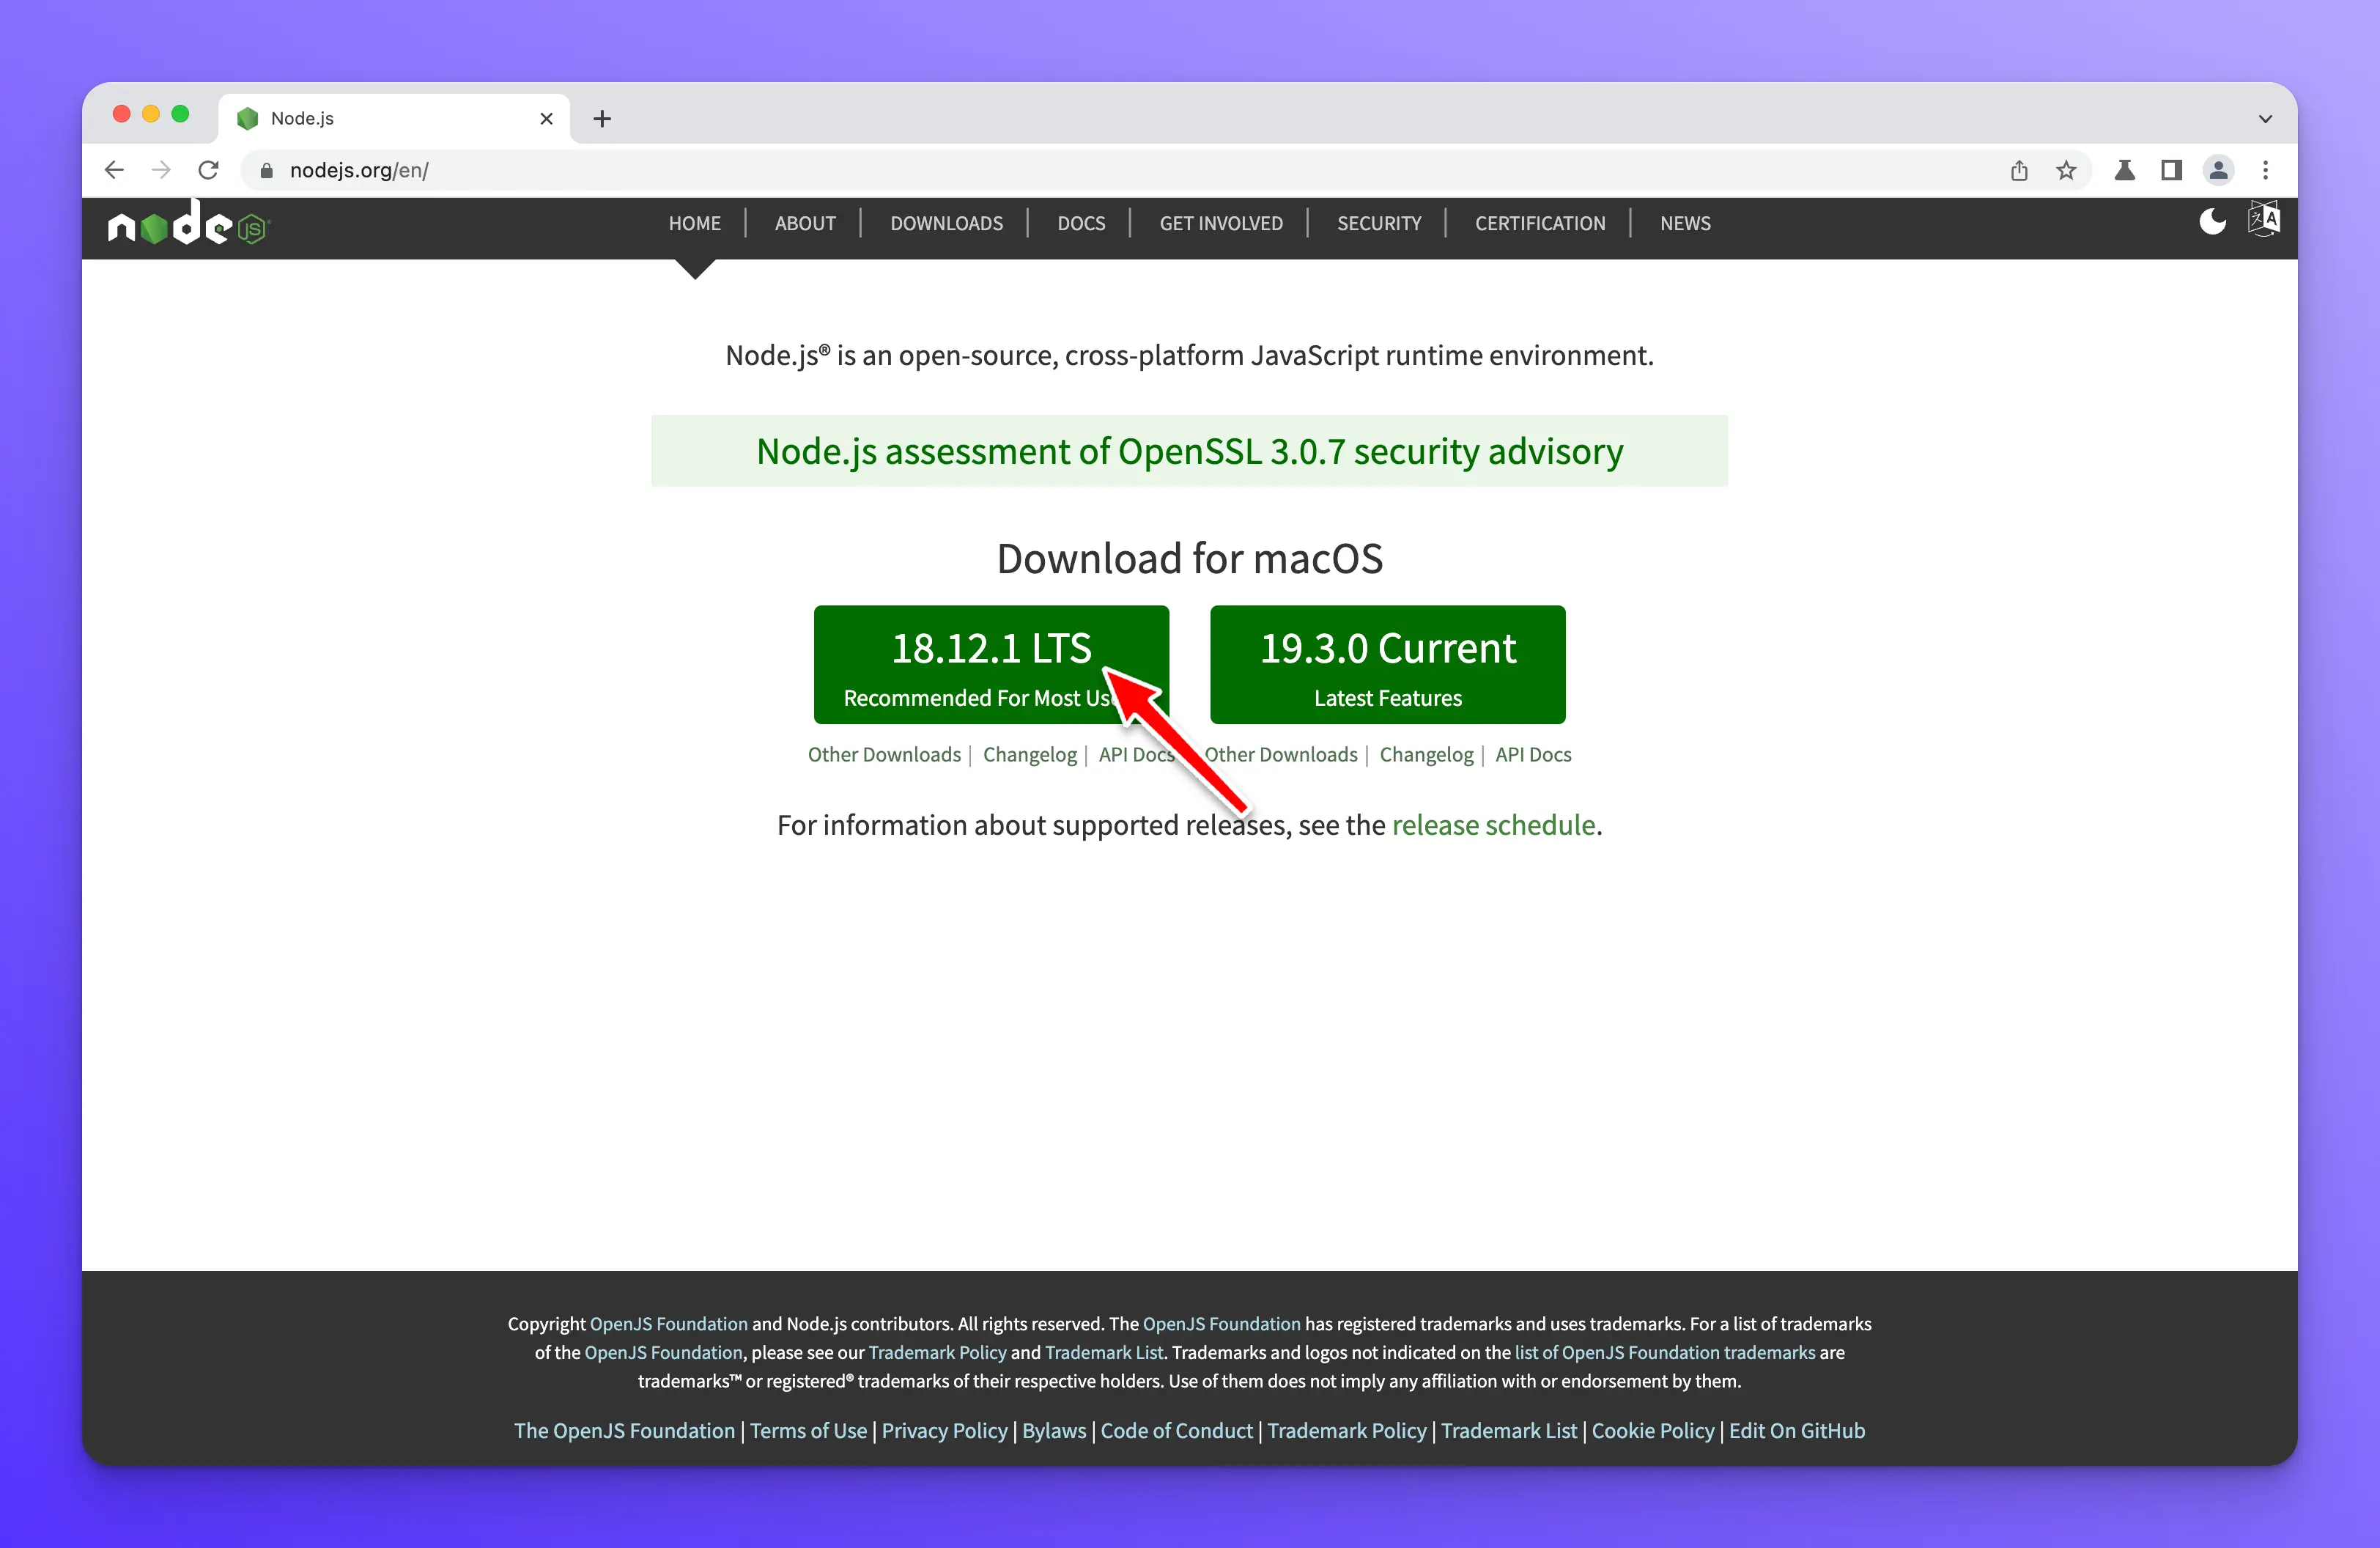
Node.js
Before we can begin learning Astro, we will need a few tools first. The first thing we will need is to install Node.js. Make sure you install the most recent LTS version. At the time I am writing this, the latest LTS version is 18.12.1 .
VSCode
Next, we will use VSCode as our text editor throughout this tutorial. Feel free to use whatever you like if you prefer something else. Once you have installed VSCode, open it and launch the terminal built into it. You can do this by pressing ctrl + ~ on your keyboard or clicking on Terminal > New Terminal from the menu bar.

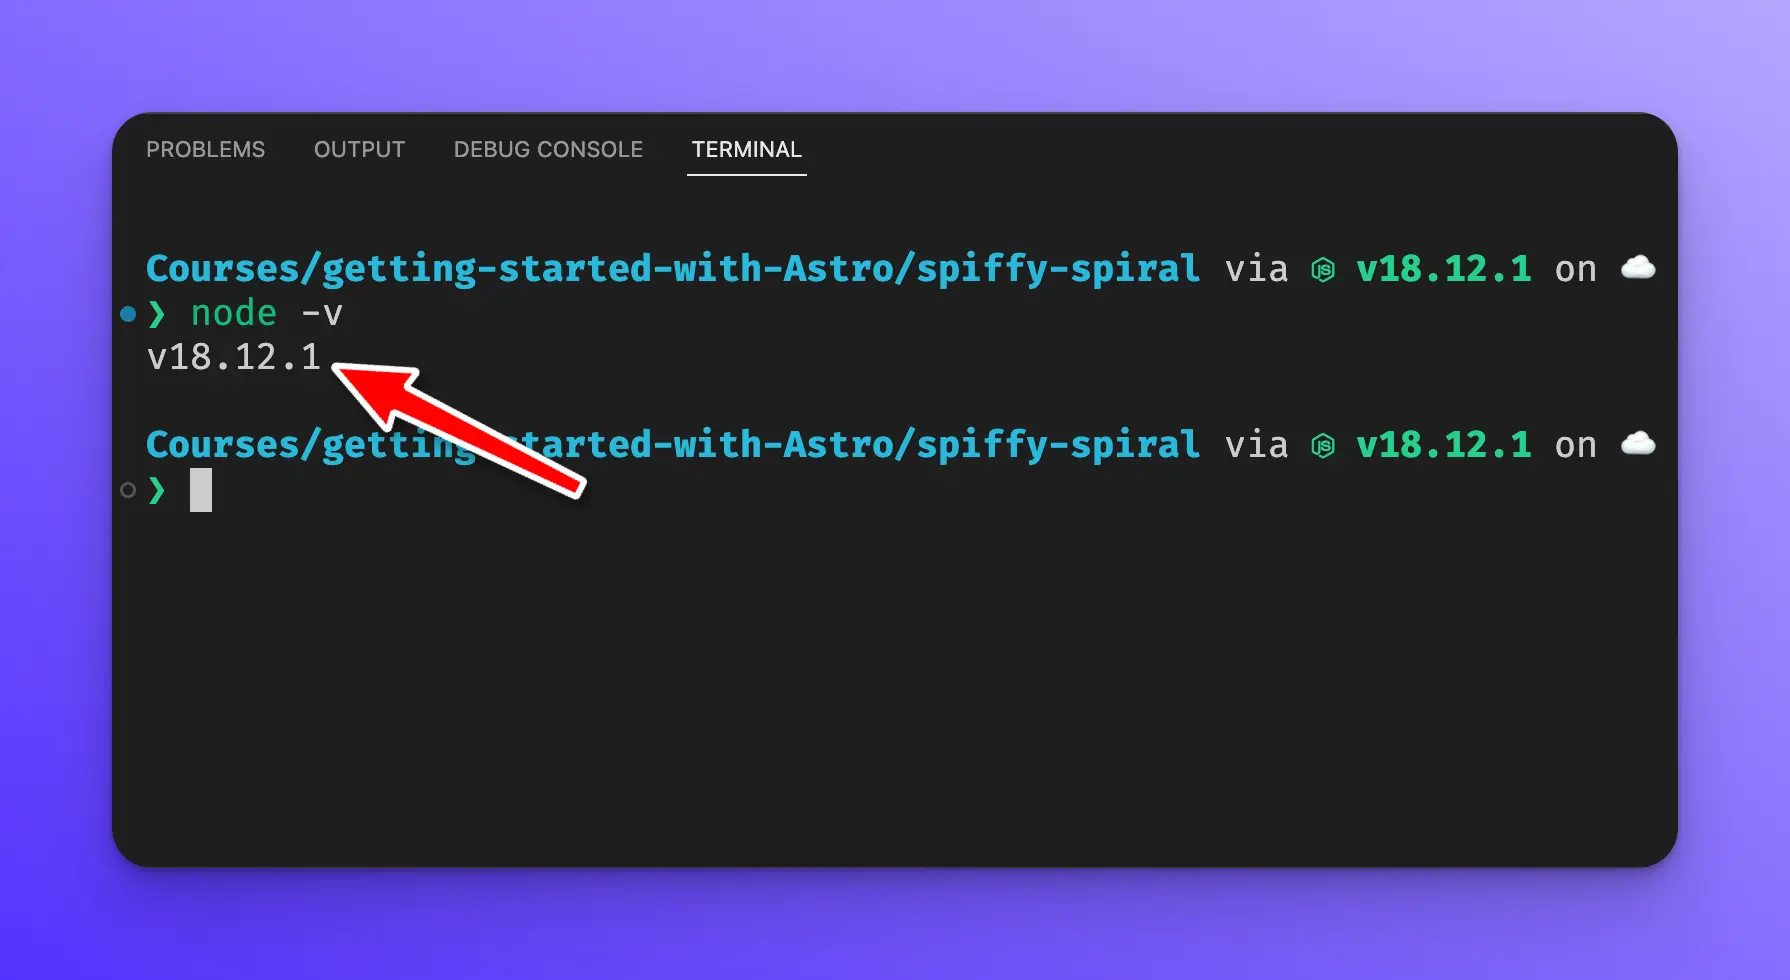
Next, we want to make sure that Node.js is installed correctly. Within your terminal type the following, then press Enter.
node -v
You should see the same Node version output into your terminal as the one you download from the Node.js website.
Creating a new Astro project
Within the terminal, type the following to create a new Astro project, then press Enter.
npm create astro@latest
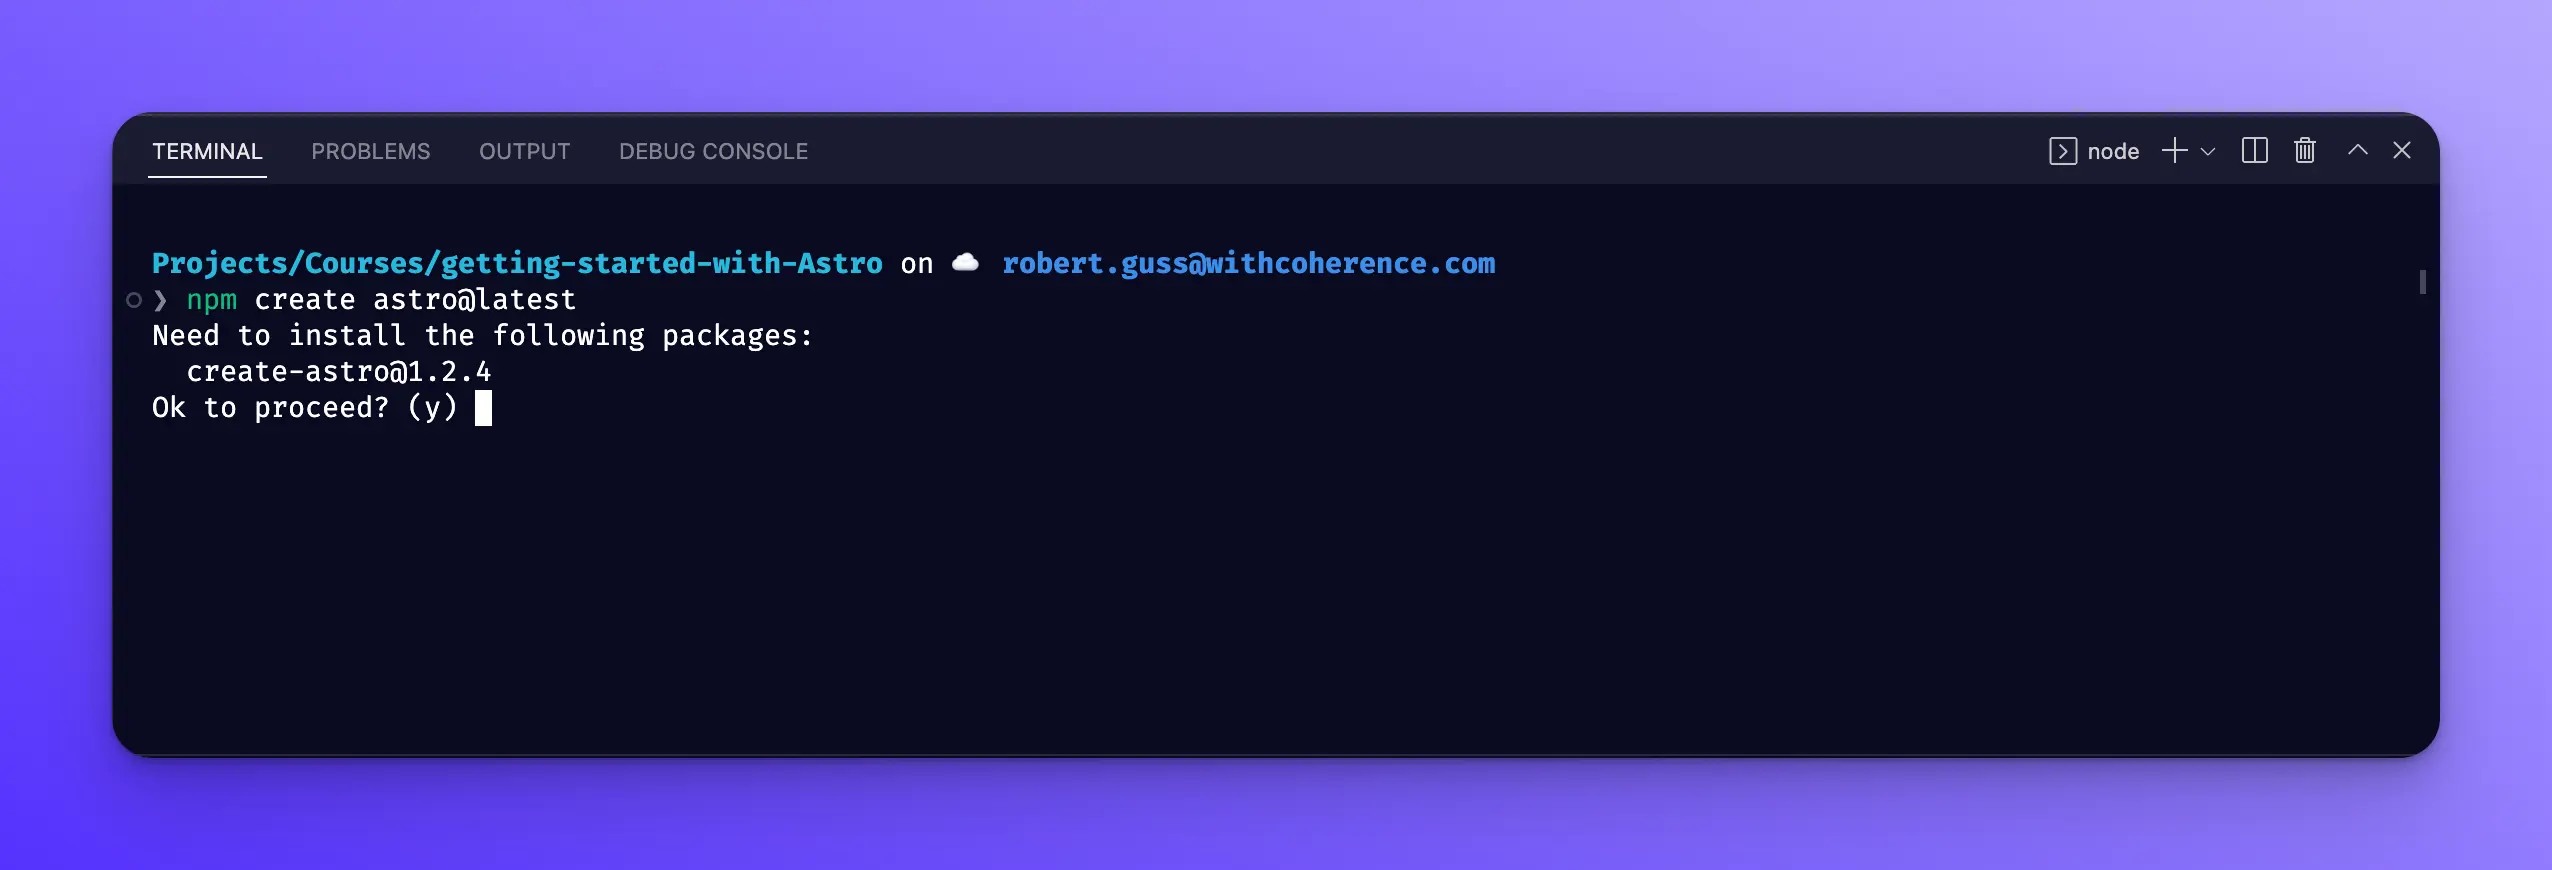
Press y and hit enter to install the latest version of create-astro.
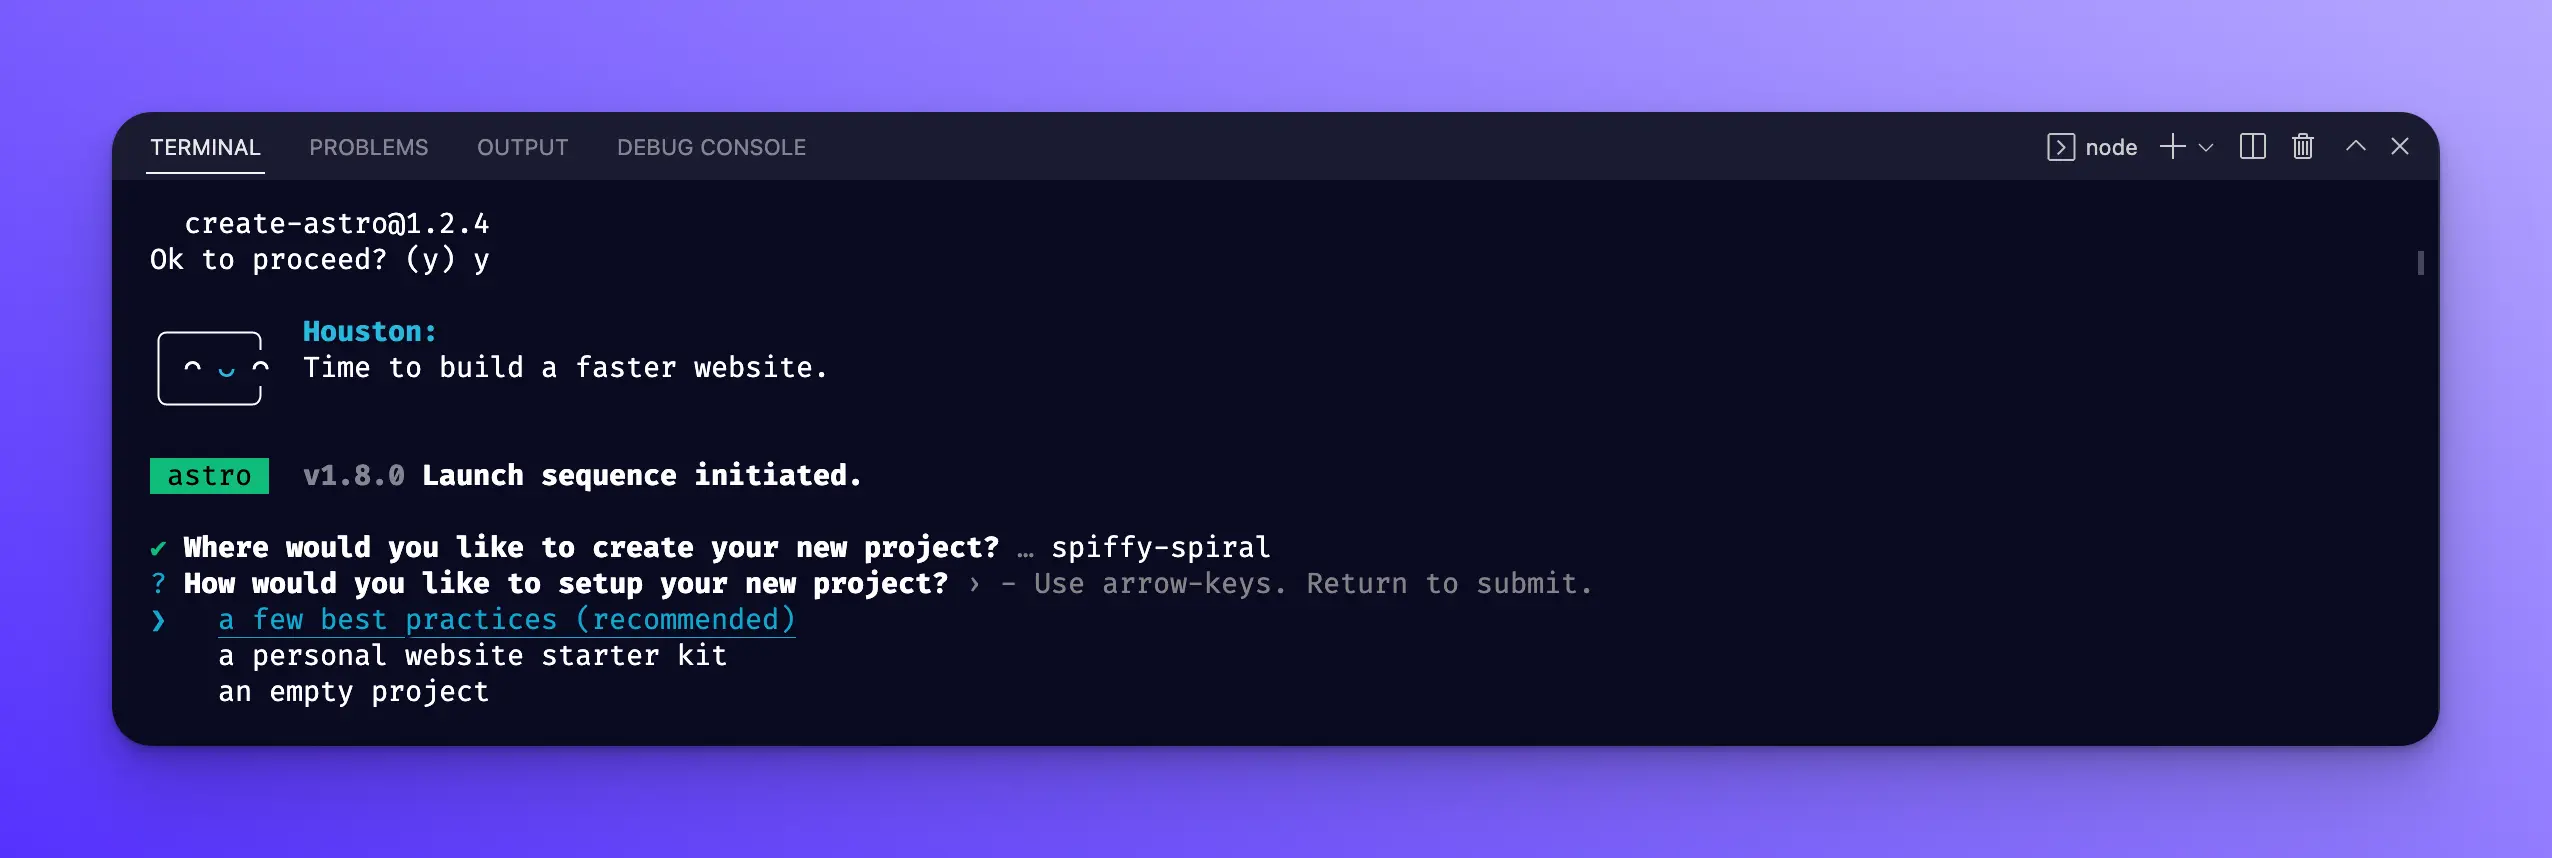
The CLI will ask you for the name of your project, you can name it whatever you like. I just went with whatever default name it provided.
Next, you will be asked how you would like to set up your project. Choose the “a few best practices (recommended)” option.
Then press y to install the npm dependencies.
You can then choose if you would like the CLI to create a new .git repository, I chose no for now.
Then select “Strict” for the TypeScript setup.
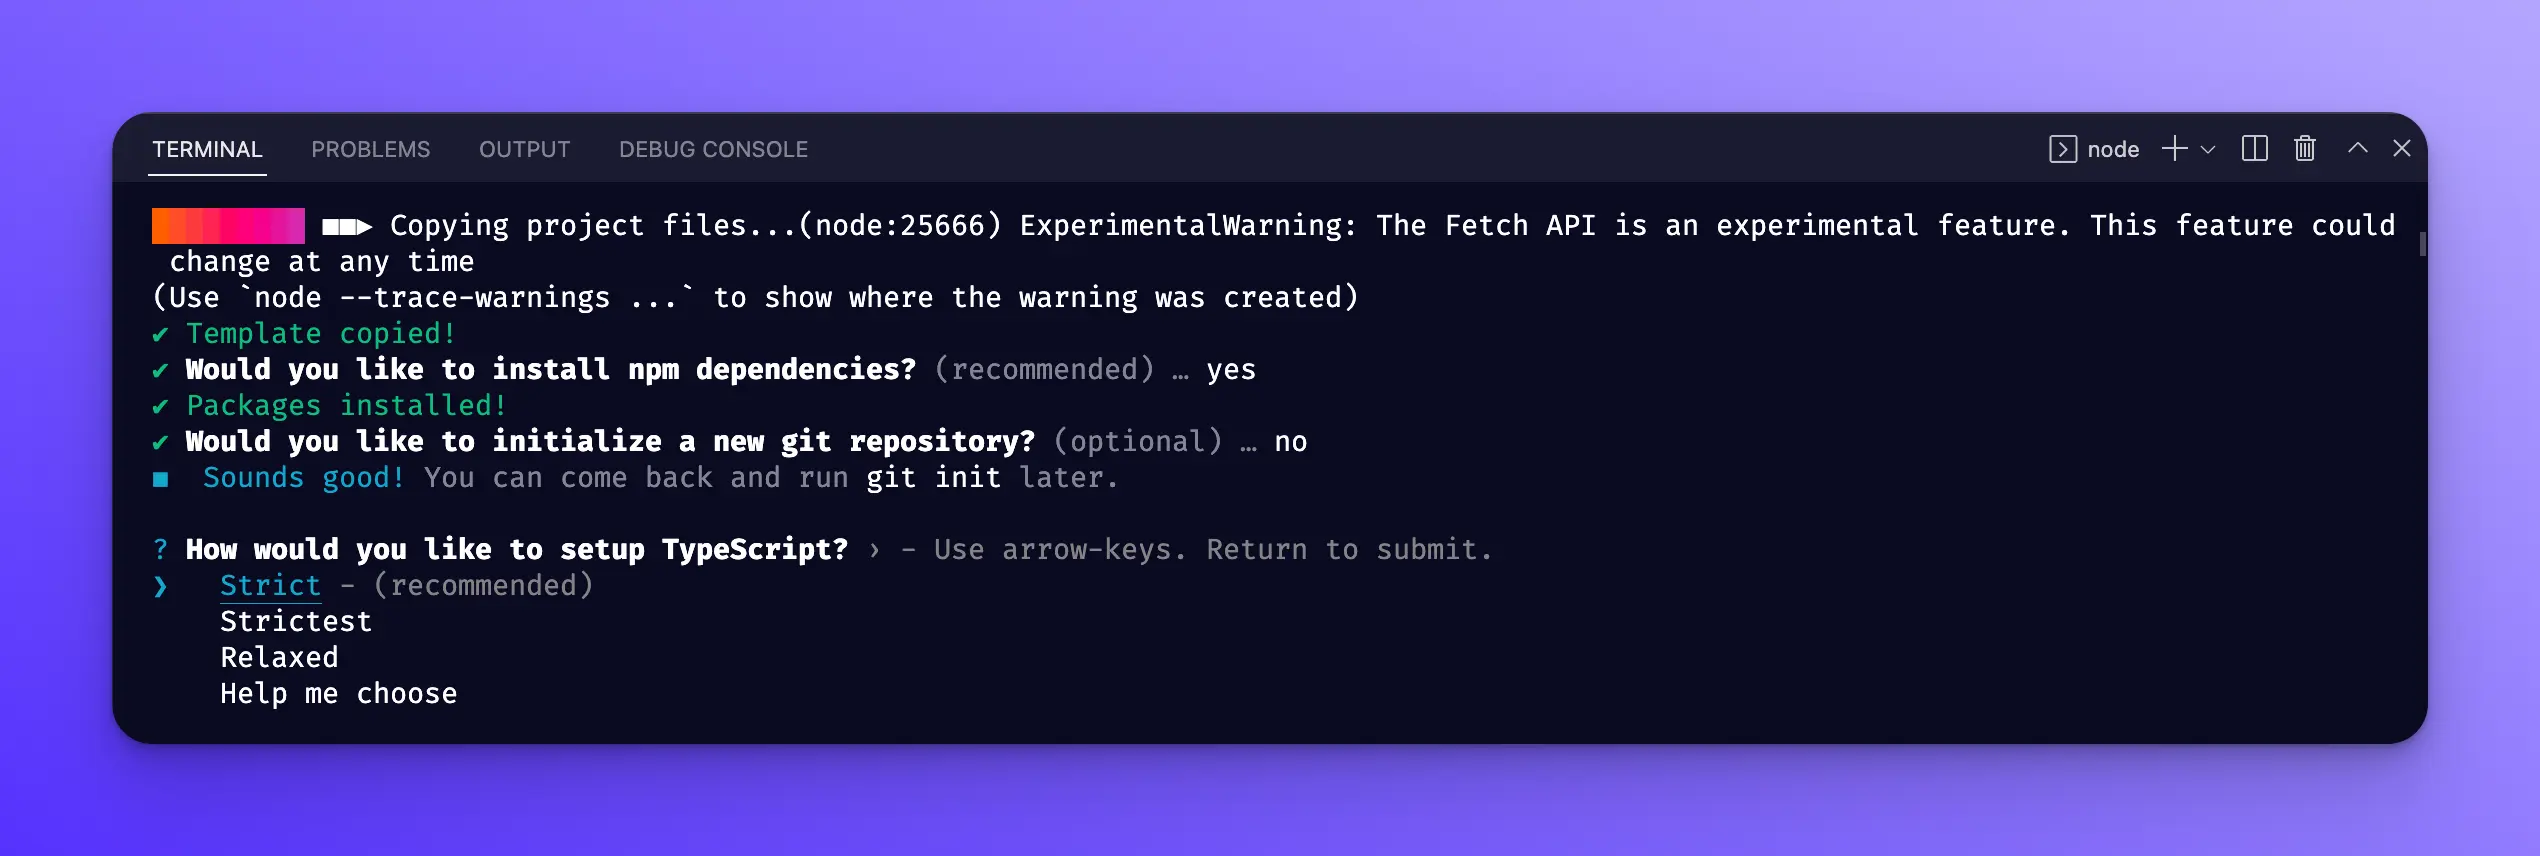
Now everything should be installed.
Starting the dev server
Next, you will need to cd into your project folder like so:
cd ./<name of project>
# for example cd ./spiffy-spiral
Then start the dev server with:
npm run dev
You can then open your browser and go to [http://localhost:3000](http://localhost:3000) to see your new Astro site!
If you are using a Mac, you can option + click on the URL in the VSCode terminal to open it automatically.
You should see the following:

Installing the Astro VSCode extension
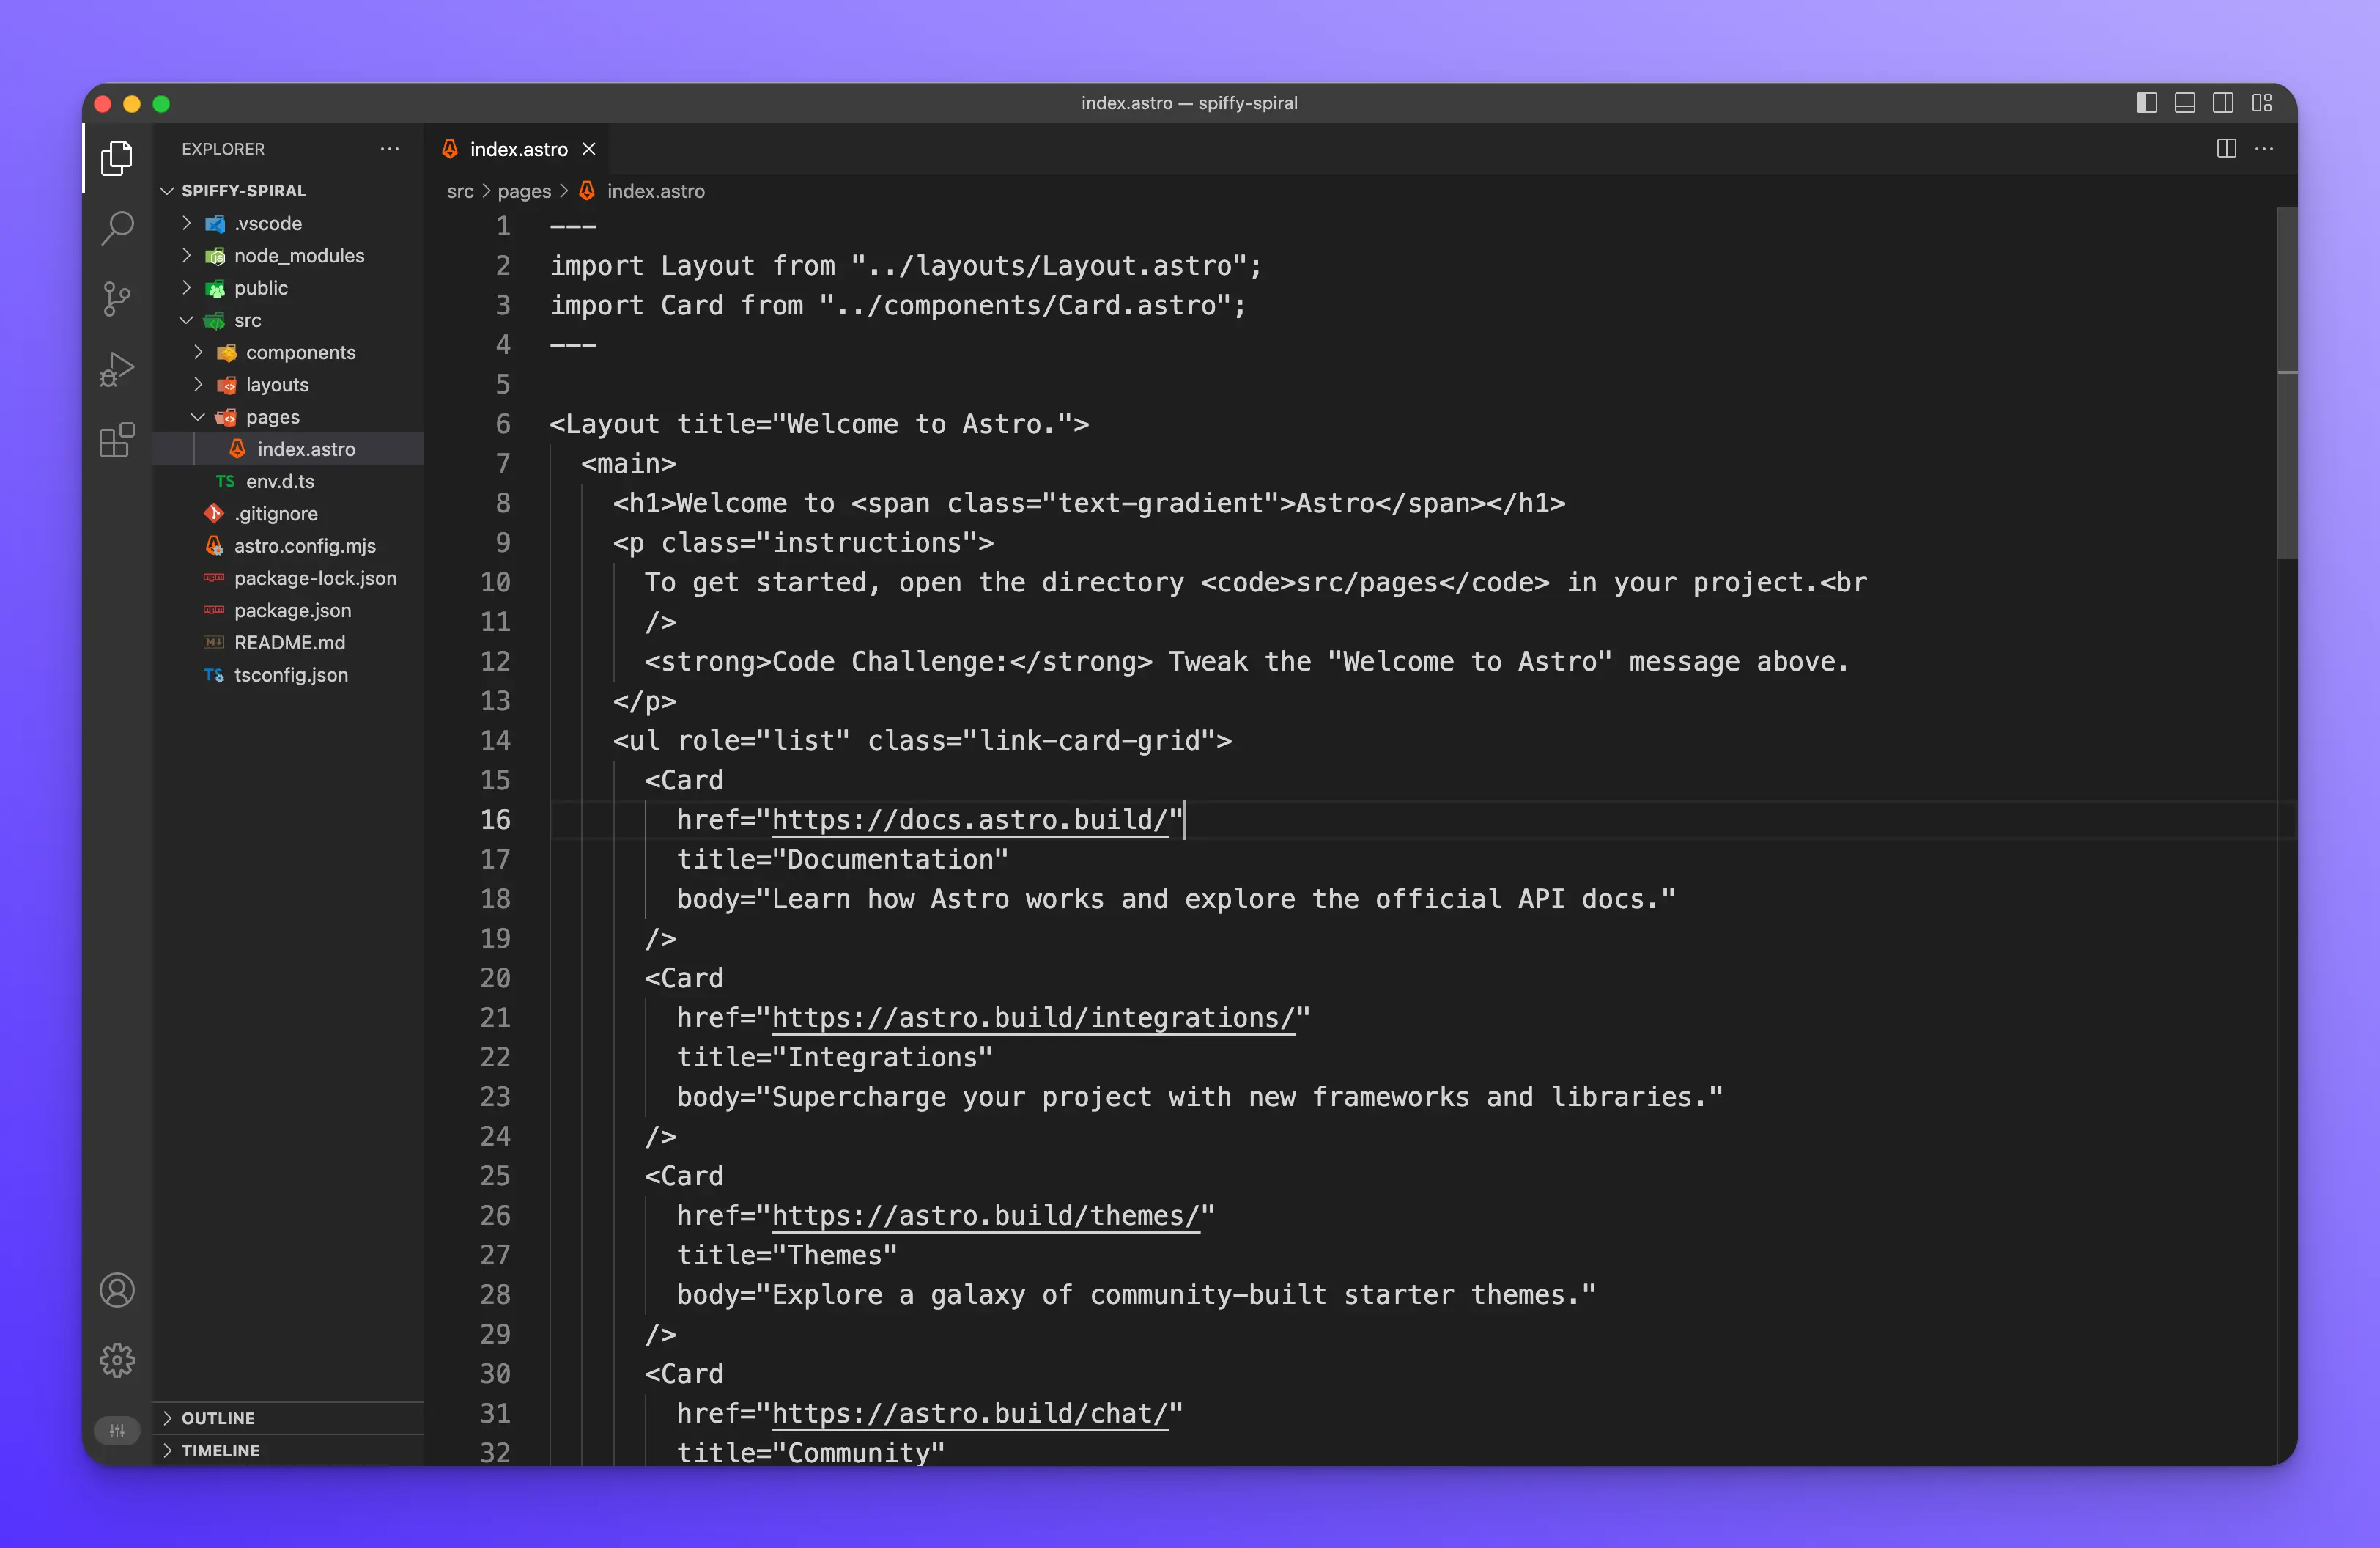
Open the file src/pages/index.astro in VSCode and you should see the following:
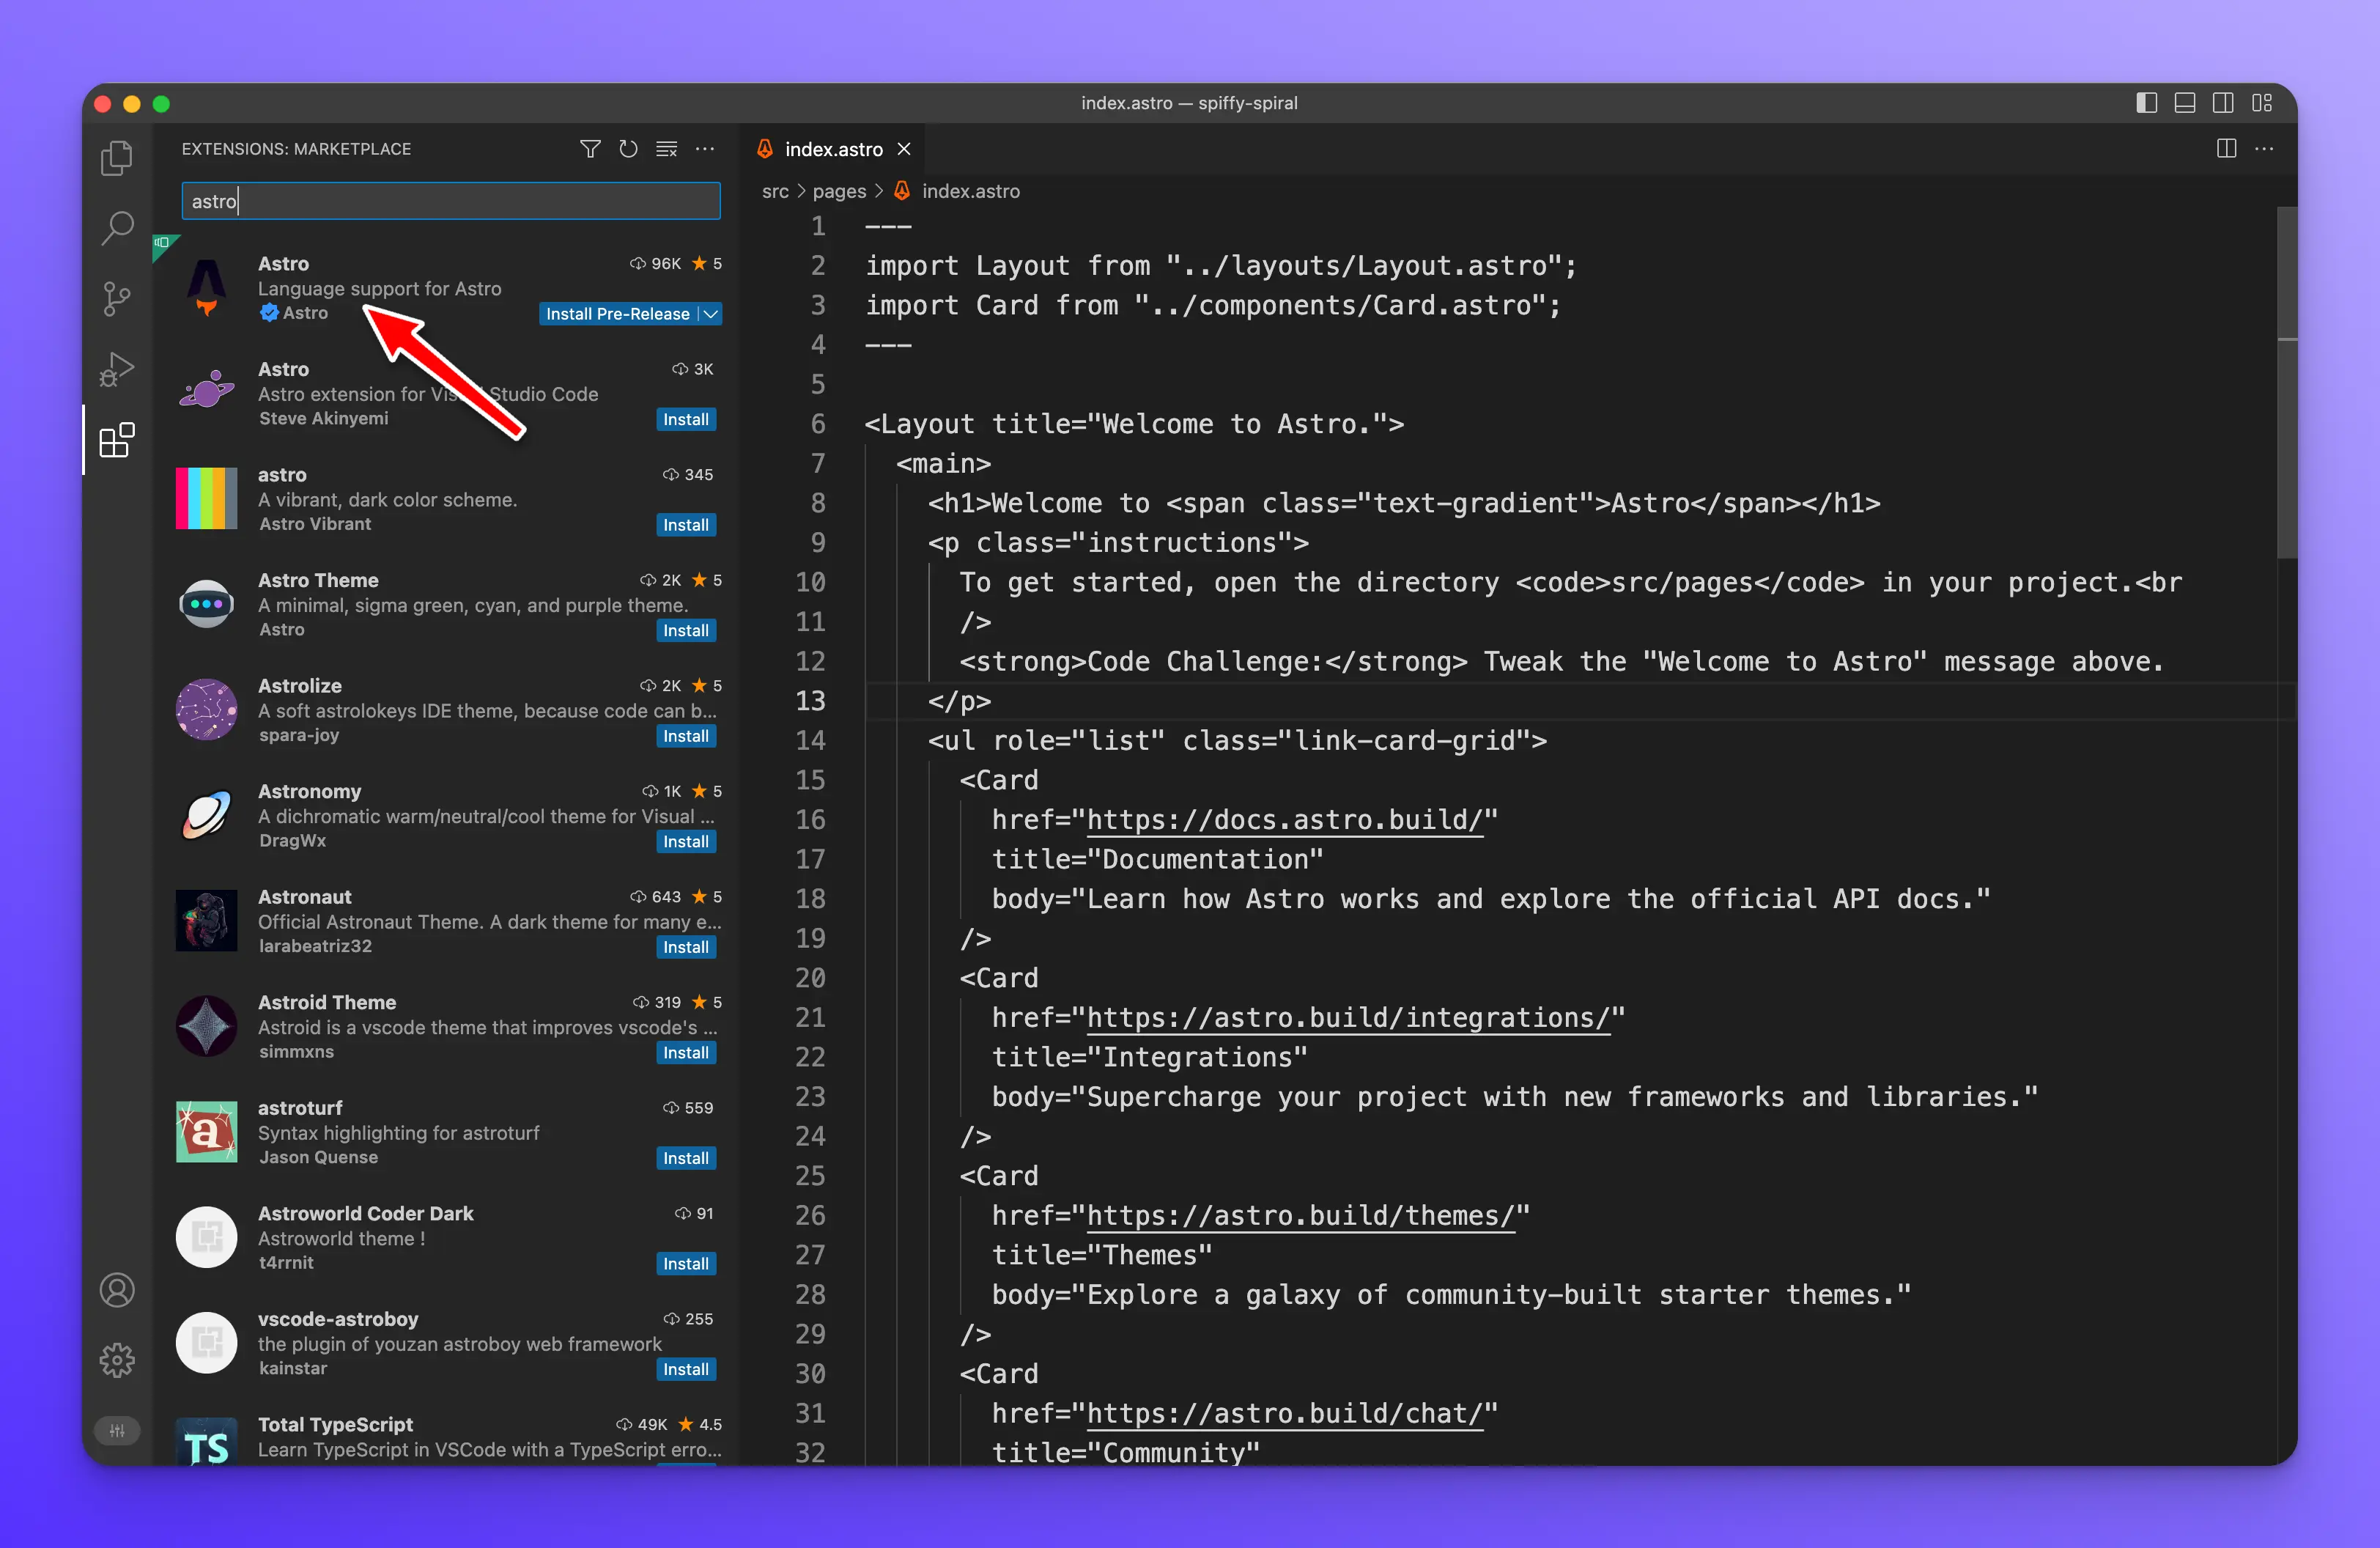
Currently, VSCode does not recognize the .astro file extension and so we don’t have nice syntax highlighting. To fix this, we will need to install the official Astro VSCode extension.
In VSCode click on the extensions icon in the left-hand sidebar
![]()
Then search for “Astro.” The first result should be the correct extension, then click to install it.
After installation, the index.astro file should have syntax highlighting.
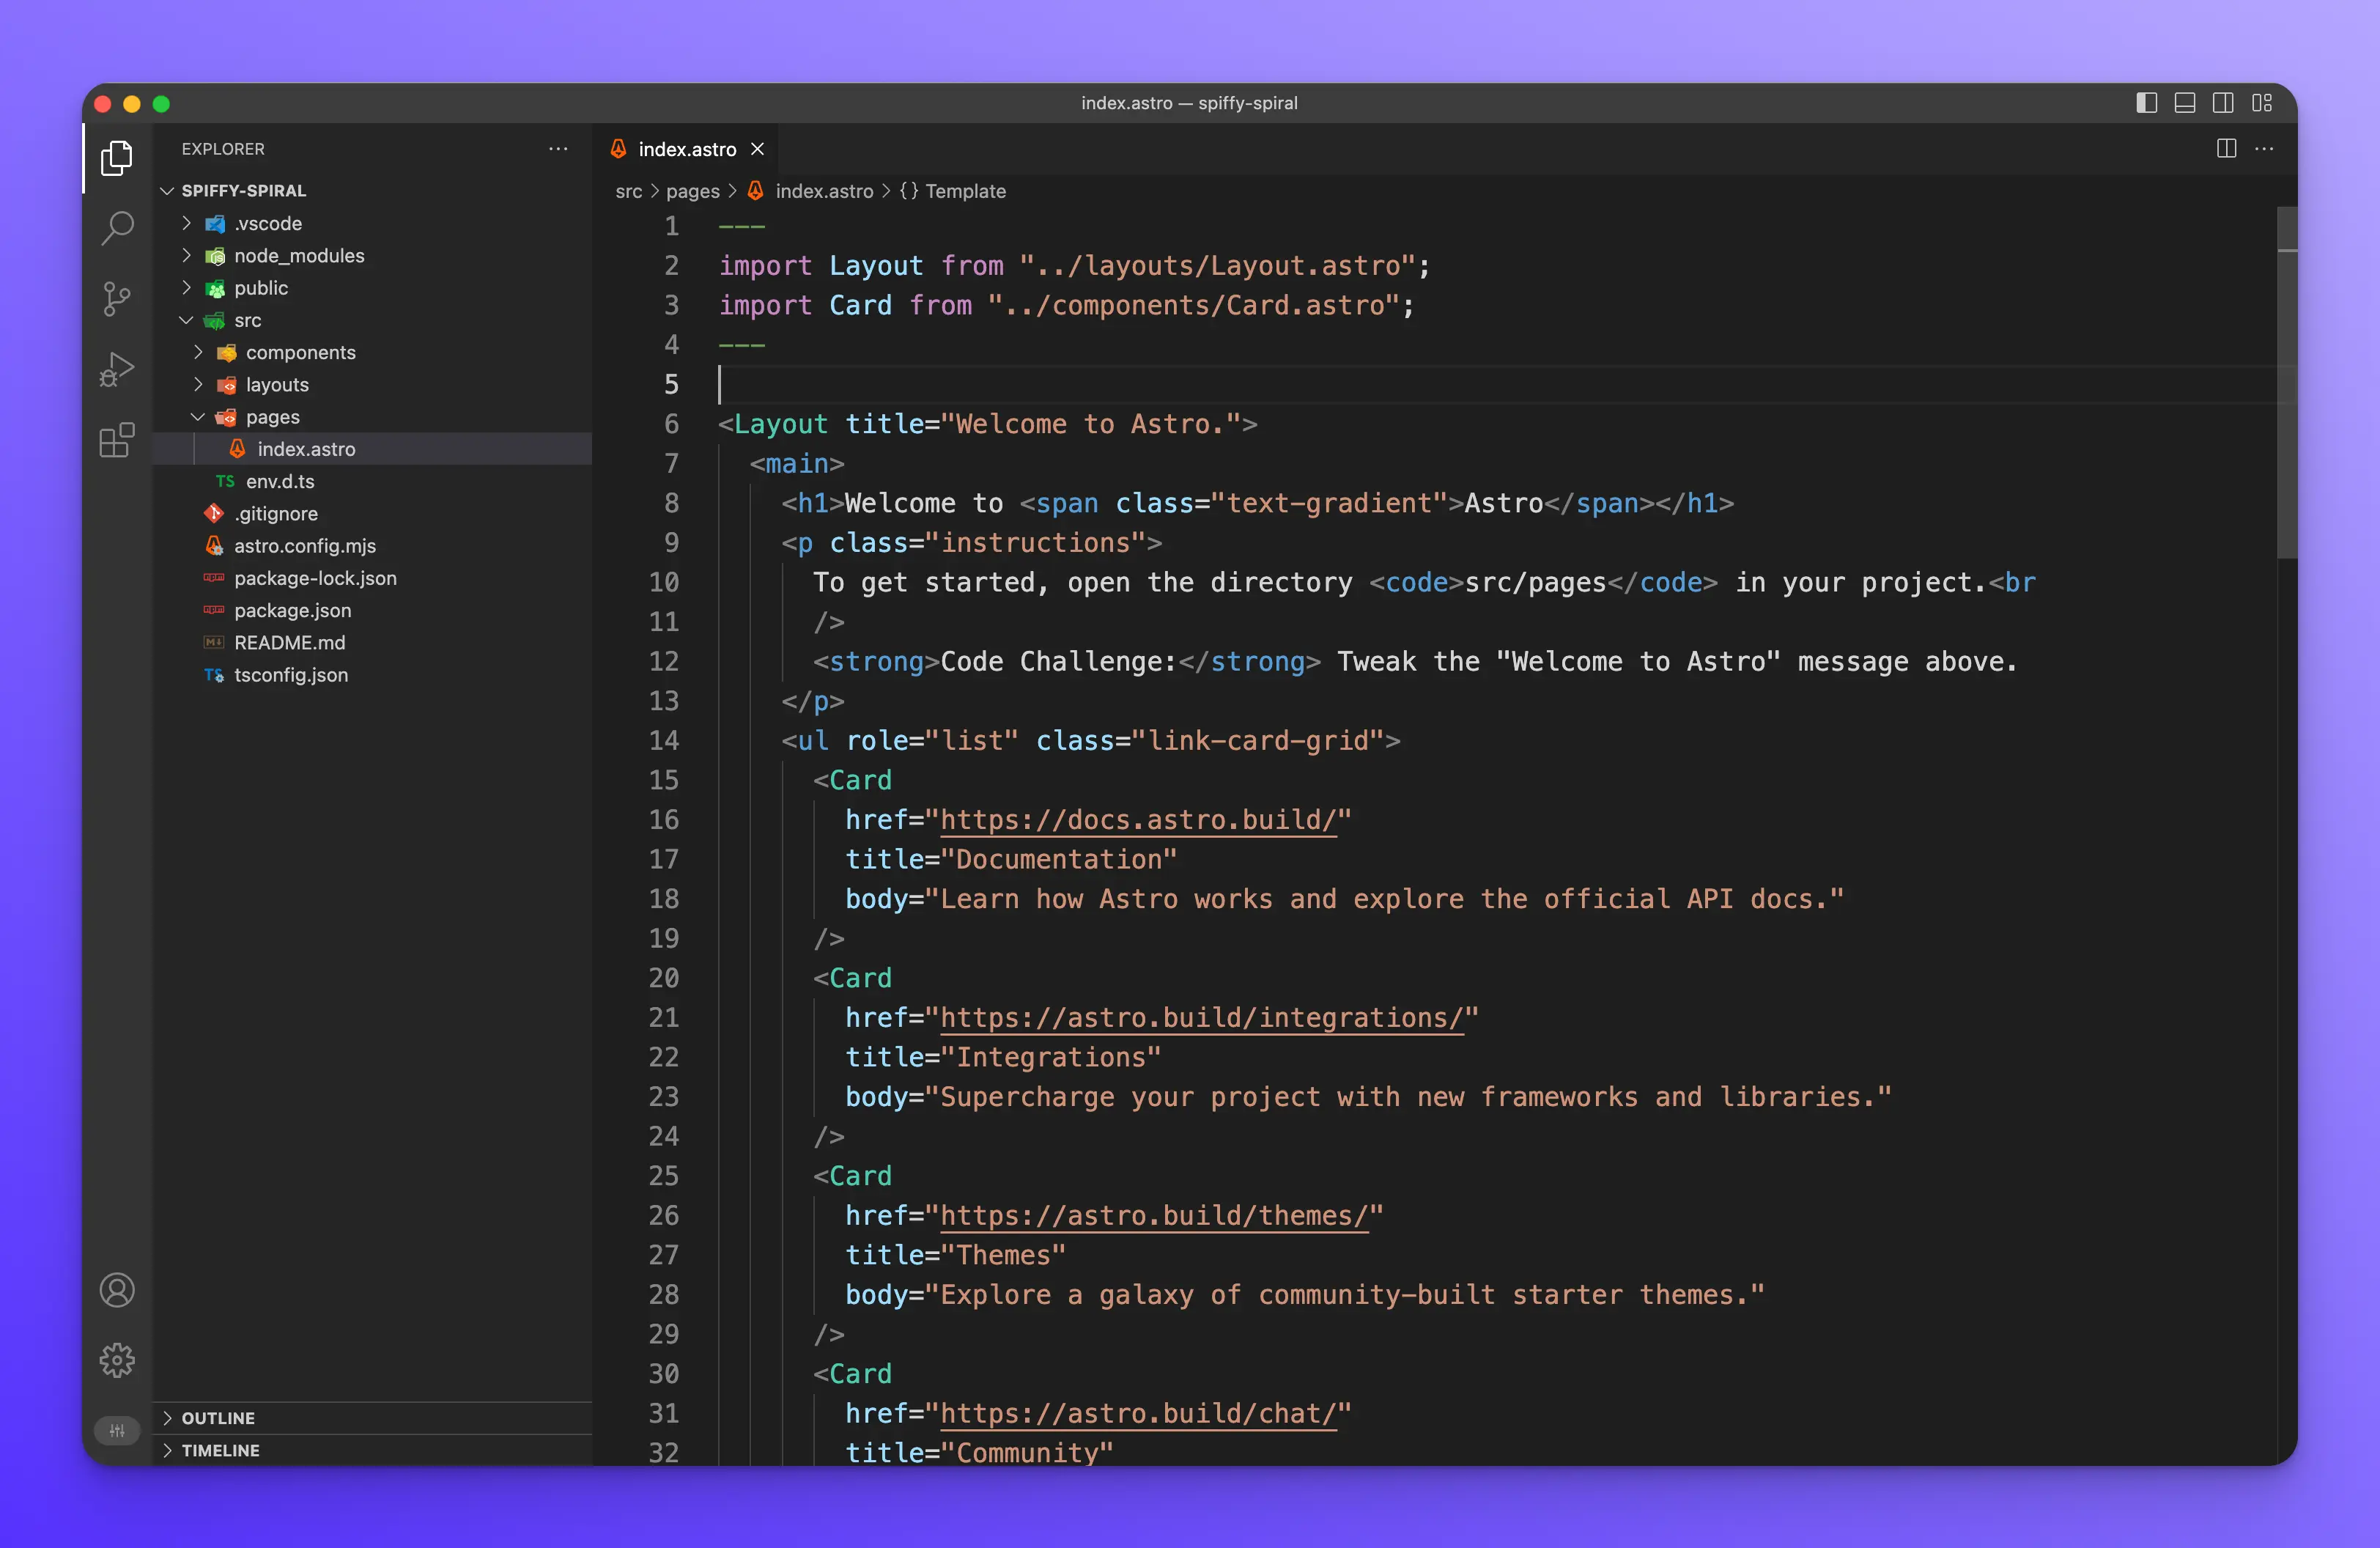
Now VSCode is all setup and configured to work with Astro components and files.
Wrap up
In this lesson, you learned how to install Node.js, VSCode, and Astro. You also created your first Astro project using the create-astro CLI. You then learned how to install the Astro extension for VSCode to get syntax highlighting and other features useful for working with Astro projects in VSCode.